New Tim Holtz Stampers Anonymous Easter Inspiration
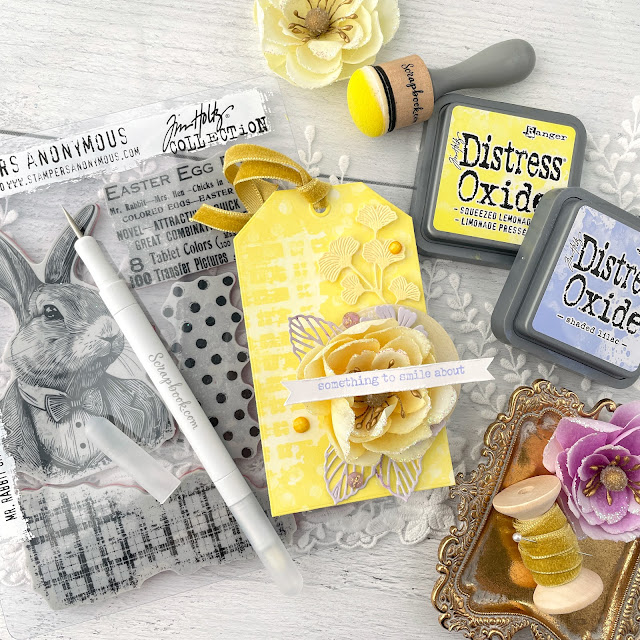
This new Tim Holtz stamp is perfect for spring, Easter and creating backgrounds!
I’ve got 2 quick and easy tags that you can create with the new Mr. Rabbit stamp set from Tim Holtz Stampers Anonymous.
But before I dive into the quick and easy tutorials for both, let’s just take a moment to appreciate how awesome this stamp set is! The text and dapper rabbit are perfect for Easter and spring projects. While the plaid and polka dot stamps are perfect for creating backgrounds year-round.
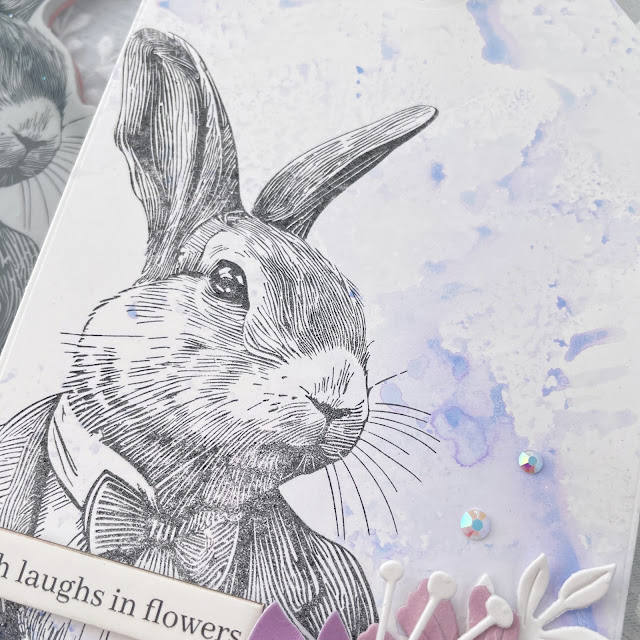
Now let’s hop right to it! (See what I did there?) Let’s start with the rabbit tag. I started by cutting some White Mixed Media Paper with one of the larger tags from Scrapbook.com’s Nested Tags die.
To create the hint of color for the background, I smooshed some of the Shaded Lilac Distress Oxide onto my glass craft mat then spritzed it with water. I ran my finger through it to mix it a bit. I smooshed some plastic packaging into the wet ink then smooshed the packaging onto the tag.
Between each layer, I dried the tag a bit with my Heat Tool. This helps build up the layers, allowing you to create darker spots.
Once the tag was fully dry, I used Distress Archival Ink in Black Soot to stamp the rabbit. Using a stamp platform will help you get a perfectly stamped image, even if you need to stamp more than once.
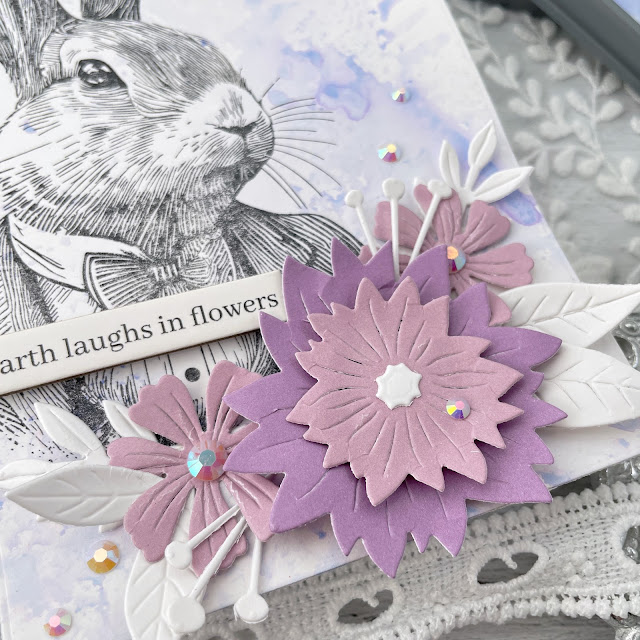
To finish off the tag, I added some Market Bloom Florals cut from the White Mixed Media Pad and the Purples Smooth Cardstock Pad. A little foam adhesive helps pop the flowers up for more dimension. Then I added a few gems, a chipboard sentiment and tied off the top with a bit of lace trim. Super easy!
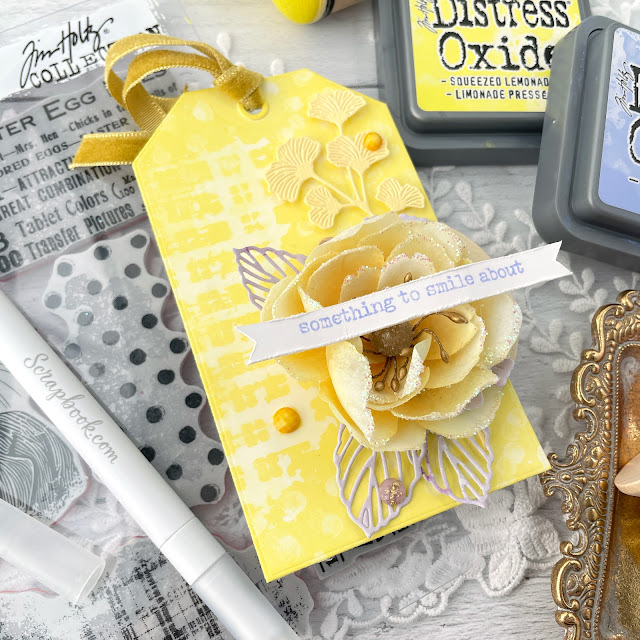
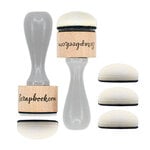
For the second tag, I again cut one of the Nested Tags from the White Mixed Media Pad. But rather than stamping the ink on, we’ll be doing a lift technique with the 2 background stamps. Using a Domed Foam Blending Tool, I completely covered the tag in Squeezed Lemonade Distress Oxide.
I wanted to make sure I got a good lift with the plaid stamp, so I placed the tag and stamp into my stamping platform. I spritzed the stamp with water then pressed it into the tag. You’ll see the Distress Oxide react where the stamp made its impression. Use a paper towel to help lift any water and ink still on the tag and repeat as many times as you’d like.
I then used a stamp block to do the same lift technique with the dot background, allowing the lift to be lighter and more scattered.
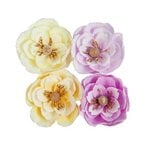
I die cut some Nested Circles from Prima Marketing's In Full Bloom 6x6 Paper Pad and then die cut some of the Market Bloom Florals leaves from one of the 4x6 Journaling Cards from the same Prima collection. I also cut a sprig of Sealed Gingko from some yellow Sizzix cardstock.
I assembled a little embellishment cluster with these die cuts and one of the large yellow flowers from the In Full Bloom collection. I stamped a sentiment in Shaded Lilac Distress Oxide and cut it into a little banner, distressing the edges. For a finishing touch, I added a few crystals and some Idea-ology Velvet Trim.
I hope that you enjoyed these 2 quick and easy tags with two very different techniques. The Mr. Rabbit stamp set isn't just for Easter and spring. Can you just image the plaid background stamp for Christmas?! Until next time, happy crafting!
Adrienne
Shop the Supplies:
Scrapbook.com
I am an affiliate with Scrapbook.com. When you shop the links below, I receive a small commission from the affiliate, at no additional cost to you. This helps me balance the costs of the time and love I put into my projects and blog so I can continue to share my ideas with you for FREE. If you shop the links, thank you! I greatly appreciate it.
Below are products that I used for this project.
















0 comments
I'd love to hear your thoughts!