Welcoming Spring with a DIY Wreath of Flowers
Prima flowers are the perfect addition to any homemade wreath project!
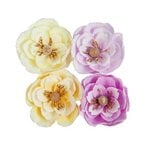
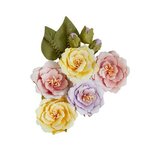
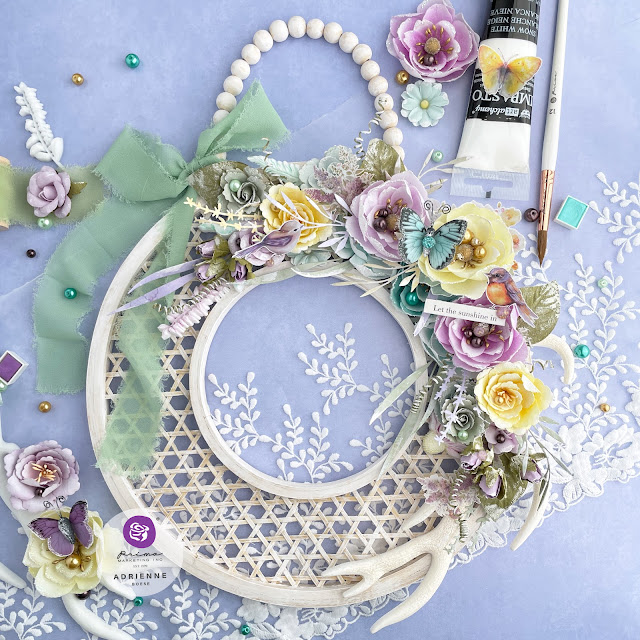
Spring is here and I wanted to fill up a wreath form with the gorgeous flowers from the In Full Bloom collection. Get a list of the Prima supplies used for this project at the bottom of this post! (Some are affiliate links, but not all. Thanks for supporting my art!)
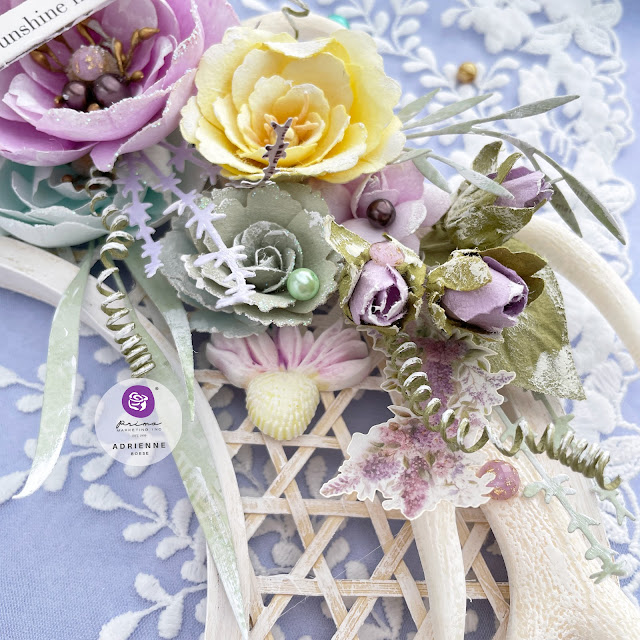
I usually don’t use the leaves and often save the bud shaped flowers for the perfect project—but a wreath are perfect for both. (But you know I still ripped the greens off the backs of the other flowers, lol!)
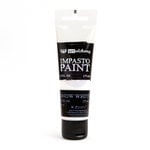
I got this woven wood wreath form from Michaels. It comes in a light colored wood, but I wanted to make it less Scandi modern and more shabby chic. So I dry brushed the entire wreath with Finn’s Snow White Impasto Paint.
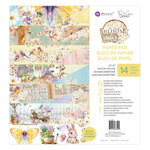
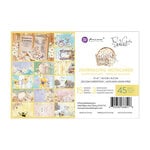
While it was drying, I die cut some larger leaf sprigs from the 12x12 paper and the B side of the 4x6 journaling cards, which is a lovely green.
I already poured some resin shapes and chose the antler from the Redesign with Prima Logger’s Lodge 1 Mould. I keep my pours from the 2 Logger’s Lodge Moulds together and picked out some flowers and leaves to add to the mix, but I didn’t bother to see if they were from the 1 or 2 mould. C’est la Vie!
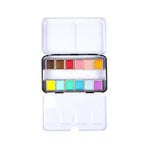
I used Art Philosophy Pastel Dreams Watercolors to paint the moulds, then dry brushed the Snow White Impasto Paint over the highlights.
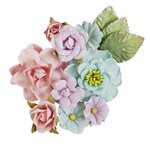
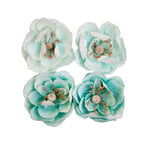
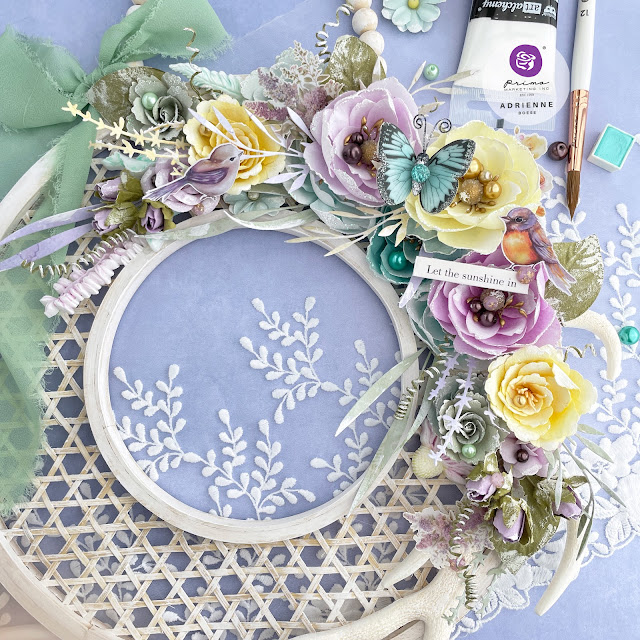
The rest of this project is also pretty straightforward. I hot glued the antler mould to the frame, designing my composition to be asymmetrical. Then I simply stacked my flowers, tucking in the die cut leaves and smaller resin pieces I went. I also added in a few of the large flowers from the Postcards from Paradise collection for more of that soft blue-green color.
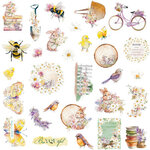
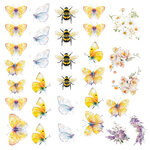
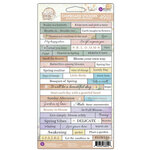
I also tucked in some of the floral vellum ephemera. Then I added some bird ephemera pieces and a chipboard sentiment sticker. The crowning jewel of the wreath is one of the pretty blue butterflies from this collection.
I used the Snow White Impasto Paint again to go over the greenery. I dry brush it on to tone down that green color and to make the pieces more shabby chic. I added touches of this paint to the flowers as well.
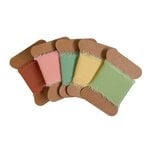
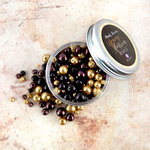
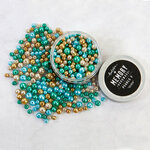
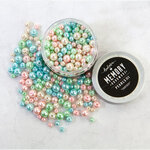
To finish off the wreath, I added pearls and crystals for a bit of bling. Then I tied on the darker green ribbon to one side of the beaded hanging strand.
Shop the Supplies:
Scrapbook.com & Prima Marketing
I am an affiliate with Scrapbook.com. When you shop the links below, I receive a small commission from the affiliate, at no additional cost to you. This helps me balance the costs of the time and love I put into my projects and blog so I can continue to share my ideas with you for FREE. If you shop the links, thank you! I greatly appreciate it.
Enjoy 15% off your order on the Prima Retail site when you use code adrienne15.









0 comments
I'd love to hear your thoughts!