Handmade Card Inspiration Using the New Sizzix Stacey Park Collection!
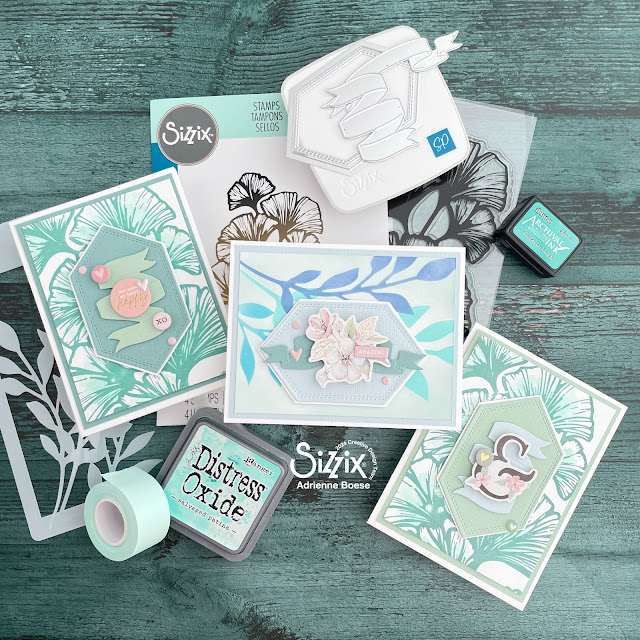
These cards have a soft and ethereal touch, combining a few of the new products from Stacey Park's first Sizzix collection!
Stacey Park of Scrapbooking Made Simple recently released her first Sizzix collection and I'm loving the timeless designs! These stencils, stamps and dies are perfect for every crafter. And if you are a serious die cutter (I know you are if you love Sizzix!), then her Gotcha Stand tool is a must-have!
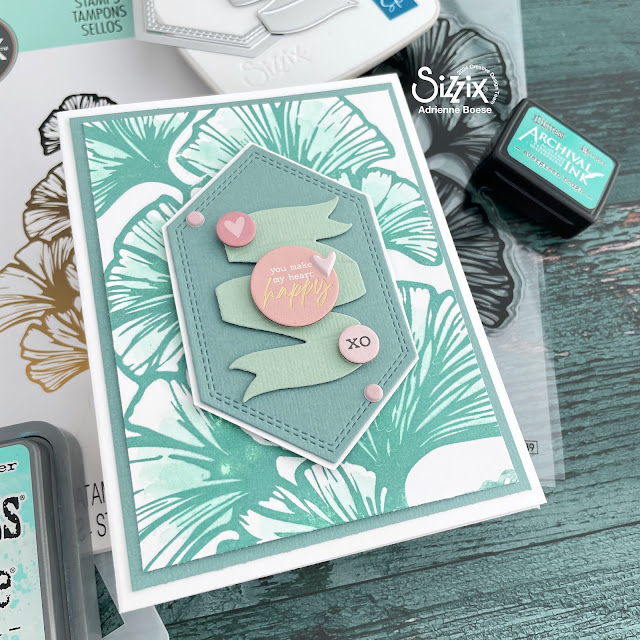
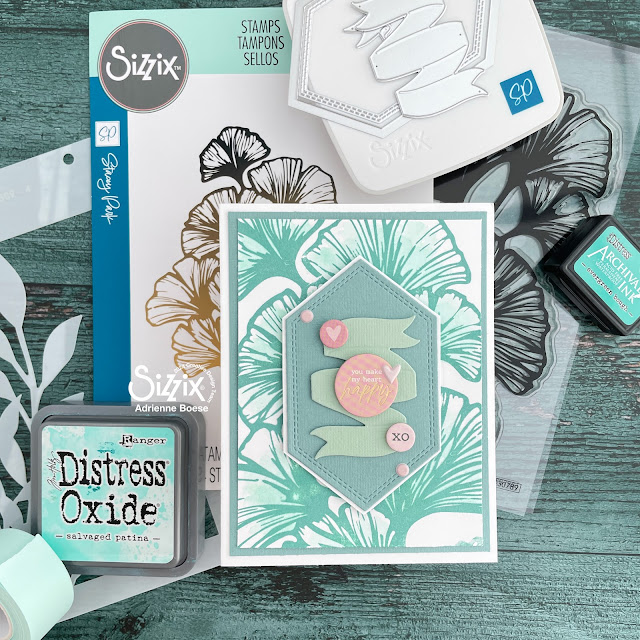
Let’s dive into these cards. The cards with the ginkgo background used the Cosmopolitan Inspire Stamp. I used my Stencil and Stamp Tool to stamp the image onto Sizzix Smooth White Cardstock with Distress Archival Ink in Evergreen Bough.
Then I smooshed some Distress Ink in Cracked Pistachio onto my glass craft mat. I used a watercolor brush to pick up the color and paint the stamped image a bit. Nothing too fancy! I trimmed these backgrounds down to 3.75 inches by 5 inches using my Scoring Board and Trimmer tool.
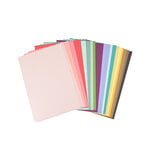
I then used cardstock colors from the classic Assorted Surfacez cardstock pack to cut some banners and the Belinda Stitched Hexagons, using the cutting blade and nested embossing die together. The next size up in this nested die set was too big and would cover up too much of my background, but I did want to set the cardstock hexagon off. I glued it to some of the white cardstock then used my large Tim Holtz Shears to trim it down to create the matted shape.
I cut a piece of cardstock to 4 inches by 5.25 inches and matted my background onto it. Then I glued this to a white A2 card base. I used some 1mm thick foam tape to adhere my hexagons onto the background as well as to adhere the banner to the hexagon.
I added some chipboard stickers and puffy stickers to each of these cards for quick and easy sentiments.
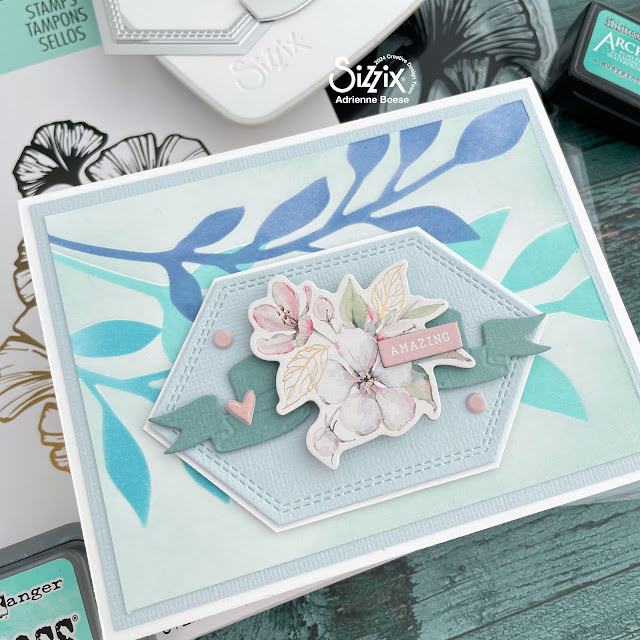
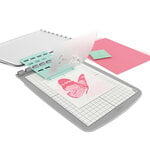
For the leaf card, I trimmed a piece of the Smooth White Cardstock to 3.75 inches by 5 inches. I placed it onto the Sticky Grid of my Stencil and stamp tool along with the stencil adapter. I then used the Cosmopolitan Frond stencil to create the background. This is a 4 layer stamp, and Sizzix numbers each stencil to make it easy.
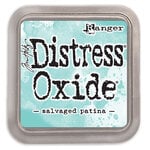
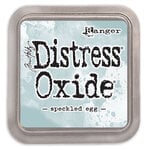
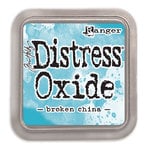
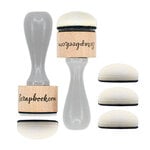
For the stenciling ink colors, I used Distress Oxides in Salvaged Patina, Broken China, Faded Jeans and Speckled Egg. I used a variety of different blending tools and brushes, including the Sizzix Blending Foam Tool Head for the Multi-Tool, Scrapbook.com’s Domed Foam and Blending tool, as well as Scrapbook.com’s Flawless Blending Brushes.
My reasoning? I just use whatever I’ve already used for a particular ink color. I’m a novice when it comes to ink blending, but I think that my results were still really nice. I will say that the large Flawless Blending Brush made quick work of the Speckled Egg background on stencil number 4!
After doing the stenciling, my process for matting and decorating this card was the same as the 2 stamped cards. I hope that you enjoyed this little tutorial and that it inspires you to create with the new Stacey Park collection if you haven’t already.
She has some really fun stamps and stencils as well as some amazing nested basics for die cutting and embossing that are a must! And the Gotcha Stand is a game changer! If you haven’t seen my latest Reel on why I think it’s a must have item, be sure to head over and check it out. Until next time, happy crafting!
Adrienne
Shop the Supplies:
Scrapbook.com, Spellbinders & Sizzix
I am an affiliate with Scrapbook.com, Spellbinders and Sizzix. When you shop the links below, I receive a small commission from the affiliate, at no additional cost to you. This helps me balance the costs of the time and love I put into my projects and blog so I can continue to share my ideas with you for FREE. If you shop the links, thank you! I greatly appreciate it.
Below are products that I used for this project.














0 comments
I'd love to hear your thoughts!