Mixed Media Monday: Altered Box with Prima Watercolor Floral Collection
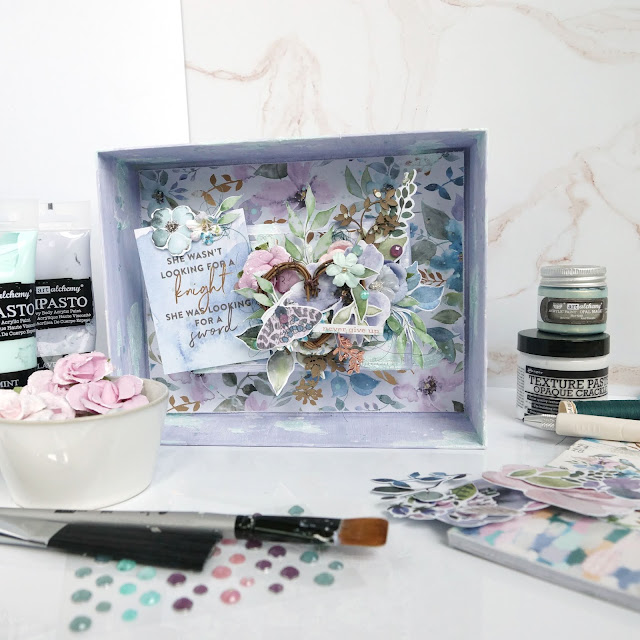
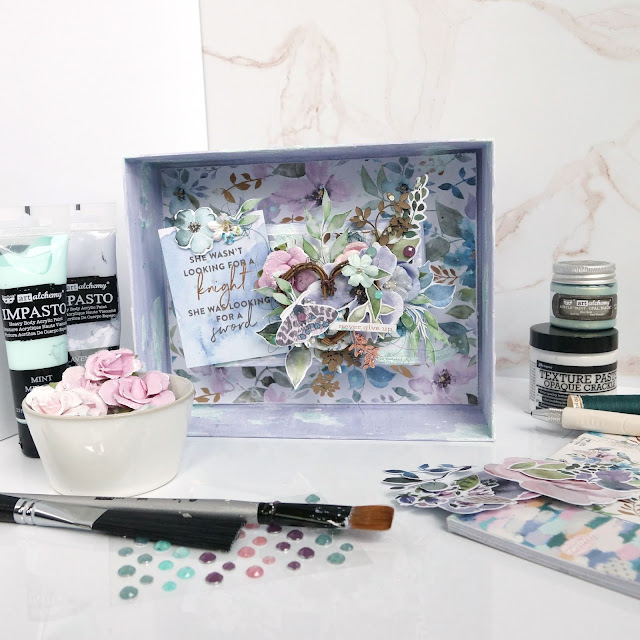
If you've been following my blog for some time, you'll probably notice two big trends. One is that I love to play with teals/mints, pinks and purples! The second is that you probably also know just how important it is to me to reuse and recycle in my craft room. This project does both by using two boxes as the altered base of the project and easily combines all three colors using the Prima Watercolor Floral collection!
When I saw the Prima Watercolor Floral collection, I immediately fell in love with pastel versions of some of my favorite colors to play with. I also love to garden so all those floral elements were absolute heaven to me!
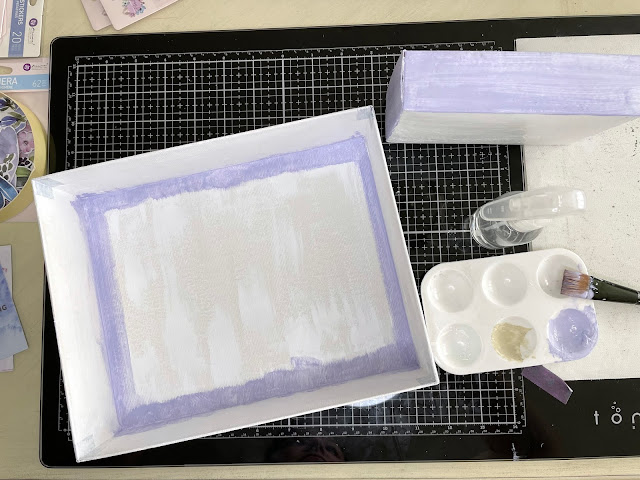
To create this altered box, I started by pulling two boxes of varying sizes out of my stash (more on this further down in the blog post). I covered both in a thin layer of white gesso, particularly because I wanted to keep the ribbing in the larger box visible for texture. I also covered the areas that would be visible with a wash of purple impasto paint.
@alicescrapswonderland ##alteredart ##mixedmedia vignette using the new ##primamarketing Watercolor Floral collection. ##tutorial on my blog! @primamarketing
♬ Live Like Legends - Ruelle
Pro Tip: To get a soft wash of color when using impasto paints, add water to your paint and mix it in. This will give a much more distressed look to your paint.
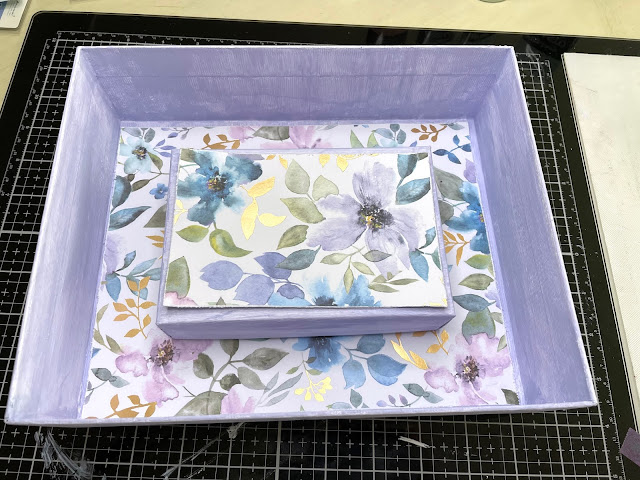
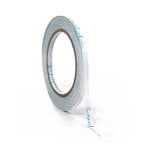
I then cut out paper to fit inside and distressed the edges with a distressing tool. I used 1/4" roll adhesive to adhere the paper to each box and then used Distress Collage Medium matte to glue the smaller box inside the larger box.
Some of my next steps can be seen in the video below, but I'll cover them in the blog as well since the video clip doesn't contain all of the next steps. But it does give you a good idea about how I do my layering for a project like this.
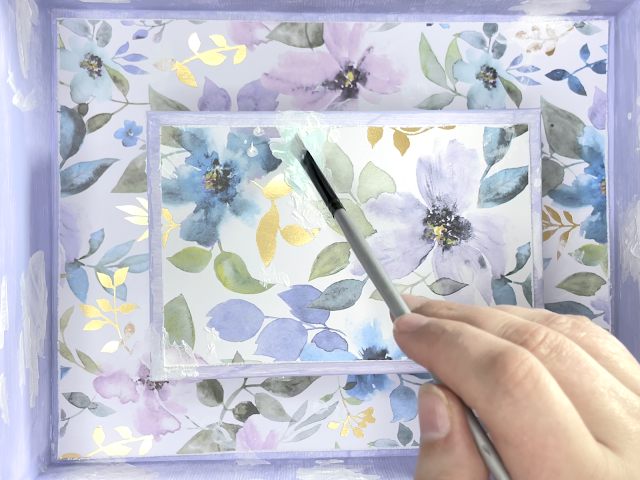
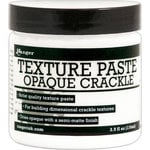
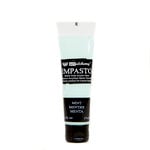
I added crackle paste here and there inside and outside of the box, letting it dry fully before moving on to the next step. I then took watered down mint impasto paint and applied it to the crackle past, dabbing off the excess with a link free cloth. I also splattered the paint on the project. I then did the same with a watered down Opal Magic paint.
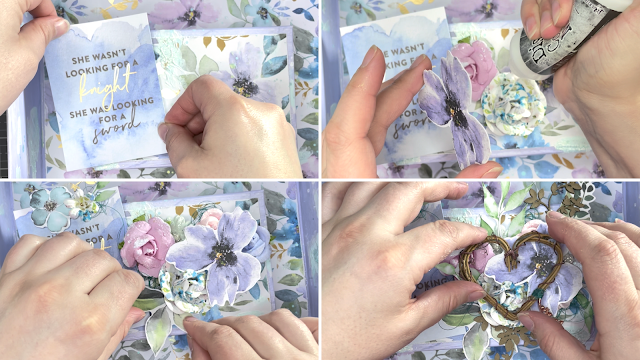
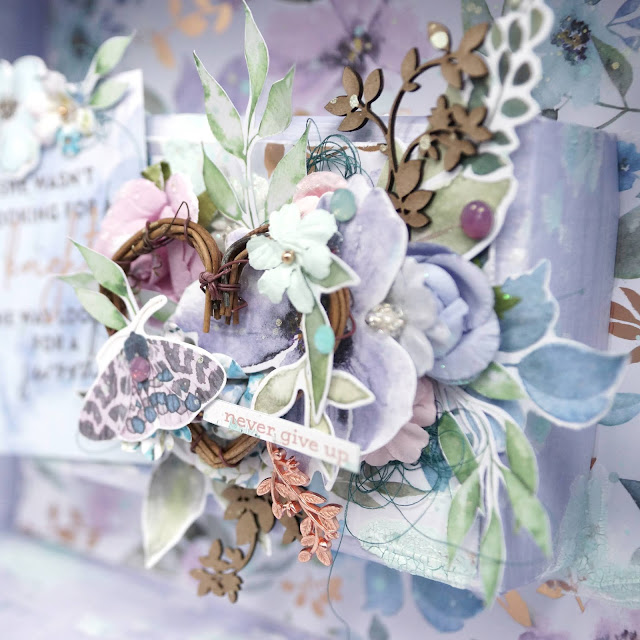
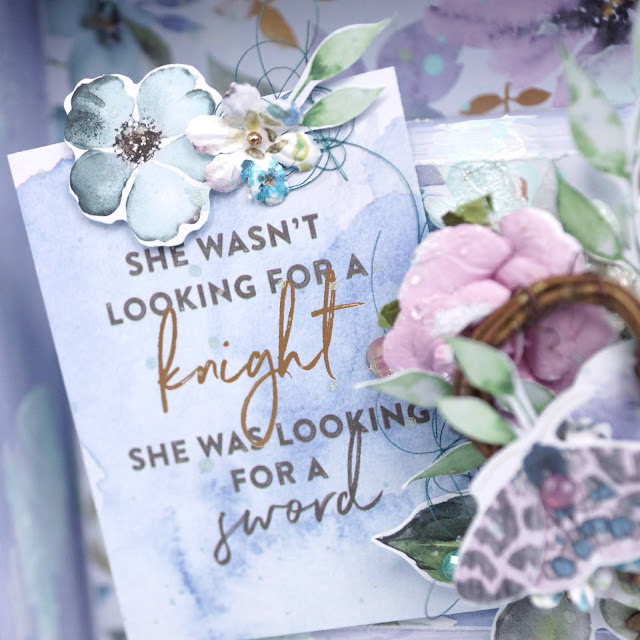
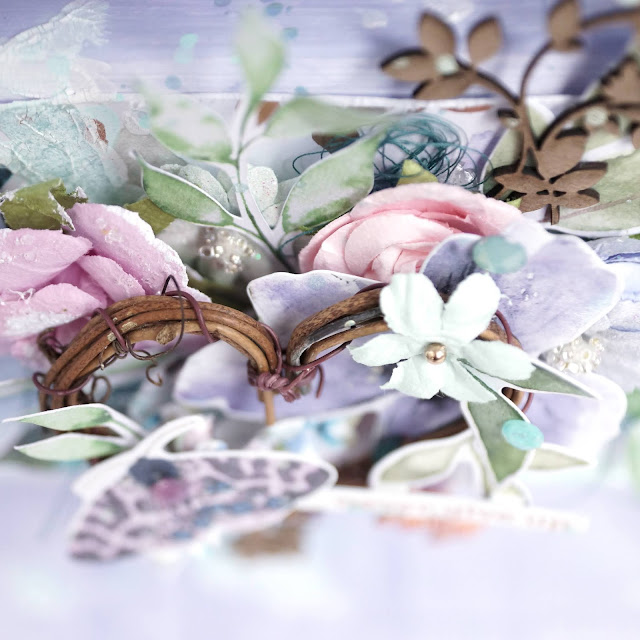
I then began layering on my elements, starting with a journaling card adhered with 2" foam adhesive. I used paper flowers to build up my other layers, adding ephemera tucked in here and there as well as a large flower ephemera piece on top of the paper flowers. I also fussy cut a few leaves from the paper stack to add to the mix.
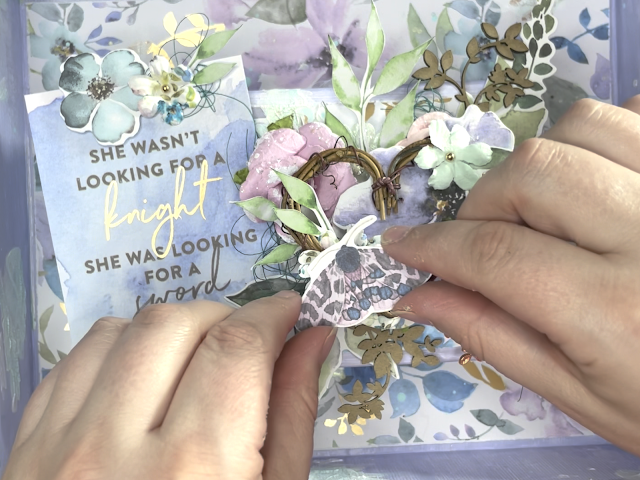
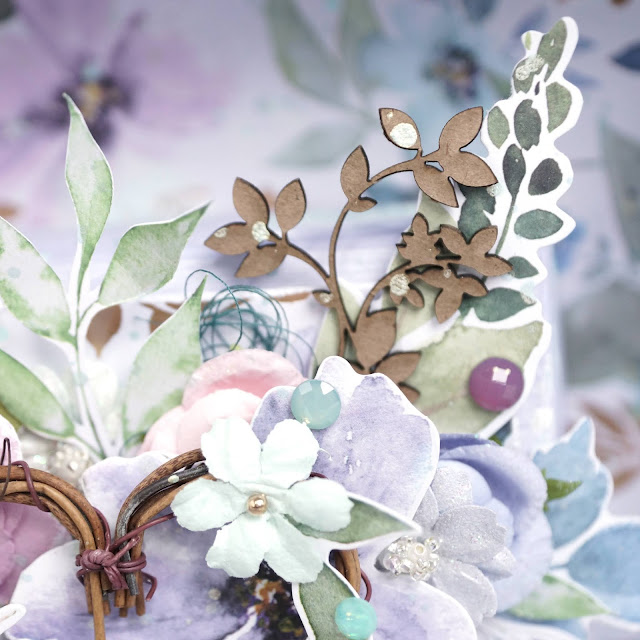
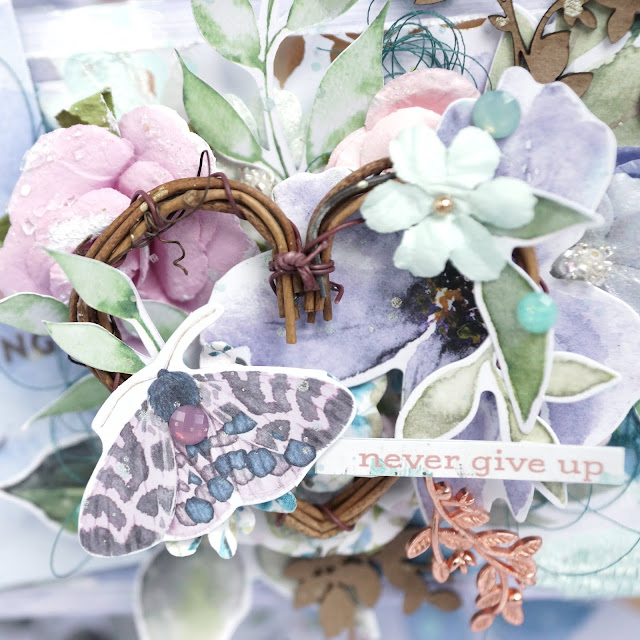
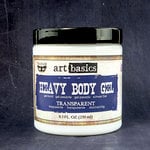
I tucked nests of thread in under the paper flowers. I also added some chipboard adhered with Distress Collage Medium matte and I added a wreath that I attached a metal charm to, using heavy body gel to glue the wreath down.
I topped off my project with a few more layers of fussy cut elements, paper flowers and ephemera on top of the wreath, using heavy body gel to glue it all down with. Finally, I added a few gems, a sentiment sticker and splattered a little bit more of the watered down Opal Magic paint on the whole vignette.
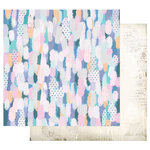
To finish off the back I cut and distressed the edges of another sheet of paper from the collection and used 1/4" adhesive to adhere it down.
I think this project turned out so gorgeous and I now have it displayed in my craft room to inspire me and remind me to never give up and that I can do anything (love the sentiment on the journaling card)! It also is a reminder that even what you think might be trash (or can head to the recycling bin), can be turned into something really pretty. This form of recycling/reuse is a great way to kick off April, which has Earth Day!
I don't know if you know this, but I have 2 large boxes that hold an entire 8 reams of paper each full of boxes, bits and bobs that I have saved for using in altered mixed media projects. I have everything from boxes, to plastic packaging and empty ribbon and thread spools. This particular project used one half of a box that held a Gucci perfume set I received as a gift and the smaller one held paper flowers.
I really enjoy reusing and recycling in my craft room. I know that the products I use are mostly made with virgin trees, rather than recycled paper materials, and this is my way of ensuring I'm doing my part in my craft room to help save the environment. All my paper scraps and packaging I don't save go into a recycling bin. I actually don't throw out very much. I even recently added a flour sack towel, which is lint free, to my lineup of tools, instead of blowing through as many paper towels. It's perfect for dabbing off excess inks and paints, wiping my glass media mat clean and even cleaning stamps.
I even recently added a flour sack towel, which is lint free, to my lineup of tools, instead of blowing through more paper towels than necessary. It's perfect for dabbing off excess inks and paints, wiping my glass media mat clean and even cleaning stamps.
I've also been working on changing over all the lights in my craft room to energy saving LEDs. They give off a brighter light, which is perfect for crafting, but on some you can even control how warm or cool the light is. This is so helpful when you don't want a greenish cast to your photos and videos that CFLs often leave--it makes color correcting your content so much easier!
I'm always looking for new ways to make my craft room more environmentally friendly. So if you have any tips and tricks or even environmentally friendly craft companies you love to purchase from, drop a comment below! I'd love to hear how you help the environment in your own craft rooms.
I really hope you enjoyed this tutorial and some of my tips for making your craft room more environmentally friendly. If we want to keep crafting with paper products, we have to make sure that we keep our Earth in tip top shape!
Happy Crafting!
Adrienne
I am an affiliate with Scrapbook.com. When you shop the links below, I receive a small commission from the affiliate, at no additional cost to you. This helps me balance the costs of the time and love I put into my projects and blog so I can continue to share my ideas with you for FREE. If you shop the links, thank you! I greatly appreciate it.
Below are products that I used or similar products.
















0 comments
I'd love to hear your thoughts!