
DIY Candy Cane Christmas Gift Tags
These sweet DIY candy cane gift tags can be attached to presents, stockings or used as a bookmark!

Hi, crafty friend! I have a new tutorial for you using some of dies from the Scrap Diva Designs November release. This is a quick and easy project and I'll share how you can add a little extra sparkle beyond some specialty papers.

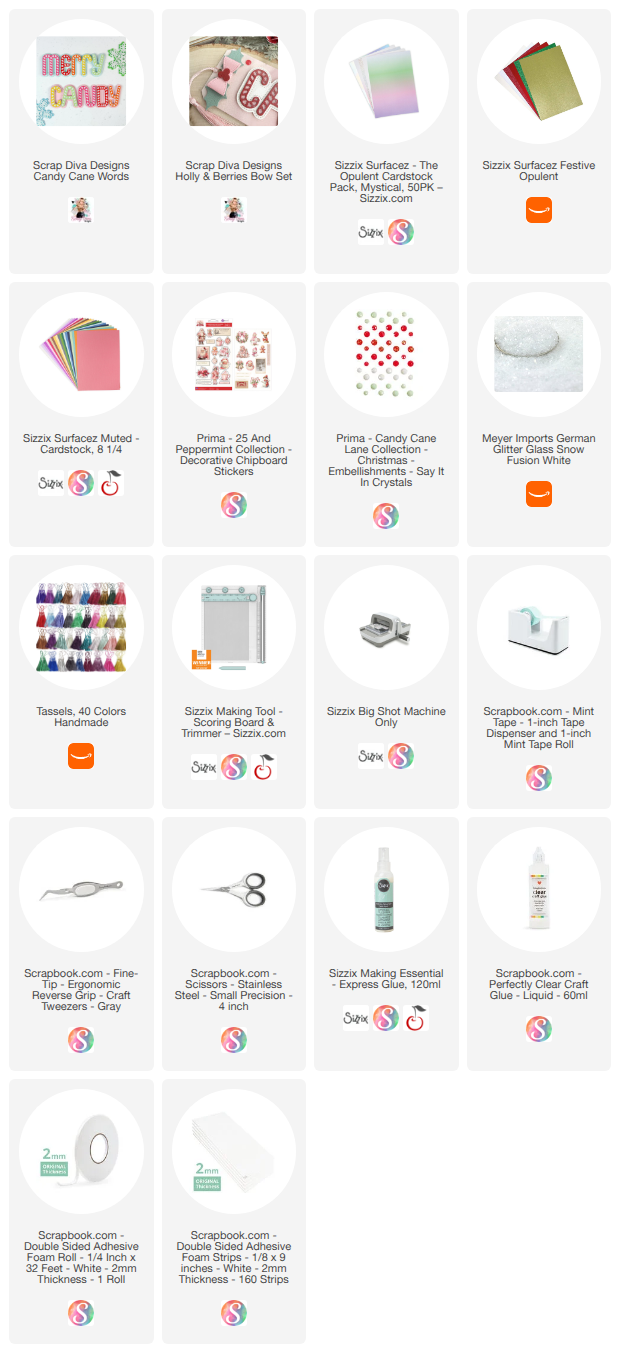
I've got all the supplies you'll need to recreate these gift tags listed below, including the new Holly & Berry Bow Set and the Candy Cane Words from Scrap Diva Designs, so let's get right into the tutorial.

Start by die cutting the Candy Cane Words die set. I used the Sizzix Muted Surfacez for the pink and the Sizzix Opulent Festive for the red and Opulent Mystical for the white. Die cut the white base layer once and the pink and red layers 2 to 3 times each (depending on how thick you want these. If you want to be able to use these as bookmarks, I recommend cutting these layers 1 to 2 times each.
Pro Tip: The candy cane stripe layer is a detailed die, so use the Sizzix Chrome Base Plate to get clean cuts each time. Simply replace the plastic pad you cut into with this specialty base plate for your sandwich.

Glue your pink layers together and your red layers together using your favorite liquid adhesive. Then glue your red to your pink, then glue this onto the white layer. Set this aside for now.
Die cut the smallest of the Holly & Berry Bows, cutting this once from the pink and once from the red. Then die cut it once from the green in the Sizzix Muted Surfacez cardstock pack. You'll do this for each tag you make.

Set aside the extra die cuts (you can make additional bows from these later) and curl the pink bow layer with your fingers a bit. Then add some glue to the center and press the outer edge of each side into the glue to create the 3D bow shape. I used a pair of tweezers to hold this in place for about 30 seconds until the glue took hold.
Place a drop of glue in the center of the bow and set the pink bow center on top and press into place. Then add some glue to the center back of the bow and press it to the green holly layer. Use some tweezers to help really press these layers together for about 30 seconds.
Then add glue to the back center again and wrap the bow center piece around the back of the bow to finishing gluing it in place. Then use a small piece of foam adhesive to pop the red berries onto the center of the bow.

Cut some strips of the pink to white ombre in the Sizzix Opulent Mystical pack to 7 by 2.5 inches. On one of the short sides, notch the corners into a tag (if you have the Sizzix Scoring Board and Trimmer Tool, you can use the tag punch on the board for this). Then punch a hole in the top center of the tag.
String on a tassel, and if desired, some string to loop this onto a present. Then attach your Candy Cane Word die onto the tag base. If you want to use this as a bookmark, use liquid adhesive. I used some foam adhesive as I will be using these as tags for a gift.

You can add a little chipboard sticker sentiment or cardstock ephemera sentiment and some gems. And if you want to add an additional sparkly touch, you can pipe some clear drying glue into the pink parts of the Candy Cane Words and then sprinkle with iridescent glitter or clear glitter glass. I did this on the Candy version.

These DIY gift tags are ready for adding to presents, stockings or gifting as a bookmark for the book lover on your gift list. Until next time, happy holiday crafting!
Adrienne
Shop the Supplies:
Scrapbook.com, A Cherry On Top, Sizzix, Prima Marketing, Spellbinders, Scrap Diva Designs, Etsy & Amazon
I am an affiliate/associate with multiple companies. When you shop the links below, I receive a small commission from the affiliate on qualifying purchases, at no additional cost to you. This helps me balance the costs of the time and love I put into my projects and blog so I can continue to share my ideas with you for FREE. If you shop the links, thank you! I greatly appreciate it.
Below are products that I used for this project.


0 comments
I'd love to hear your thoughts!