
Interactive Pocket Flips for Scrapbook Layouts
This interactive scrapbook page features pockets that flip open to reveal even more memories and fun!

Hi, crafty friend! I have a guest blog over on Spellbinders featuring a page using Esther Glas' Turn the Page collection and this blog is a continuation of that project, featuring the back of that page. So if you are here from Spellbinders' blog, welcome! And if you haven't checked out my guest blog yet, I've got a link to that post at the end of this one, so be sure to check it out to see how the other side was decorated.

This collection is a really fun one as it goes beyond making cards. It gives you a chance to make scrapbook pages that fit inside a nice little journal that is part of the collection and there are also memorydex dies and a box if that is your jam instead.

But let's not waste any more time and get right into this tutorial. This page is inspired by one of the samples shared on the Spellbinders website and I wanted to try my hand at recreating this in my own way, especially since the die set that contains the pocket was designed by be used this way.

I'm going to start right where I left off, so the base page, hole reinforcers, and the border with tab are already cut and assembled. I've got a list of all the supplies that I used below so if you fall in love with anything used here, it's easy to shop!

- Die cut 2 of the pockets from the Page with Flap Pocket die set from some blue paper in the Book 10 Reminisce Paper Pad.
- Fold along the scorelines and either glue or sew the pockets closed on the bottom and open side, leaving the bottom tab free--this will create our flip.

- Fussy cut a long blue element from the Book 10 Reminisce Paper Pad. Tear this long strip into 2 pieces that will fit on both of the pockets.
- Stamp out the measuring tape from the Keepsake Strips stamp set onto some Alabaster Cardstock with black archival ink. Use a paper trimmer to cut it into a strip.
- Cut some rectangles from Indigo cardstock that will attach to the flap of the pockets. This will become a matte photos/ephemera. Use your favorite adhesive to attach it to the flap. My rectangles are sized at 3 3/4" wide by 3 13/16".

- Add some twine to the backs of the cardstock attached to the pockets. Then glue the pockets to the page by adding adhesive on the back of the cardstock piece and glueing them in place.
- Cut the measuring tape stamped strip into 2 pieces that are both 3 3/4" long and glue them to the bottom of each cardstock matte.
- On the front of the pockets, attach the torn blue fussy cut papers.

- Then add your photos to the cardstock matte and/or the backside of the pocket.
- Die cut a clip twice from the collection using Truffle Cardstock. (I used the Keepsake Clip, but you can also use the clip that comes in the Page with Flap Pocket die set.) Also cut the circles with the small holes in the center from the Page with Flap Pocket set using the same cardstock.

- Glue a clip and its layer to the front of a piece of ephemera that fits inside the pocket. Flip this over and glue another similar sized piece of ephemera or paper to the back and add the other clip to make this a double-sided element. Add it to the lower pocket. Add another piece of ephemera to the top pocket.

- Place some tiny brads into the hole of the small circles and add a small foam circle to the back. Pull the twine straight over to the right and place the circle on the right edge of the cardstock so the center is lined up with the twine.

- Die cut the map icon and one of the banners from Torn Edges with Tag die set using Alabaster Cardstock.
- Stamp a month onto the bottom half of the banner using black archival ink. Trim the top bit of the banner off to create a straight edge. Ink the edges of your banner and map icon with brown ink.

- Fill any empty cardstock mattes or backs of pockets with layered up ephemera and matte stickers from the collection.
- Add some Rub-ons from the collection to your photo and/or ephemera clusters.
- Add the banner and map icon to the outside of your pockets with adhesive.

- Add a few more bits of rub-on transfers and ephemera to the front of the pockets, then wrap the twine around their corresponding circle closing mechanism and now you have a finished page!

And that's it! I loved the idea of the little flips and pockets. If you have memorabilia from your trip, like tickets, it's so easy to add those to these types of scrapbook pages. Both this page and the other side feature photos from my sister's trip to Puerto Rico with her husband and daughter. I didn't get any memorabilia from them (other than beach sand), so I appreciated that the ephemera pack for this collection has so many options that help you create that ephemeral/junk look.
Be sure to check out the other side of this page by visiting my guest blog post over on Spellbinders, and until next time, happy crafting!
Adrienne
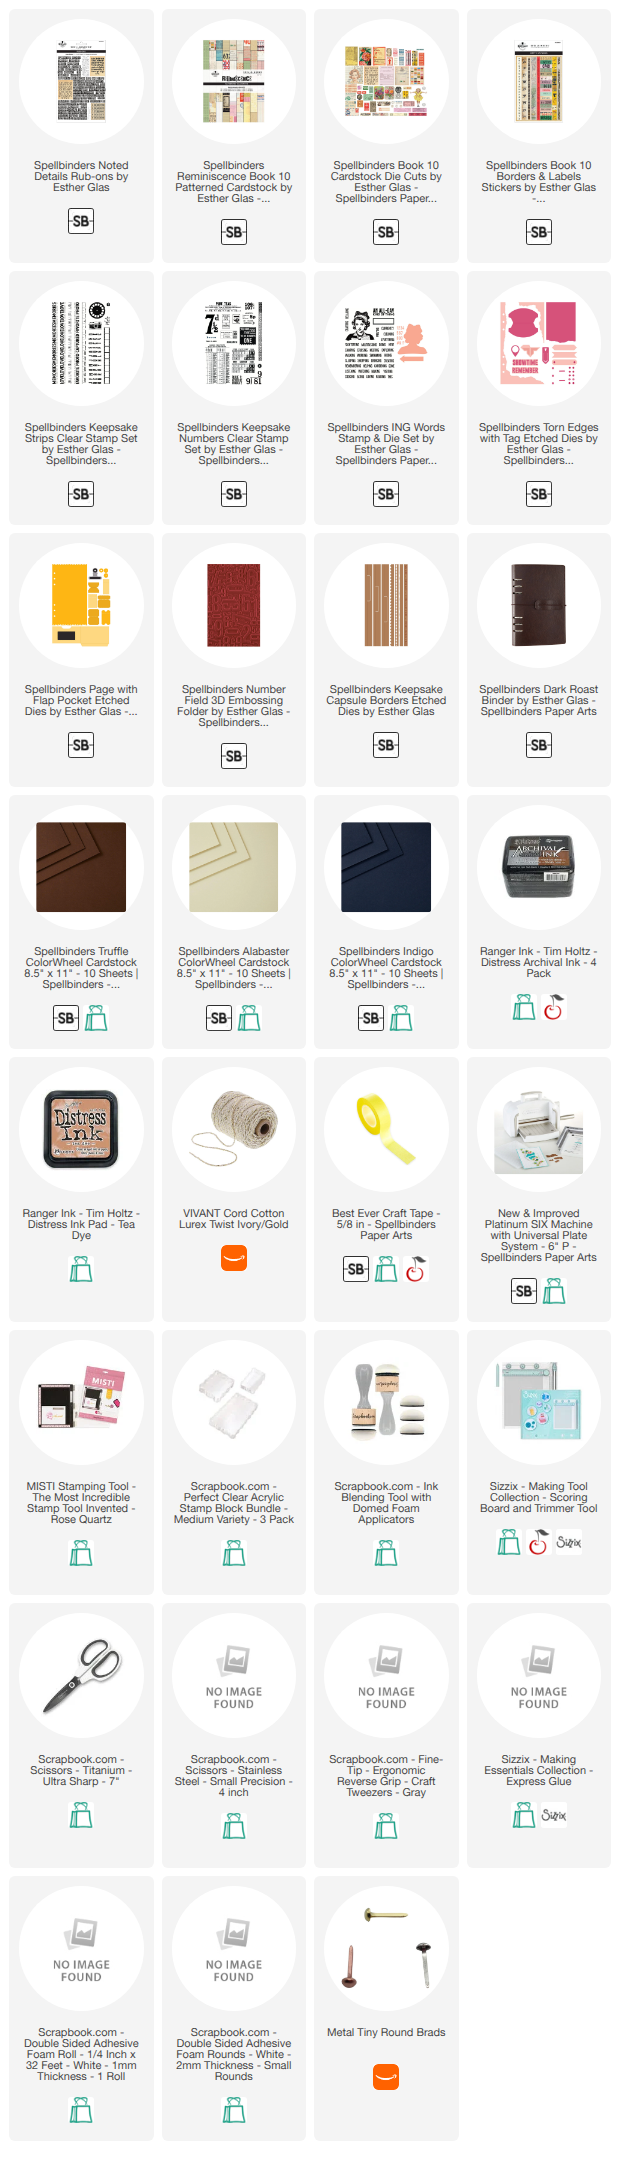
Shop the Supplies:
Scrapbook.com, A Cherry On Top, Sizzix, Prima Marketing, Spellbinders, Scrap Diva Designs, Etsy & Amazon
I am an affiliate/associate with multiple companies. When you shop the links below, I receive a small commission from the affiliate on qualifying purchases, at no additional cost to you. This helps me balance the costs of the time and love I put into my projects and blog so I can continue to share my ideas with you for FREE. If you shop the links, thank you! I greatly appreciate it.
Below are products that I used for this project.


0 comments
I'd love to hear your thoughts!