
Layered Paper Mixed Media Butterfly Tutorial
You can create your own patterned paper by stenciling on cardstock! Here's how to use that DIY patterned paper.

Hi, crafty friend! I decided to create my own patterned paper to use for die cutting to cover this MDF butterfly in strips of texture. Here's how to recreate this project.

I've got a full supply list below, so let's get right into this tutorial.

Start by painting a wood or MDF butterfly shape with metallic paint from Prima. If it's MDF, be sure to prime your butterfly first. I used an MDF shape from a store that is closed, so I've included a link to a similar one on Etsy. Set this aside to dry.
Ink several pieces of orange cardstock from the Sizzix Muted Surfacez cardstock pack with Tim Holtz Distress Ink in Crackling Campfire. I stuck the cardstock to the Sticky Grid of my Stencil and stamp tool then placed the stencils from the Sizzix Vicki Boutin Background Textures Stencil set onto the stencil adapter of the Stencil and Stamp Tool.

Add the blending head adapter to your Sizzix Multi-Tool and a blending foam. Then ink the cardstock through the stencil to create the patterned paper. Then ink up some sheets of cardstock without the stencil to create some solid dark orange cardstock.

Die cut the stenciled cardstock, inked cardstock and plain orange cardstock with the Double Edgers Thinlits from Sizzix and Vicki Boutin. Then glue the strips to the butterfly using Sizzix Express Glue. Keep the glue toward the top of the strip. Cut the strips in half when needed and alternate the light, dark and stenciled cardstock
Once the strips are all glued to the butterfly, flip it over and use the blade from the Sizzix Surfacez Multi-Tool to cut the excess cardstock off. Flip the butterfly back over and use your fingers to bend the bottom end of the strips up to add dimension.

Die cut 2 small flowers, 1 large flowers, 4 small leaves and 1 large leaf from the Stitched Floral Thinlits. I used the aqua from the Assorted Surfacez cardstock pack and a light green from the Muted pack. Also cut the strip from the Lovely Lace Thinlits from the orange cardstock 3 times.

Set your bottom layer of the leaves and flowers onto a sticky mat and ink blend some color on them. Use Peacock Feathers Distress Ink on the aqua and Catherine Pooler Ink in Sage on the green. Glue the layers of the flowers and leaves together. Then cut 3 of the doilies from each of the strips and shape them with some shaping tools.

Bend the petals of the flowers up and then 3 doily circles to the center of each flower. Add the flower center the middle of the doilies. Add a gem to the center of each flower. Add some splashes of gold to the butterfly by tapping the Scrapbook.com Gold Glitter Brush over the butterfly.

Once dry, glue the flowers and leaves to the center of the butterfly in a diagonal using foam adhesive to pop them up when needed. Add some sentiment stickers to one side of the butterfly using foam strips.
I hope you enjoyed this tutorial and learned a fun way to use die cuts from your own DI patterned paper. Until next time, happy crafting!
Adrienne
Shop the Supplies:
Scrapbook.com, A Cherry On Top, Sizzix, Prima Marketing, Spellbinders, Scrap Diva Designs, Etsy & Amazon
I am an affiliate with multiple companies. When you shop the links below, I receive a small commission from the affiliate, at no additional cost to you. This helps me balance the costs of the time and love I put into my projects and blog so I can continue to share my ideas with you for FREE. If you shop the links, thank you! I greatly appreciate it.
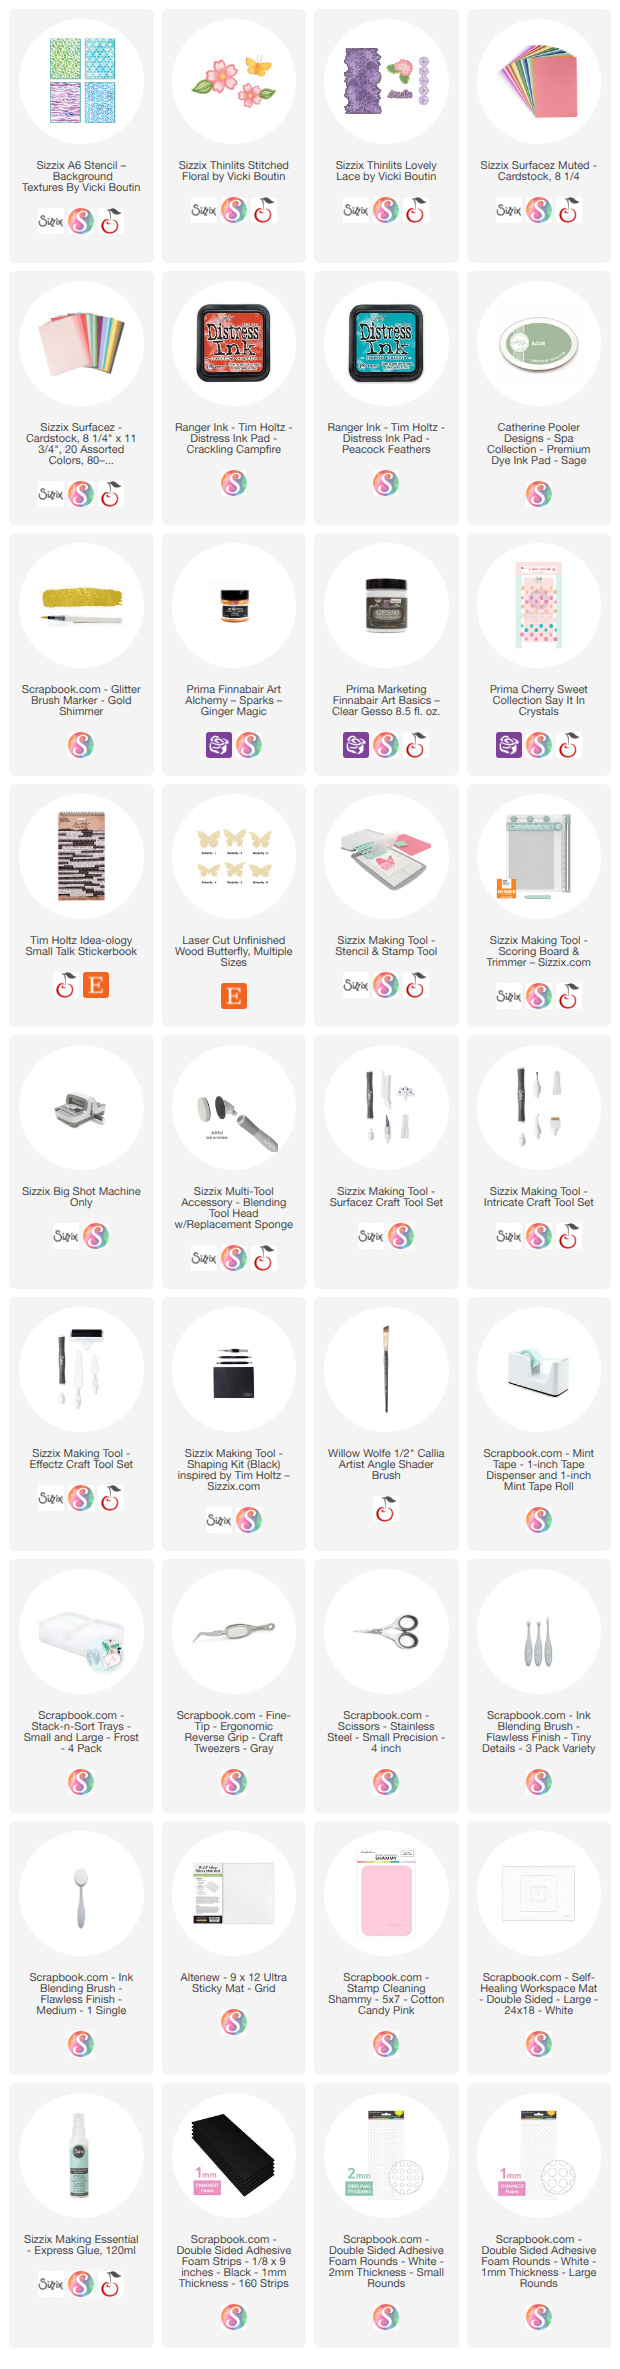
Below are products that I used for this project.


0 comments
I'd love to hear your thoughts!