
Prima Marketing Halloween Kit: DIY Bat Shaped Mini Album with DIY Paper Tassels
Feeling batty this Halloween season? This adorable bat shaped mini album is easy to make! Plus, learn how to make handmade paper tassels with only a paper trimmer, scissors and glue!

Hey, crafty friends, I'm in full Halloween mode and I was just dying to make a bat shaped mini album! This mini album is super easy to make and you can add tiny photos or just leave it full of cute ephemera to enjoy. It uses the 2025 Prima Marketing Midnight Magic Box, which is full of yummy Halloween themed goodies--including a ton of flowers and papers!

You can shop the full supply list, including the Midnight Magic Box, below!
So let's get right into this tutorial.
- Die cut your bat shapes using your electronic die cut machine or a set of metal dies and your favorite metal die cut machine. Cut as many pages as you'd like!
- Stack your pages on top of one another and punch holes in the tops of the wing and set some eyelets--I like to use the Crop-o-dile for this as it does both jobs in one tool.

- Trim a strip of 12x12 paper, leave it at 12 inches long, but the height will depend on how big you want your tassels to be--you'll need 1 strip for each tassel you want to make.
- Flip this over and draw a line 1/4 inch from the top.

- Use your scissors to snip your fringe up to this line, leaving the 1/4 inch section uncut.
- Use your trimmer to cut some strips that are 1/4 inch tall by 12 inches long and 1/8 inch by 6 inches long--you need one of each length for each tassel you make.
- Roll your fringed strip, using liquid adhesive along the 1/4 inch section to secure it as you go.
- Glue the 1/8 inch strip into a loop at the top of your tassel and trim off the excess with scissors.

- Cover the ends of this loop and the top of your tassel with the 1/4 inch strip, trimming off any excess with scissors.
- Decorate each internal page of your mini album with ephemera, fussy cut elements and small flowers from the Midnight Magic Kit. Use liquid and 1mm thick foam adhesive to adhere your paper elements and hot glue to adhere the flowers.

- For the cover, add more dimension using medium sized flowers and thicker foam adhesive.
- Add a puffy sticker and some gems to the cover and some pom pom trim if you want.
- Place your mini album pages and cover onto some loose leaf binder rings.

- Add your tassels and some charms from the Midnight Magic Kit to one of your binder rings using jump rings.
- Tie a bit of velvet ribbon onto the binder ring.

This album is so cute and easy to make with the Midnight Magic Box Kit! I hope you enjoyed the paper tassel tutorial as well. Until next time, happy crafting!
Adrienne
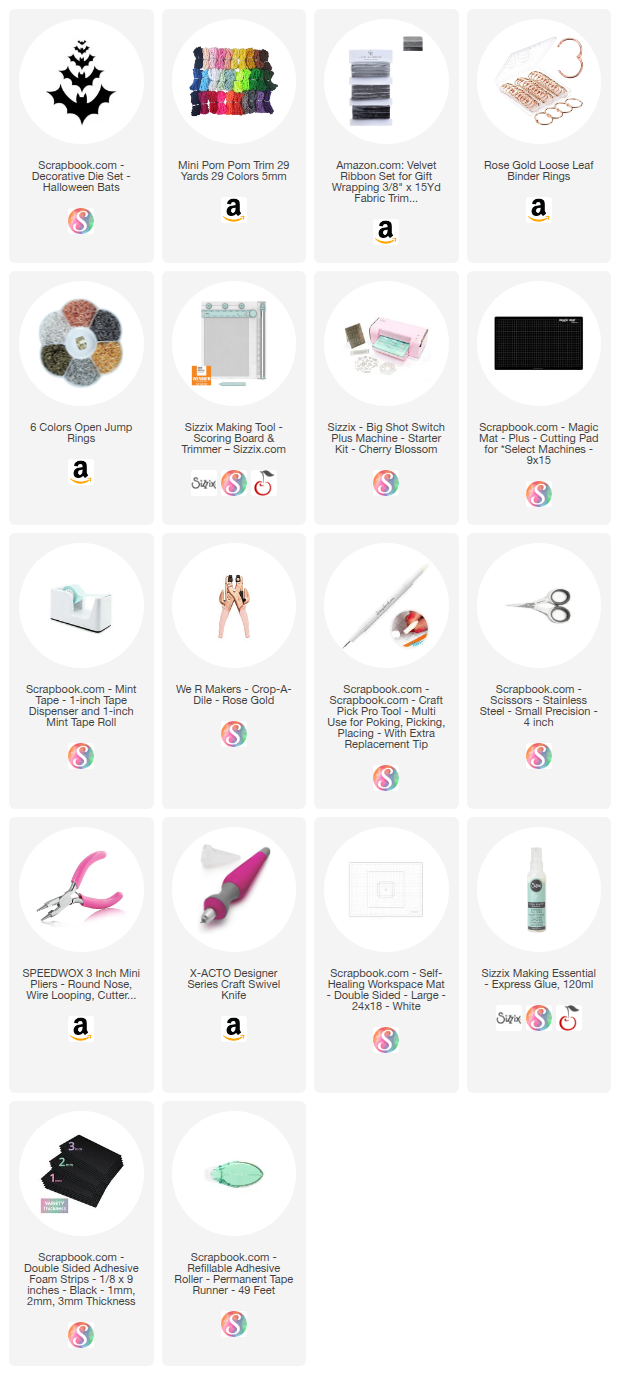
Shop the Supplies:
Scrapbook.com, A Cherry On Top, Spellbinders, Sizzix, Etsy & Amazon
I am an affiliate with multiple companies. When you shop the links below, I receive a small commission from the affiliate, at no additional cost to you. This helps me balance the costs of the time and love I put into my projects and blog so I can continue to share my ideas with you for FREE. If you shop the links, thank you! I greatly appreciate it.
You can also use the code adrienne15 for 15% off your order on the Prima Marketing Retail site.
Below are products that I used for this project.


0 comments
I'd love to hear your thoughts!