Easy Christmas Tunnel Card Tutorial
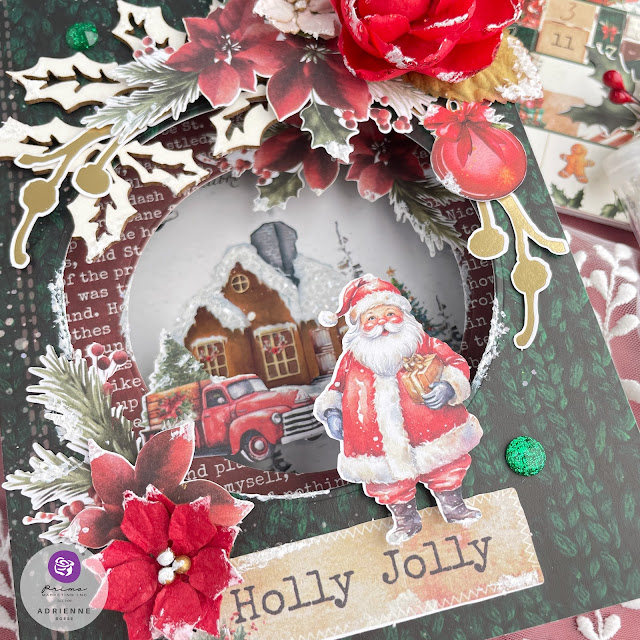
Christmas greetings deserve something special! Here is how you can easily make a tunnel card for a fun pop out action that the card recipient will love!
Hey, crafty friend! Tunnel cards are easier than they look but I know everyone loves to have a tutorial and measurements--so I've got you covered!
I used Prima's From the North Pole collection to create this card, and as always, I've got all of the supplies I used listed below for you. Now, let's not waste any time and get right into this tutorial!
Start by picking out 3 pieces of patterned paper that you want to use. I used the Green Sweater and North Pole Village papers from the 12x12 paper pad and the From the Night Before Christmas text from the 6x8 paper pad.
For the top layer, trim your paper to 5x7 inches. Then trim the middle and back layer papers to 4 7/8 x 7 inches. Use nesting metal dies to cut the tunnel into the top and middle layers, using the larger die on the top layer and the smaller die on the middle layer. (I used the third and fifth largest circles from Spellbinder's Everlasting Circles die set.)
Next, trim some pieces of cardstock up. You want a piece that will serve as the base of the back and the accordion side pieces. Trim a piece to 5x7 inches and then 4 strips to 2 x7 inches. Use a scoring board to score every half inch on the 4 strips of cardstock.
Fold the strips into an accordion so that it is a peak-valley-peak. Snip the corners and accordion peaks at a 45 degree angle with your scissors--this will help hide this bit of cardstock on the top and bottom edges.
I tried this card out with one wider strip for each side of the card, but because of the way the accordion zig zags, the middle layer bends in toward the back of the card, ruining the tunnel effect.
So that is why it needs 2 separate accordion pieces for each side of the card, to sandwich the middle layer in between and keep it flat and parallel to the the other two layers.
Adhere the colored cardstock base to the card base. Then glue one accordion strip on each side of the cardstock base, lining up the folded edge of the peak bend with the edge of the card.
Then glue the back layer of patterned paper onto the base, covering the tabs of the glued on strips. Pro Tip: Use a combination of double sided tape adhesive and liquid adhesive to glue the accordion pieces.
Set the base aside and glue then next set of accordion strips to the back side of the middle layer--this will hide the tab of the cardstock strip completely. (See the illustration above for how the layers get glued together.)
Then take the middle layer with both accordion strips and glue it on top of the accordion strips on the base layer.
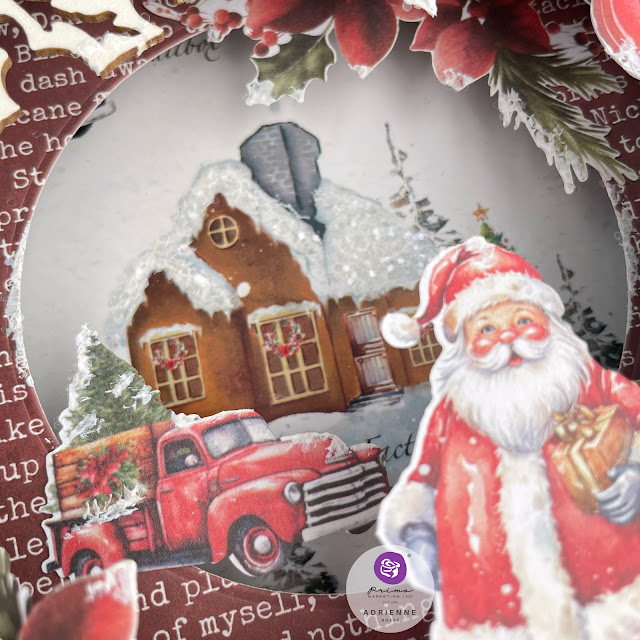
I found it easier to to add the pieces of ephemera I wanted to the middle layer at this point, rather than after the top layer is glued down. I used a bit of liquid adhesive to add the truck ephemera and a piece of floral ephemera. Add whatever pieces of ephemera you want to add to create your little scene.
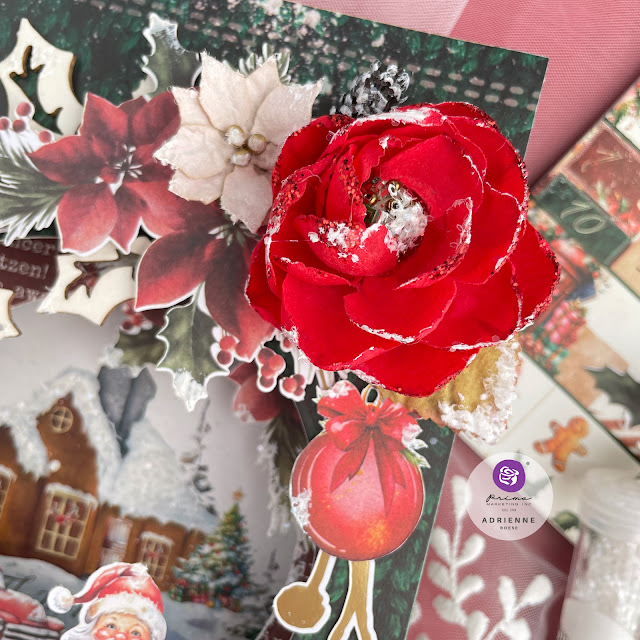
Then glue the top patterned paper to the final accordion tabs . All that is left is to decorate the top layer. I used ephemera and floral ephemera. I also fussy cut an ornament from the 6x6 paper pad. I used a combination of hot glue, liquid glue and foam adhesive to adhere everything in place.
I added a couple of flowers from the collection, then dabbed some heavy white gesso onto the ephemera, flowers and the roof of the house on the back layer and sprinkled them with a clear glitter for a snowy effect. Pro Tip: Work in small sections so your gesso doesn't dry before you get the glitter on!
With the larger flower that I used, I'll probably need to hand gift this card or put it into a box. But if you use only smaller or flatter flowers, you can easily send this in the mail. When your recipient pulls it out of the envelope, it will pop open to reveal the tunnel effect.
I hope that you enjoyed this tutorial and I can't wait to see the tunnel cards you create. Until next time, happy crafting!
Adrienne
Shop the Supplies:
Scrapbook.com, A Cherry On Top, Spellbinders, Sizzix, Etsy & Amazon
I am an affiliate with multiple companies. When you shop the links below, I receive a small commission from the affiliate, at no additional cost to you. This helps me balance the costs of the time and love I put into my projects and blog so I can continue to share my ideas with you for FREE. If you shop the links, thank you! I greatly appreciate it.
You can also use the code adrienne15 for 15% off your order on the Prima Marketing Retail site.
Below are products that I used for this project.


0 comments
I'd love to hear your thoughts!