Delivery From the North Pole: Postcard and Wax Seal Mini Album Tutorial
Prima and Santa have a special delivery for you! Remember the ingenious wax moulds in the Lost in Wonderland collection? Well now there is a special add on wax seal mould for From the North Pole! So let's make a postcard and envelope mini album with them!
Prima Marketing and The 3 Girls Tale has an add on to their From the North Pole collection and it is a wonderful wax seal mould. If you don't want to invest in lots of expensive wax seal stamps, or you find that you just aren't getting the results you want with stamps, these moulds are a great alternative because you get a perfect impression each time! (I've got a full list of the supplies used linked at the bottom of this post.)
So let's dive into this mini album tutorial using the new mould and the Postcard Kit from this festive collection.
Start by creating the cover and the waterfall hinge mechanism from a single sheet of 12x12 paper from the collection:
- Cut one cover piece to 9.5 x 5.5 inches and then score at 3.75 and 5.75 inches.
- Cut a second cover piece to 8.5 x 5.5 inches and score at 2.75 and 4.75 inches.
- Cut the 2.75 inch section on that second piece into a triangle to mimic an envelope (I started my cut on each side at bout 1.5 inches from the score line).
- Then cut the waterfall mechanism to 3.5 x 5.5 inches and score at: 0.5”, 0.75”, 1”, 1.5”, 1.75”, 2”, 2.5”, 2.75”, 3” and 3.5”
Fold and assemble the 2 mini album cover pieces, overlapping the two 3.75 inch sections as the back of the cover. Then fold and glue the waterfall mechanism to the left binding.
Notch the ends of each upward section of the waterfall mechanism at an angle. Then glue 3 of the envelopes in the Postcard Kit to the waterfall binding.
Use some sticky Velcro dots to keep the envelopes and the cover of the album closed. Then add a wax seal mould to each envelope and the cover. I used Liquid Acrylics and Wax to color the resin moulds and highlight the texture.
Chose 3 of the postcards from the Postcard Kit and decorate them with other elements from the collection, such as rub ons, stickers and ephemera and little notched flags cut from patterned paper (the strips you cut off the tops of the paper are perfect for this).
Then do the same with three 3x4 Journaling Notecards and some additional patterned paper cut to fit inside the envelopes. I plan on adding some photos to this later that I'll take this coming holiday season!
Finally, add some pretty florals and ephemera to the front of your album! And that's a wrap on this festive little mini album using the new Letters from the North Pole wax seal mould. Until next time, happy crafting!
Adrienne
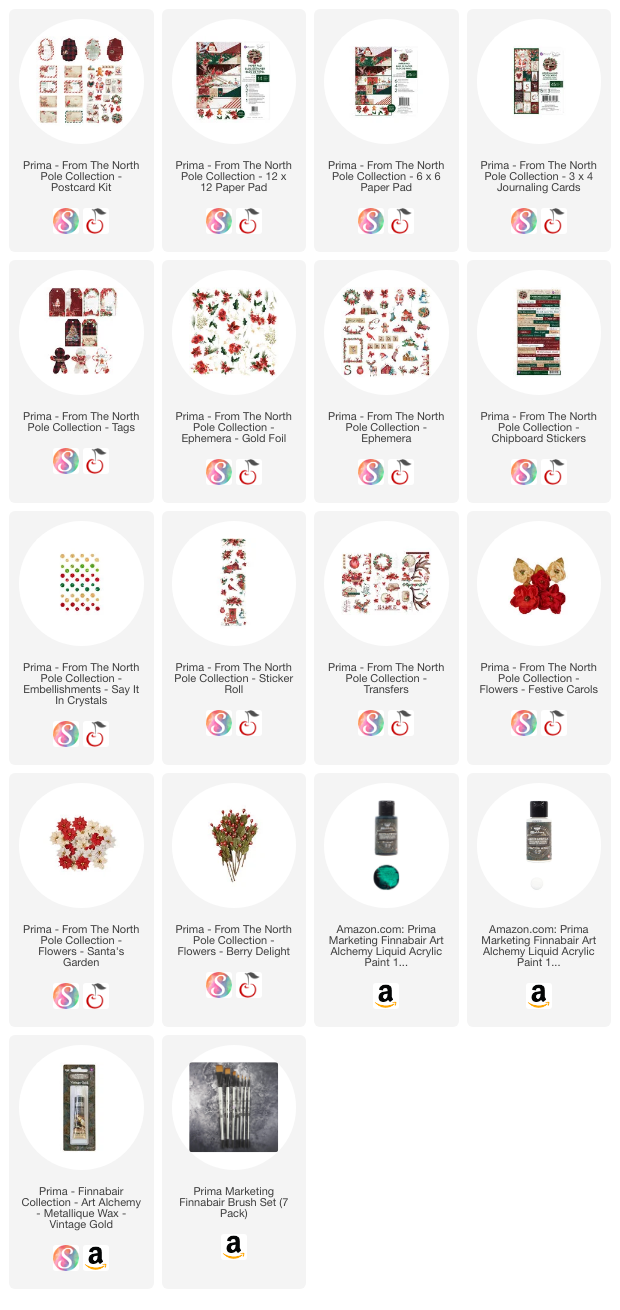
Shop the Supplies:
Note: I'll add the new wax seal mould as soon as it becomes available from an online retailer!
Scrapbook.com, A Cherry On Top, Spellbinders, Sizzix & Amazon
I am an affiliate with multiple companies. When you shop the links below, I receive a small commission from the affiliate, at no additional cost to you. This helps me balance the costs of the time and love I put into my projects and blog so I can continue to share my ideas with you for FREE. If you shop the links, thank you! I greatly appreciate it.
You can also use the code adrienne15 for 15% off your order on the Prima Marketing Retail site.
Below are products that I used for this project.


0 comments
I'd love to hear your thoughts!