
Blissful Beetle: Dark Academia Mixed Media Tutorial
It's all Halloween vibes over here right now and "Goth Adrienne" has come out to play! I've always wanted to make a beetle; you know the kind, with the iridescent blue-green body. Check out the supplies you'll need for this project, plus how I altered it!

Hello, crafty friends! Ever since the Nature Academia collection was released earlier this year, I've had a hard time getting "Goth Adrienne" to hibernate again, but luckily, it's officially Spooky Season in the crafting world so she's allowed out in full force now. And to celebrate my favorite time of year with Prima, my first dark hued project of the season with the team is this gold and blue-green altered beetle MDF shape. (You can shop my supply list at the bottom of this blog post.)

Let's get right into this tutorial!
I started out by covering all three layers of this beetle with Finn's Heavy Black Gesso. Once dry, I sponged the White Gold Icing Paste onto the bottom layer. For the second layer of the beetle, I painted it with Finn's Emerald Green Metallique Acrylic Paint.

I also used this paint to cover some Redesign Moulds. Now this paint isn't an Opal Magic Paint, but it does have a bit of a shift when you put it over white. Because these moulds were made with white resin, the paint appeared more blue than green, whereas on the second layer of the MDF beetle, the paint appeared more green as it was over black. I think this is really cool and why I chose this paint for my beetle! Then I sponged some of the White Gold Icing Paste onto the highlights of the mould.

For the top layer of the beetle, I used some of Redesign's Modeling Material to build up the abdomen of the beetle to make it more 3D. I simply shaped the material to fit the top layer of MDF then used the angled edge of a paintbrush handle to draw lines into the abdomen. I used Soft Matte Gel to attach the 3D abdomen to the MDF shape, then painted it with Black Gesso to match. After that dried, I sponged on the White Gold Icing Paste.

I glued the 3 layers of the beetle together with liquid adhesive. I used some tiny bits of painted cardboard covered with Nature Academia flowers to pop up the moulds on either side of the abdomen.

Then I layered on black and green flowers, lace, and some fussy cut labels from the Nature Academia 12x12 paper pad. The finishing touch was adding some glitter and crystals!
I hope that you enjoyed this tutorial and learned a fun way you can use Redesign's Modeling Material to create 3D elements to your projects. Until next time, happy crafting!
Adrienne
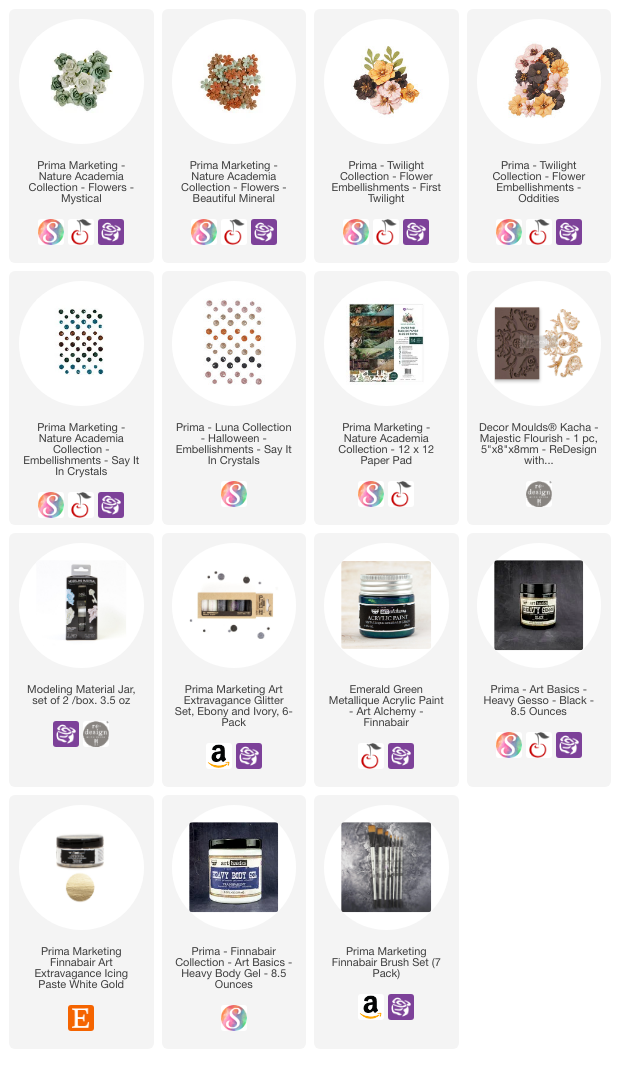
Shop the Supplies:
Scrapbook.com, A Cherry On Top, Spellbinders, Sizzix & Amazon
I am an affiliate with multiple companies. When you shop the links below, I receive a small commission from the affiliate, at no additional cost to you. This helps me balance the costs of the time and love I put into my projects and blog so I can continue to share my ideas with you for FREE. If you shop the links, thank you! I greatly appreciate it.
You can also use the code adrienne15 for 15% off your order on the Prima Marketing Retail site.
Below are products that I used for this project.


0 comments
I'd love to hear your thoughts!