
Handmade Holidays: 3 Floral Christmas Card Ideas
How could you go wrong with floral inspired Christmas cards? They really do stand out from the crowd! Let's take a closer look at these 3 floral Christmas card ideas.

Hello, crafty friends! I recently received the Spellbinders Handmade Holidays Cardmaking Kit and I absolutely adore all the floral elements in this kit. So I decided to make a bunch of floral inspired Christmas cards using the kit, plus some of the add ons you can get a la cart. Let's get into it!

Glimmer Flower Background Card
This first card uses a few floral elements. The first is the Winter Rose Background BetterPress Plate to create a foiled background. The second are some of the pretty floral ephemera pieces from the Handmade Holidays Cardmaking Kit.

- Cut a piece of dark green cardstock from Kit to an A2 size.
- Foil a piece of the bright red cardstock using the Winter Rose Background BetterPress Plate and Red Glimmer Foil; trim to 4 x 5.25 inches.
- Glue the red foiled cardstock to the green cardstock
- Using foam adhesive, adhere the ephemera sentiment piece and some of the floral ephemera sentiment pieces from the Kit to the center of the card front.
- Pop on a few of the gems from the Kit.

Tip: Brush the entire surface of the red cardstock with an antistatic brush or pad before foiling. This will help cut down on over-foiling.
Snowflake Flower Card
What are snowflakes if not icy flowers? For this card, I paired the small poinsettia die from the Delivering Joy Sleigh die set with the Delicate Snowflakes die.

- Cut a pice of the blue cardstock from the Kit to an A2 size.
- Emboss a piece of white cardstock from the Kit using the Tiny Dots embossing folder, trim to 4 x 5.25 inches.
- Adhere the white embossed cardstock to the blue cardstock.
- Die cut the snowflakes from white and silver cardstock pieces from the Kit and adhere together with liquid glue.
- Die cut the poinsettia die 4 times from some of the blue cardstock and glue 2 layers together at the center using liquid glue.
- Cut 2 of the leaf sprigs from the white cardstock.
- Glue the snowflakes onto the card front, creating a triangle.
- Add the poinsettias and leaf sprigs to the center of 2 of the snowflakes then pop a gem from the Kit onto the centers.
- Add a sentiment from the ephemera pack over the third snowflake with foam adhesive and sentiment sticker to the bottom of the card.
- Add on some of the sequins from the Kit using liquid adhesive.

Tip: When gluing the white cardstock to the silver cardstock, be patient. Foiled cardstock is slippery and it will take a few more moments for the glue to dry. Place the glued snowflake layers under an acrylic stamping block to press the pieces together well. Fluff the flower petals for a little added dimension.
Stitched Flower Card
Pair up your kit elements and the poinsettia die from the Delivering Joy Sleigh with stitching dies in your stash. I used the April 2024 Stitching Die of the Month, Stitched Wall Hanging (which as of writing this you can still buy a la cart--I've linked it below).

- Cut a piece of the white cardstock from the Kit to an A2 size.
- Emboss a piece of the green cardstock with an embossing folder--I used the April 2024 Embossing Folder of the Month, Faux Stitched Petals (which you can also get a la cart as of writing this--check out my product list below).
- Die cut the embroidery hoop from the kraft brown paper in the Kit using the 2 oval dies and the embossing plate that goes in between.
- Die cut the largest oval from white cardstock and the smallest oval from the evergreen patterned paper from the paper pad in the Kit.
- Die cut the top of the embroidery hoop from gold foil in the Kit.
- Glue all of the layers of the embroidery hoop together using adhesive roller and liquid glue.
- Die cut the 2 stitched flowers from the dark red cardstock in the Kit twice each; stitch them using the red floss from the Holiday Metallic Thread bundle.
- Die cut the poinsettia from the bright red cardstock in the Kit 4 times, gluing 2 each together with liquid adhesive.

- Pop the 2 poinsettias onto the larger stitched flower centers.
- Add gems from the Kit to the centers of the 4 flowers.
- Die cut the leaves from the Stitched Wall Hanging die and the evergreen bough from the Delivering Joy Sleigh die from the green cardstock.
- Using the Handmade Sentiments die, foil one of the sentiments using Green Glimmer Foil.
- Die cut the sentiment with the coordinating banner die.
- Pop the embroidery hoop onto the card base with foam adhesive.
- Glue down some of the long ephemera pieces to the top right of the embroidery hoop--I used one flag and one rectangular piece that I notched a flag into with scissors.
- Glue down the flowers and greenery using using foam adhesive and liquid glue.
- Adhere the foiled sentiment with foam adhesive.
- Pop on the cardinal ephemera piece and the tiny gold bow puffy sticker from the Kit.

Tip: Curl the notched ends of the flag banners by pulling the ends between your fingers. This will add additional dimension to your piece. Then be sure to only glue the banners at the top, where they get tucked under the flowers.
I hope that you enjoyed seeing these 3 floral Christmas card ideas and the tutorials for each. Until next time, happy crafting!
Adrienne
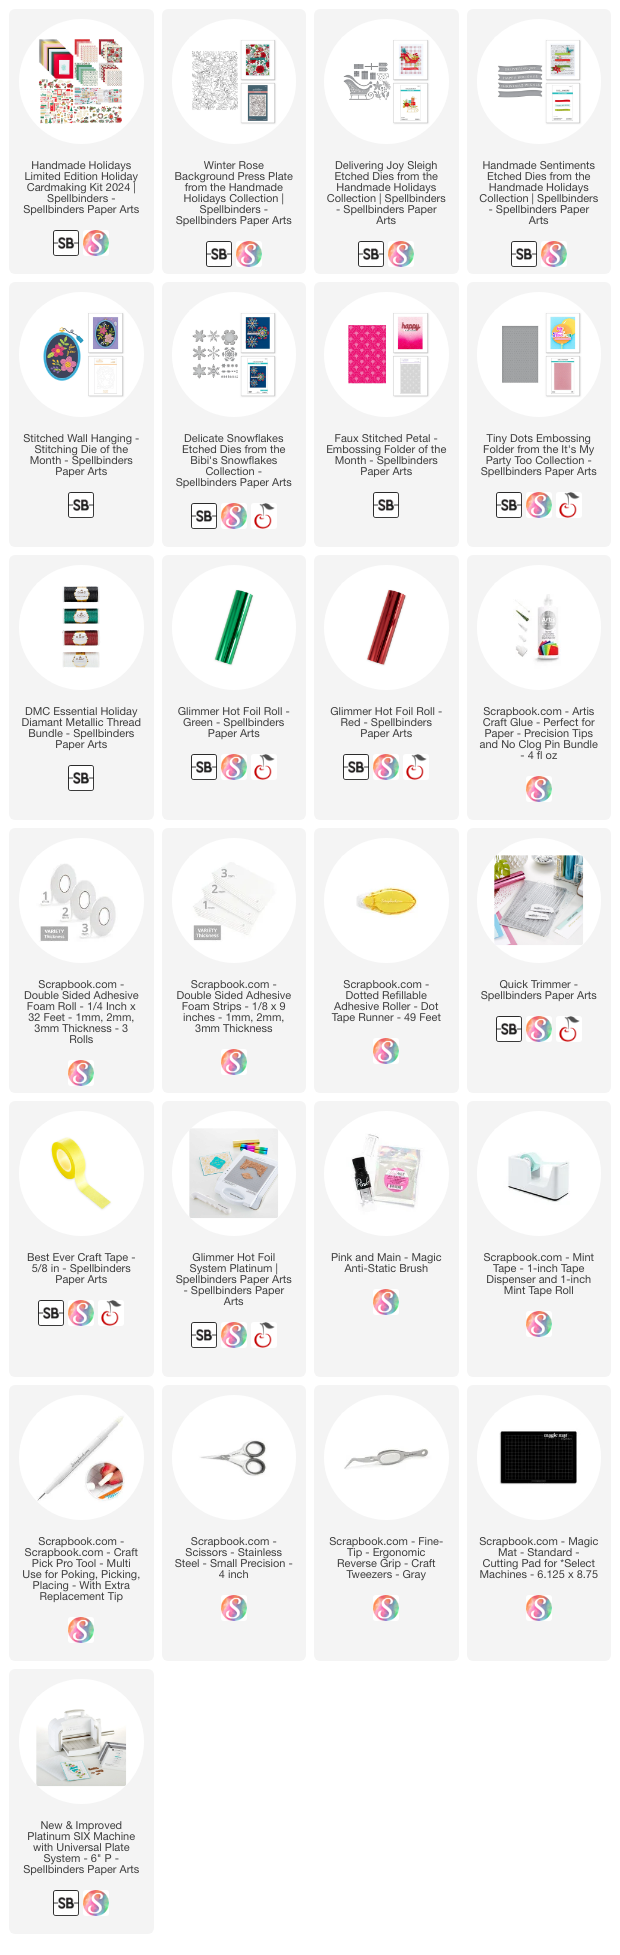
Shop the Supplies:
Scrapbook.com, A Cherry on Top & Spellbinders
I am an affiliate with multiple companies. When you shop the links below, I receive a small commission from the affiliate, at no additional cost to you. This helps me balance the costs of the time and love I put into my projects and blog so I can continue to share my ideas with you for FREE. If you shop the links, thank you! I greatly appreciate it.
Below are products that I used for this project.


0 comments
I'd love to hear your thoughts!