Easy Mixed Media Mini Tag with the New Desert Rose Sidekick
Today I’m welcoming the Sizzix Desert Rose Sidekick with a fun mini tag tutorial!
Hey, crafty friends! Sizzix has a variety of die cut machines to suit every budget and need, from the fancy auto-feeding Big Shot Switch to the mini Sidekick. This summer, the Sidekick got a glow-up! Sizzix just released the Desert Rose Sidekick, a limited edition deep coral/terracotta color .
When the Sizzix Design Team members were offered the option to get the Desert Rose Sidekick, I raised my hand because while I have a lot of die cut machines, I didn’t yet have the Sidekick. And let me tell you, I love this mini but oh-so-powerful die cut machine!
If you are on the fence about getting a Sidekick, let me tell you what I love about this machine:
- Its compact size means you can leave it out on your craft desk without it taking up a ton of room.
- The compact size also means that if you have a small space, you can still have a powerful die cut machine that can handle small dies, and you can easily store it.
- The small size means you can easily take it to crops with you!
- While it may be small, it still packs a punch! The vacuum seal base function allows you to attach it to your desk or crafting surface so it doesn’t move around while you are using it. Even my 5-year-old niece can wield this mini machine with ease!
- It can also emboss small regular texture fades.
- You can use it apply rub on transfers to small projects, like mini tags (like I did with this project)!
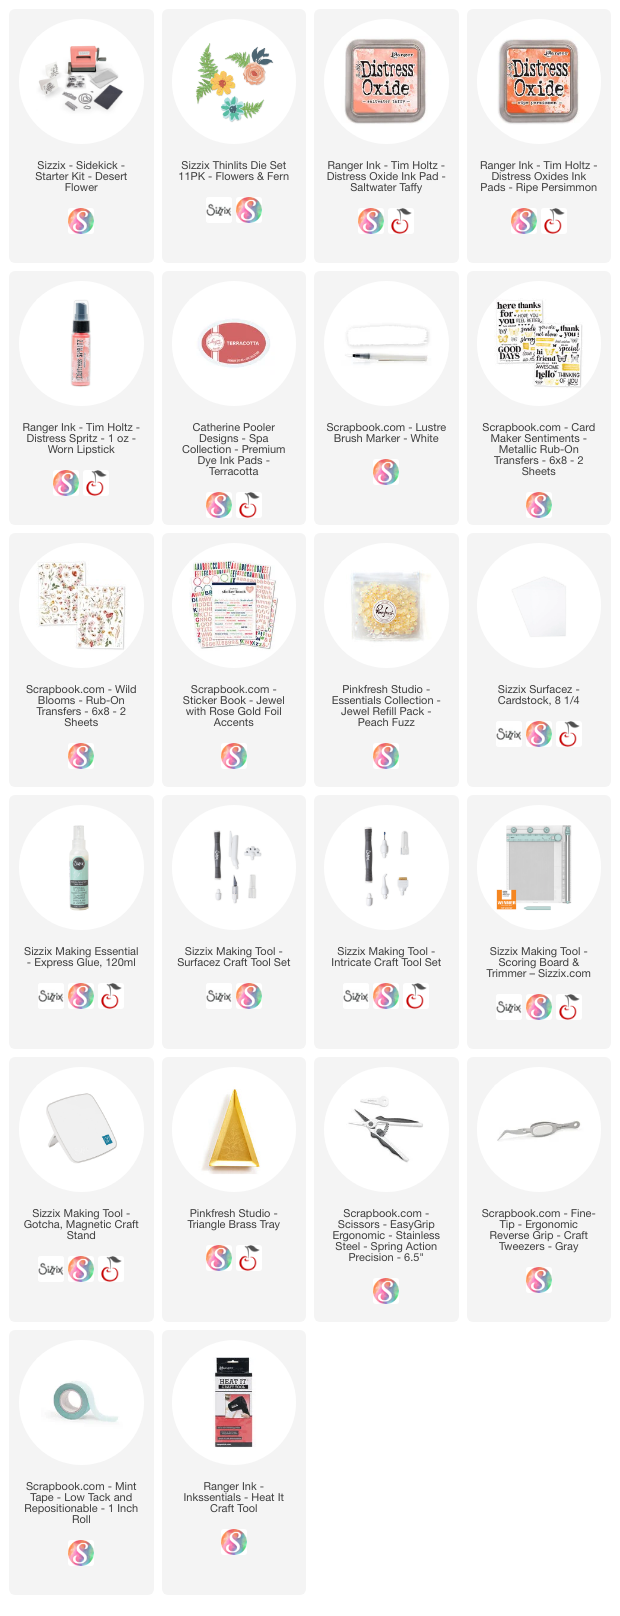
Now let's get into the quick and easy tutorial using the new Desert Rose Sidekick! (You can shop the full list of products used in this tutorial at the bottom of this post.)
- Using the Sizzix Scoring Board and Trimmer tool, cut a piece of smooth white cardstock to 2.5 x 4 inches, then notch the corners and add a hole at the top using the punches.
- Squish some Saltwater Taffy Distress Oxide onto your glass craft mat and spritz it with water; smoosh your tag into it, drying between layers with a heat tool.
- Use the same smooshing technique to create backgrounds for die cutting using Saltwater Taffy, Ripe Persimmon, and Catherine Pooler's Terracotta inks.
- Add a hint of shimmer to your tag with a bit of Worn Lipstick Distress Spritz.
- If needed, roll your dry tag through your Sidekick with the 2 cutting plates to flatten the tag out.
- Die cut the rose and small fern sprig from the Flowers and Fern die from some of your backgrounds and glue together the layers with liquid Express Glue.
- Die cut the flag banner from the die set included with your Desert Rose Sidekick from one or two of the backgrounds you created--I used the Terracotta background and some peachy patterned paper from Prima Marketing's The Plant Department 6x6 paper pad.
- Apply rub on transfers from Scrapbook.com's Wild Blooms and Cardmaker Sentiments, running the transfers on your tag through the Sidekick to apply them. (Pro Tip: Apply a few at a time so you can layer the rub ons over one another.)
- Glue your die cuts down to your tag using liquid and foam adhesive.
- Splatter your tag with the White Lustre Brush from Scrapbook.com then add a sticker from their Jewel sticker book.
- Add some trims to your tag.
This sweet little tag is perfect for adding to a gift for that personalized touch!
I hope that you enjoyed this easy and fun mini tag tutorial! Don't forget to pick up your Desert Rose Sidekick--it is limited edition, so once it's gone, it's gone. Until next time, happy crafting!
Adrienne
Shop the Supplies:
Scrapbook.com, A Cherry On Top, Spellbinders, Sizzix & Amazon
I am an affiliate with multiple companies. When you shop the links below, I receive a small commission from the affiliate, at no additional cost to you. This helps me balance the costs of the time and love I put into my projects and blog so I can continue to share my ideas with you for FREE. If you shop the links, thank you! I greatly appreciate it.
Below are products that I used for this project.


0 comments
I'd love to hear your thoughts!