
Storytelling by Spellbinders: Scrapbook Layout Ideas Using the Stitched Petal Bloom Die
Spellbinders has released a brand new line geared toward scrapbookers. Here are some layout ideas using the Stitched Petal Bloom Etched Die from the Storytellers line.

Hey, crafty friends! I’ve been working on some things behind the scenes for a while now on behalf of Spellbinders that I’m finally able to share with you all! Earlier this month, Spellbinders released their Storytellers line, a line geared specifically toward scrapbookers. This first release is filled with a variety of great staples, including titles about friends and family, and even a few Disney inspired dies!

Many of the dies in this line are pretty versatile and can also be used on cards as well, but the Stitched Petal Bloom die was designed specifically for a 12x12 layout. However, if you like to also make cards, be sure to check out a few of my card ideas using this die. But let’s talk about these two layouts first. (You can shop the full list of supplies for both layouts and cards at the bottom of this blog.)

Let’s talk about the Mom & Me layout first. This uses all the dies in the Stitched Petal Bloom die. There are 7 segments of this flower so you can totally do a rainbow with this die! But I decided to go with a monochromatic scheme for the petals.

I started out by cutting the base layer of the petals from the pink and white polka dot patterned paper in the Adventure Prints pack. Then I cut the stitching layer of the petals from some Dahlia cardstock. The center layers were cut twice each from the Barely Peach and the Brushed Gold cardstocks, one layer with the stitching holes and one without.
I also die cut the letters to make “mom & me” from the Stitched Alphabet dies from the same Barely Peach and Brushed Gold cardstocks.

I did all of my stitching on the petals and letters while watching TV one night. The flower petals were stitched with the Dark Dusty Rose floss from the DMC Warms pack. I think I had used this floss color on previous projects, and I ran out of floss while working on these petals, but I think this die would take about 1 skein of floss if you use a single color like I did. I used the Very Light Desert Sand floss from that same Warms pack to stitch on the letters. Then I used the Gold Diamanté Grand floss for the center of the flower.

I paired this layout with some sentiments from the Friends Press Plate set using the Garnet Ink from the Jet Set BetterPress ink set. I also die cut a couple of flowers and leaves from the Bayfair Floral Spray die set.

All that was left was to assemble everything on a white cardstock base. For those that haven’t used stitching dies before, I find that foam adhesive is great for gluing stitched layers together. I glued the stitched circle center of the flower to the non-stitched cut, and the same for the peach center. I find this just gives more stability to these layered parts of the die. I glued the petal base layers down, then added all of the stitched layers on top.

I added my title then the photos, matted on white cardstock. I stuck down the BetterPress sentiments with some foam adhesive. I added the Bayfair flowers and ephemera from the Heartfelt collection as well as some buttons from the Bayfair collection. The finishing touch on this layout was adding some gold gems and some pink enamel dots!

Now for the Family layout. This uses the center layers of the Stitched Petal Bloom die without the 7 segments. I cut three of these out from Mirror Gold cardstock and the Mahagony and Crimson cardstocks. I cut several of the leaves from the Forest cardstock. I did the same for these cuts as I did with the other layout—cutting out both pieces with the stitching holes and without for stability for layering.

I used the Gold Diamanté Grand floss to stitch these flowers and leaves. And again, I stitched all these while watching TV. If you haven’t done much stitching on dies, just know that the metallic threads like this one are a little harder to work with. They are slippery and so you have to hold your last stitch in place while working on the next one, so your hands may get a little more fatigued, but the results are well worth it.

From those same cardstocks, I cut florals from the Out and About Little Blooms die and the Build a Wreath die. I also cut the Family die from the Storytelling line for my title.

I tore a section of the striped paper from the Adventure Prints paper pack and adhered it to the center of a piece of white cardstock. I arranged and glued down my 3 photos, the title and all the flowers. I used a variety of adhesives here like I did with the other layout—roller adhesive, liquid adhesive and foam adhesive. To finish it off, I added green gems to the centers of several of the flowers and around the floral clusters.

Now let’s take a look at some cards you can make with this die! First up is this Friends card. I used the center portion of the flower die like I did with the second layout, pairing it with the Friends die from the Storytelling line as well as a BetterPress Sentiment.

The second card is a little different. Once I saw the petal segment from the Stitched Petal Bloom die, I couldn’t unsee the shape of a planchette from an Ouija board. I know a lot of people don’t like Ouija boards, but if you are into gothic or Halloween things—or know someone who is (like me), this is a fun and different card idea! I used the Everlasting Circles to cut out the window and placed a floral die behind the planchette shape. And of course I had to add a Hello sentiment like you find on an Ouija board.
And that’s it for this particular die I wanted to focus on from this new line. Until next time, happy crafting!
Adrienne
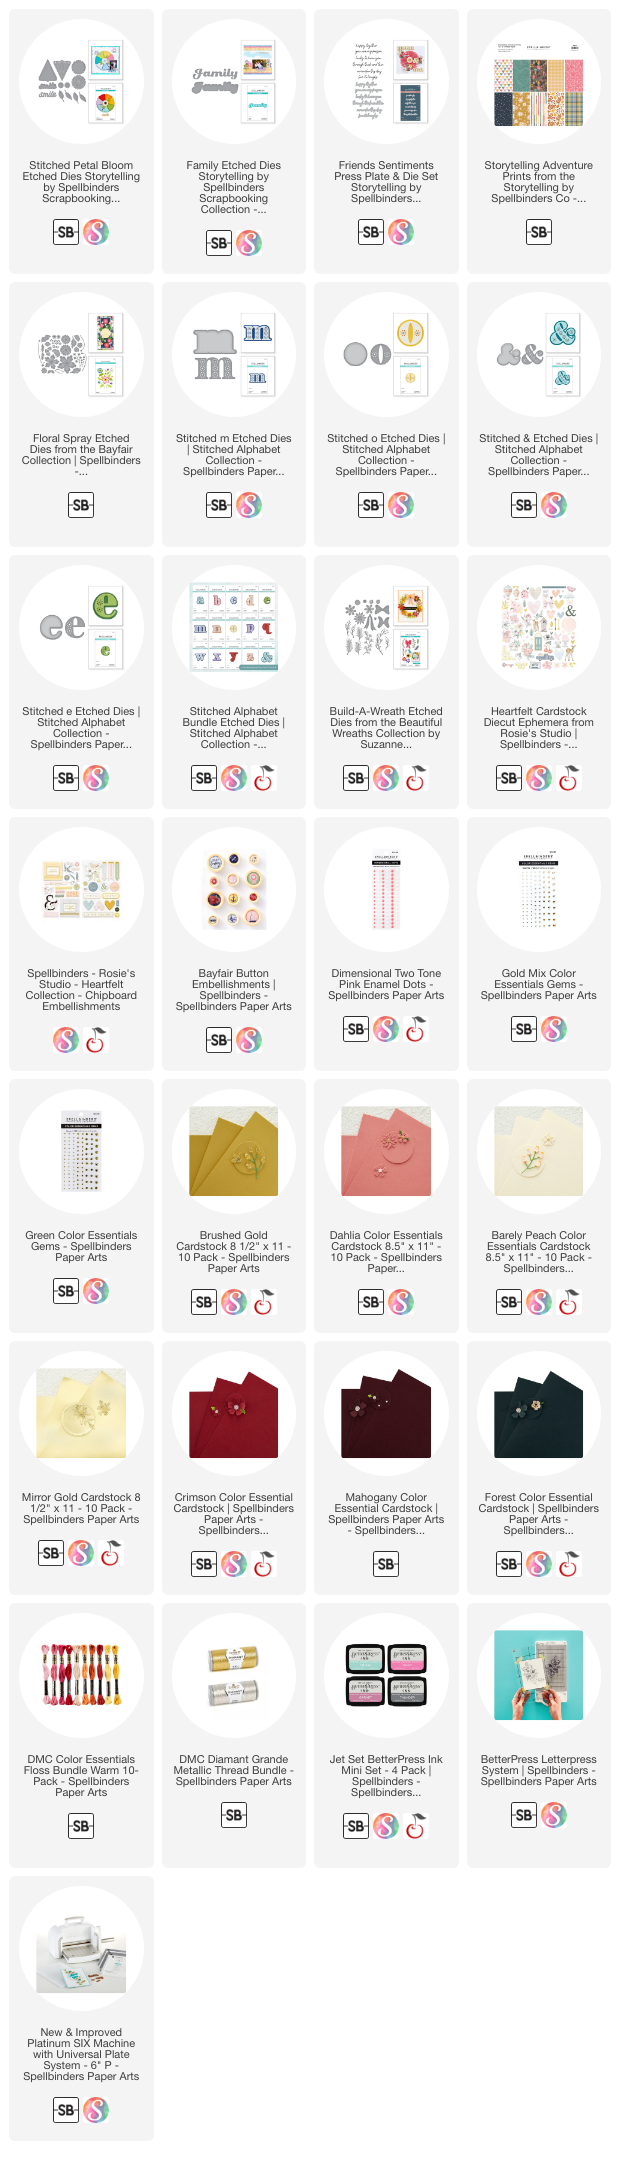
Shop the Supplies:
Scrapbook.com, A Cherry On Top, Spellbinders, Sizzix & Amazon
I am an affiliate with multiple companies. When you shop the links below, I receive a small commission from the affiliate, at no additional cost to you. This helps me balance the costs of the time and love I put into my projects and blog so I can continue to share my ideas with you for FREE. If you shop the links, thank you! I greatly appreciate it
Below are products that I used for this project.


0 comments
I'd love to hear your thoughts!