How to Soften Busy Patterns with This Easy Laying Technique
Peeps bunnies are one of the quintessential American Easter and springtime sweets.
I'm actually not a fan of eating the treats myself as they are just a bit too sweet for me, but I do love decorating with them around Easter time. They are perfect vase fillers! And my young niece loves them--she actually just loves marshmallows in general.
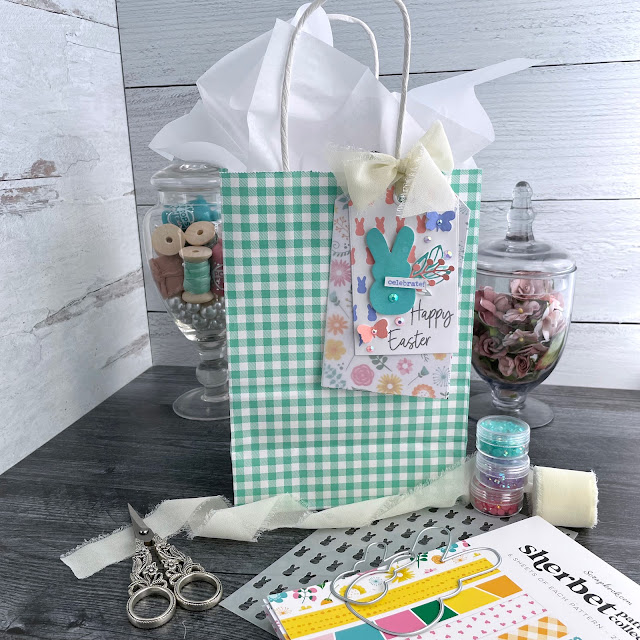
But what I love even more is the cute new Peeps stencil that Scrapbook.com sent me! Plus, it pairs perfectly with their Nested Peeps die. I wanted to utilize some lovely spring patterns from the Sherbet patterned paper pad, but I didn't want to overwhelm with too many busy patterns. I have a neat trick for that, so keep reading!
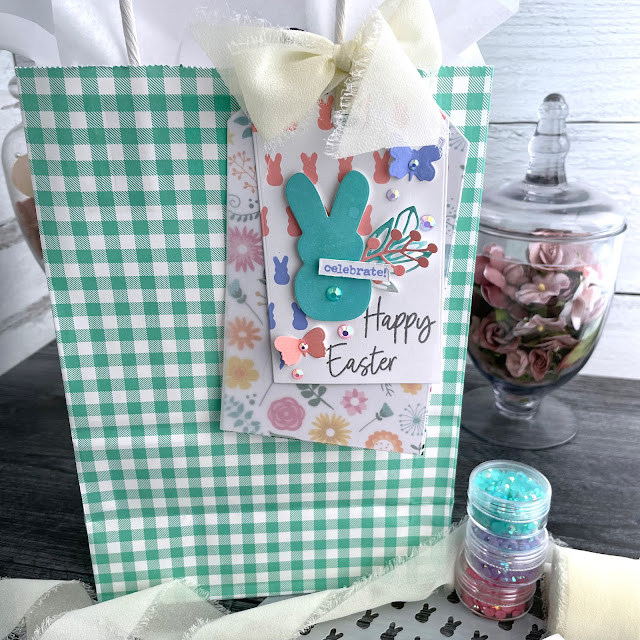
I've loved creating my cards on a diagonal so I thought I would try out creating a tag on a diagonal as well. Start by cutting out some tags using the Nested Tags die. Choose two sizes and cut the larger from vellum and a floral paper from the Sherbet patterned paper pad. The vellum is key to my layering trick, but more on that later. Cut the smaller tag from some white cardstock.
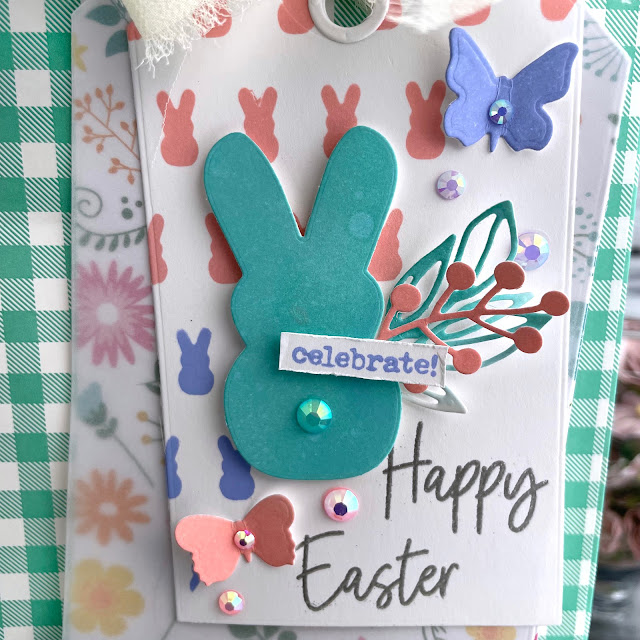
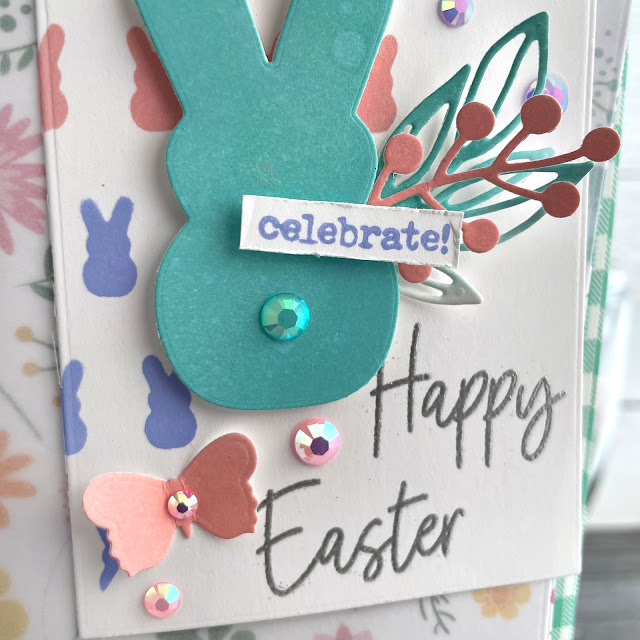
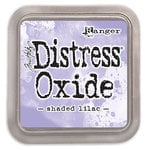
On the white tag, mask off the bottom right with 4" mint tape and place the Peeps stencil over the top. Hold the stencil in place with a little more mint tape and then blend two shades of ink through the stencil. I chose to use Distress Oxide in saltwater taffy and shaded lilac. Remove the stencil and mint tape and stamp a sentiment in the lower right with embossing ink and a silver embossing powder.
To make your embellishments, add ink to some more white cardstock. I used Oxides in salvaged patina and the same two I used for the stencil. I cut the Nested Peeps die and a Sprigs die from the salvaged patina, and another floral stem and some butterflies from the saltwater taffy and shaded lilac.
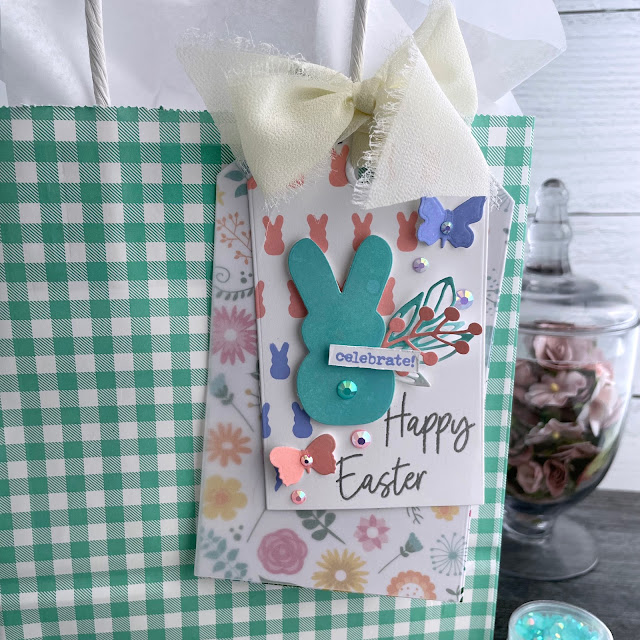
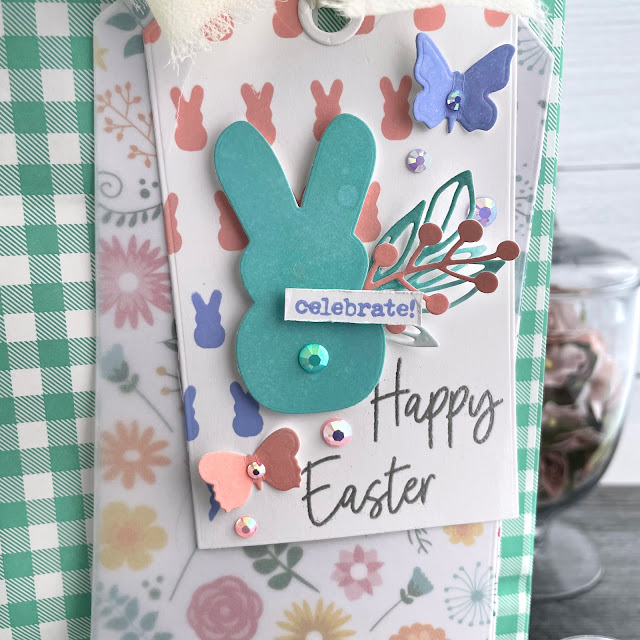
Adhere your bunny to the tag with some foam adhesive, tucking the floral sprigs and stems under the bunny with liquid adhesive. Gently bend the wings of the butterflies and then glue them down with a dot of liquid adhesive. Add on a stamped sentiment with some foam adhesive.
To cut down on the busyness of so many patterns, you can soften patterned paper by layering white vellum over the top of it. This is also a good trick for cutting back on the brightness of colors too. Layer the vellum over the floral tag and the bunny tag on top. This additional solid layer helps hide some of that pattern further cutting back on the busy feeling, keeping you from getting overwhelmed with the additional pattern of the stencil. Tie the two tags together with some pretty trim. Then add some jewels as a finishing touch to the tag. I chose some matching colors in aqua, purple and pink! Now all that's left is to attach it to a gift. Until next time, happy crafting!
Adrienne
Shop the Supplies:
Scrapbook.com
I am an affiliate with Scrapbook.com. When you shop the links below, I receive a small commission from the affiliate, at no additional cost to you. This helps me balance the costs of the time and love I put into my projects and blog so I can continue to share my ideas with you for FREE. If you shop the links, thank you! I greatly appreciate it.
Below are products that I used for this project.











0 comments
I'd love to hear your thoughts!