Mixed Media Monday: Salvaged Patina Altered Box
I don't have a favorite color but I do have colors I like to surround myself with. And one of those colors is blue-green. I love any shade of it and much of my home decor centers around the color.
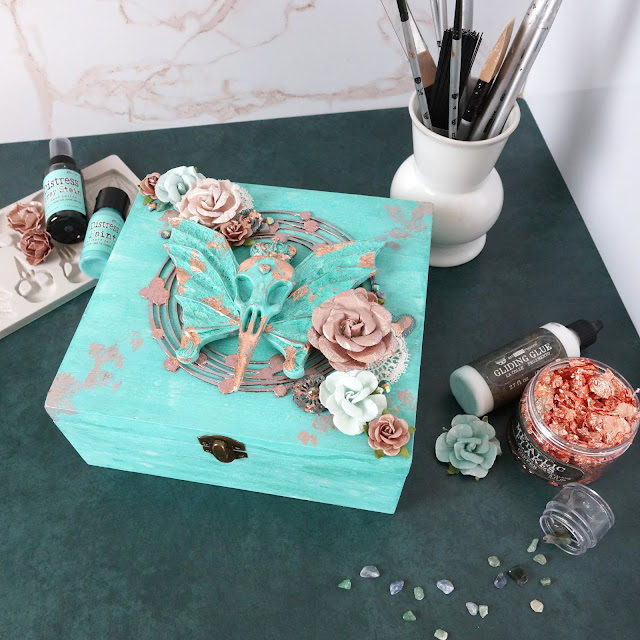
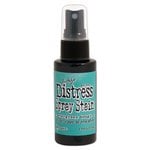
So it goes without saying that as soon as I saw the latest Distress color, I had to have it! Salvaged Patina is so gorgeous and I knew that my next mixed media project had to incorporate it. I may have made the majority of the project Salvaged Patina, but honestly, I'm not complaining.
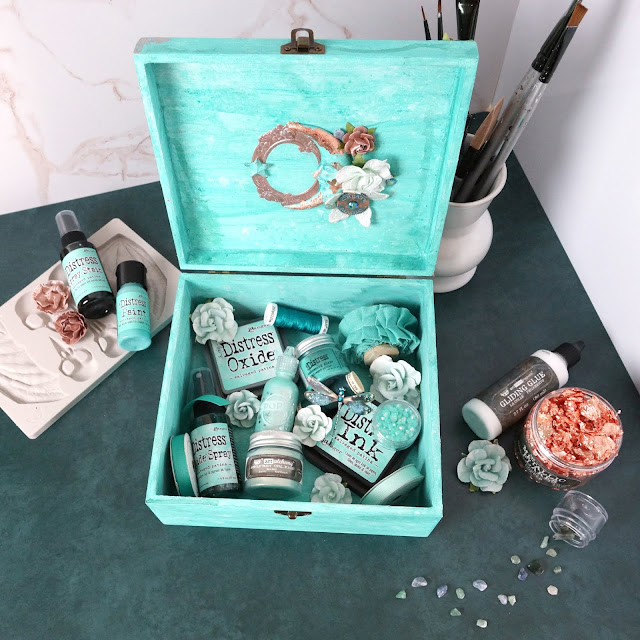
When I purchased Salvaged Patina I also bought the Prima Guilding Glue and Copper Flakes. Those items had been on my wishlist for quite some time and I didn't really think about how perfect the purchase was together until I unboxed my goodies!
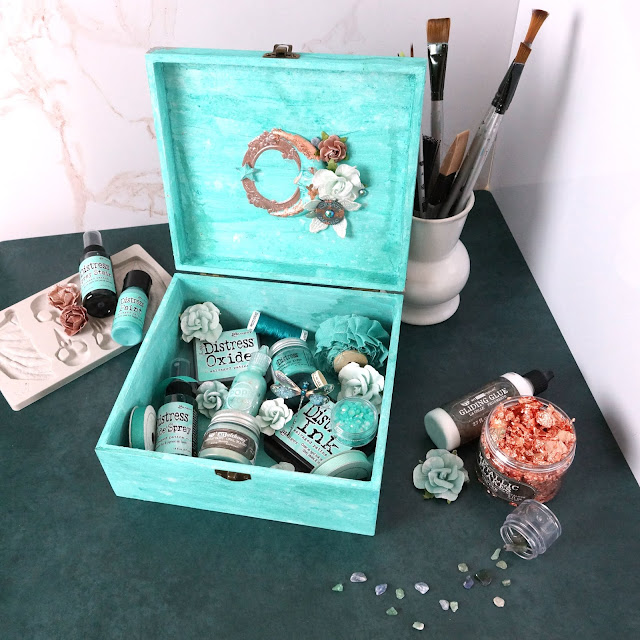
I had a wooden box that held a nice gift set of soy candles that I set aside for a mixed media project and because I love teal, I pulled this box out to create something I could use to hold goodies in my scrap room and fit in with my decor color scheme.
@alicescrapswonderland Salvaged Patina, I love you! ##mixedmedia box made with ##timholtz Distress & ##finnabair products. ##mixedmediaart ##distressink ##resin ##guilding ##patina
♬ Dreams (2018 Remaster) - Fleetwood Mac
I started by doing a resin pouring day. I pulled out a bunch of moulds and mixed small bath after small batch of resin and poured it into all kinds of moulds. It was my first time pouring resin and I think I did a pretty good job. And I can definitely see why when other pour resin, they do a whole bunch of moulds and to get a whole bunch done at one time.
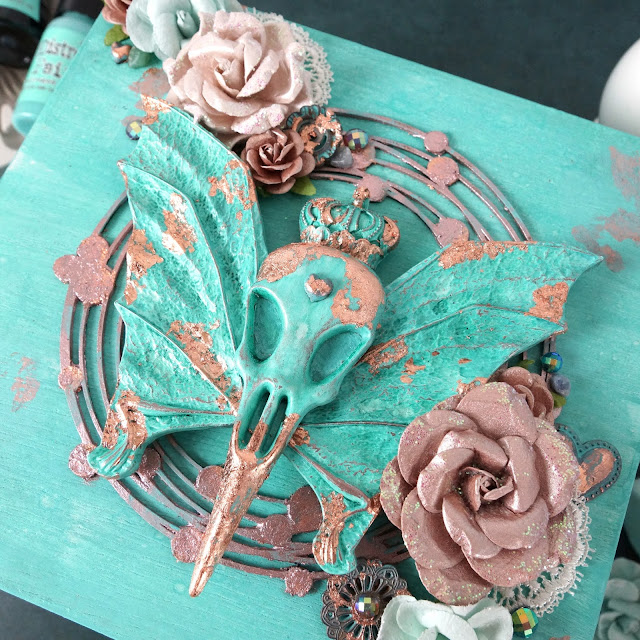
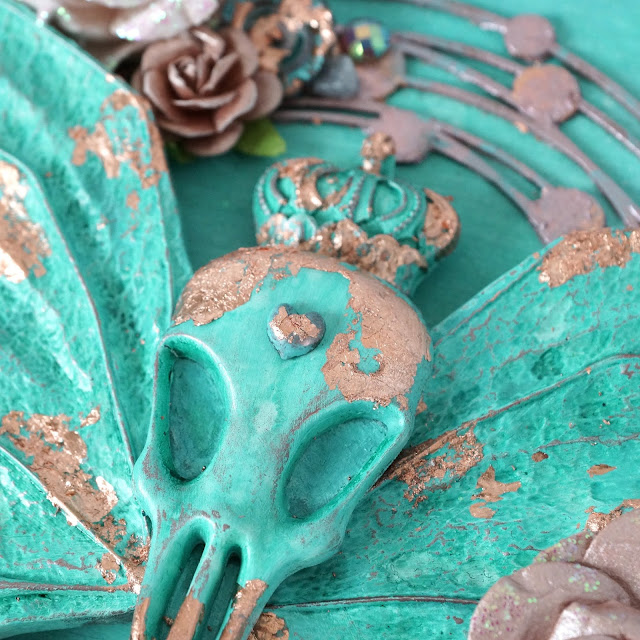
One of the moulds that I filled was the new Birds and Bats mould. If you have ever seen my projects around Halloween, you probably already know that I love ravens. I wanted to definitely include a raven skull in this project. I thought the pretty color of salvaged patina would contrast well with the macabre of the raven skull.
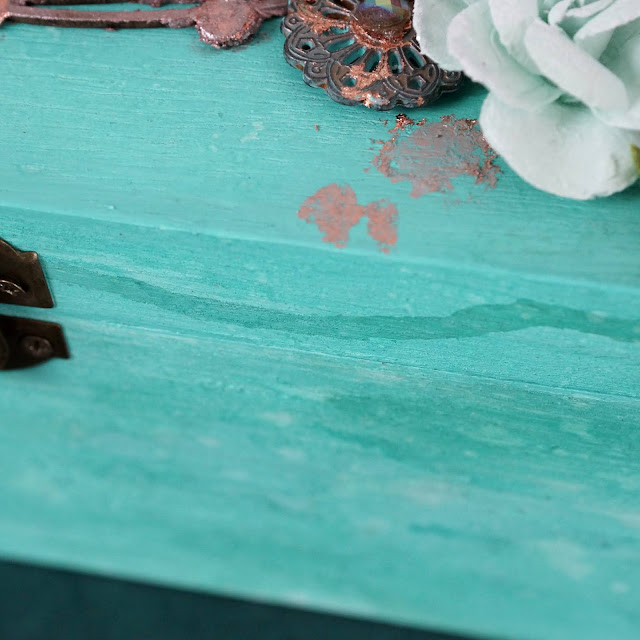
After getting my resin pieces, I first backed the raven skull with a piece of watercolor cardstock. I then began painting. I first covered the resin pieces and the entire box with white gesso (after removing and setting aside the hardware). Once the gesso was dry, I used the Salvaged Patina Distress Paint to cover the entire box and all the resin pieces. I would paint a little at a time and spritz with water to oxidize. This paint becomes permanent when dry so you won't get that cool oxidized effect if you spitz it with water droplets after the fact.
I left my box and resin pieces to dry overnight and then the next day, I started layering on different colors of Distress Spray Stains on the box to create a little depth. I used Speckled Egg, Evergreen Bough and threw in a little bit of Salvaged Patina for good measure! I sprayed with Distress and then spritzed with a little water to get the color moving. I dabbed off some of the excess and used the Ranger Heat tool to dry in between layers.
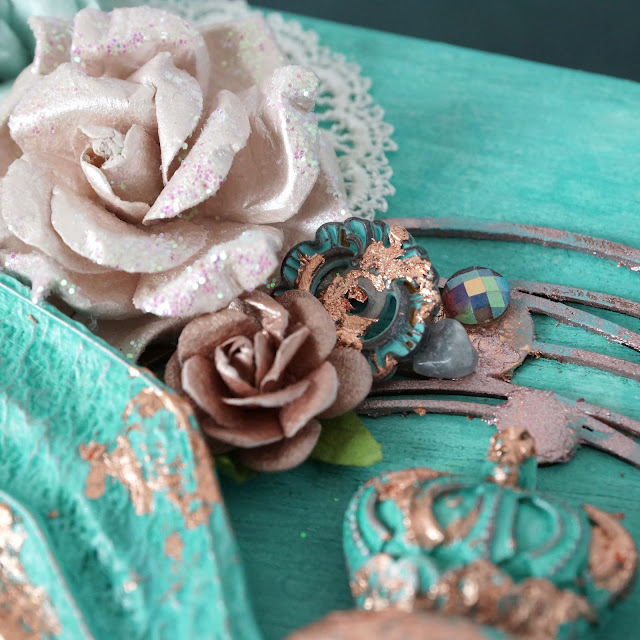
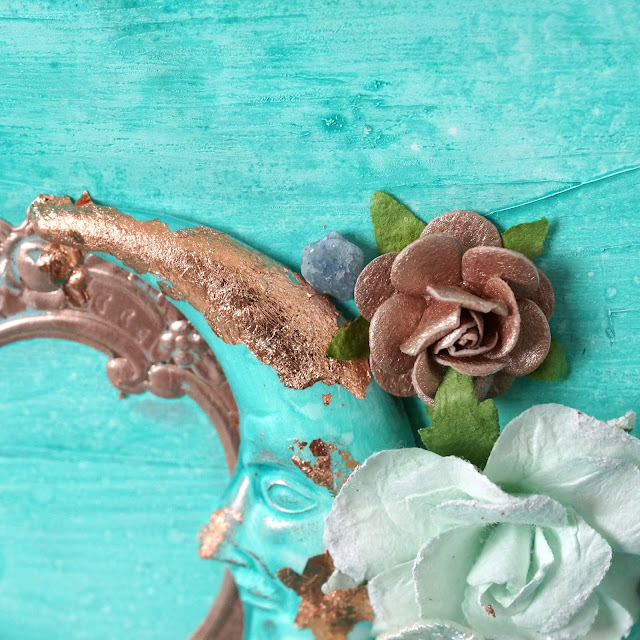
I also sprayed the resin pieces with Evergreen Bough, letting the color pool in crevices, dabbing off the excess. This helps create depth to the resin pieces as well. Once this dried, I added rose gold wax to the highlights of the pieces to add even more depth.
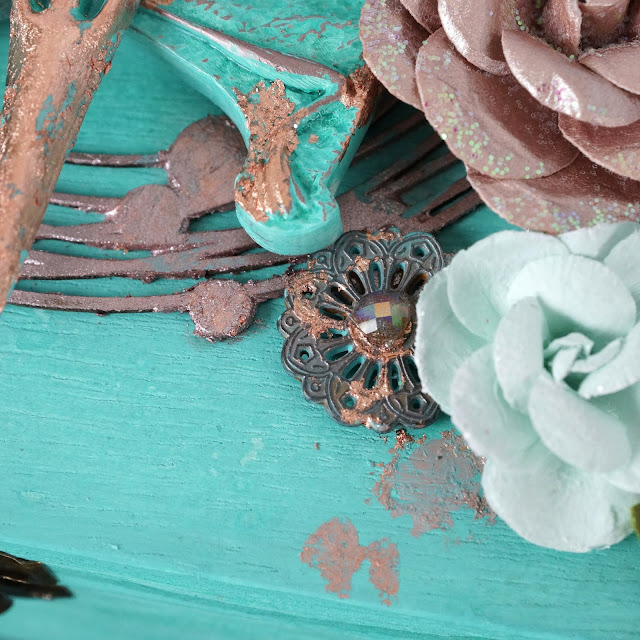
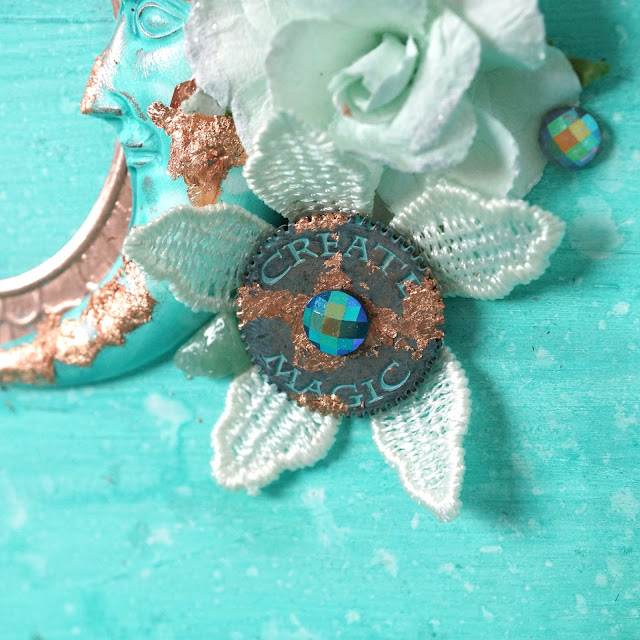
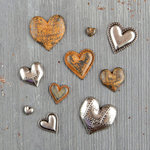
I then pulled out some Finnibair mechanicals and painted them with Salvaged Patina Distress Paint. I let the paint sit for about 30 seconds before wiping the excess of. The paint stayed in the crevices, adding a nice touch to the pieces. I also added just a touch of rose gold wax to these pieces as well.
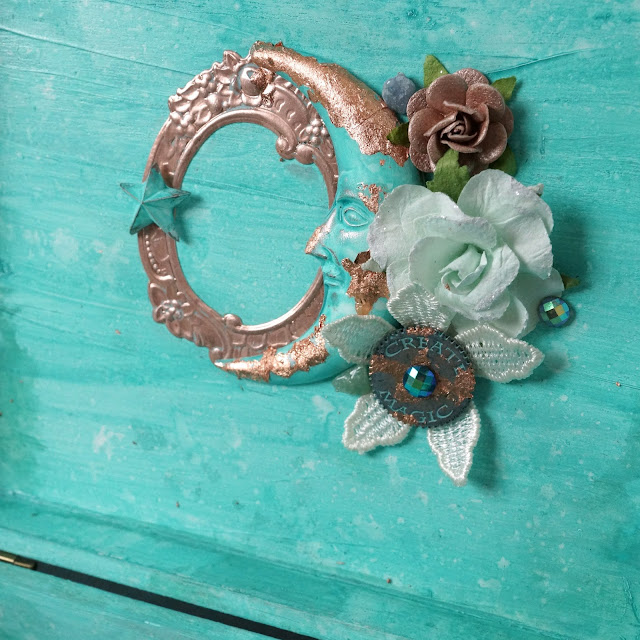
Next, I painted a chipboard frame with the Butterfly Spells acrylic paint. I also cut out the Impresslits Floral Frame from rose gold kraft cardstock. I used the Speckled Egg Distress Crayon, rubbing over the surface of the embossed frame in sections and rubbing it in with my fingers. Once I had gone around the entire frame, I rubbed off the excess. I then added the copper flakes to parts of the resin pieces and some of the metal elements.
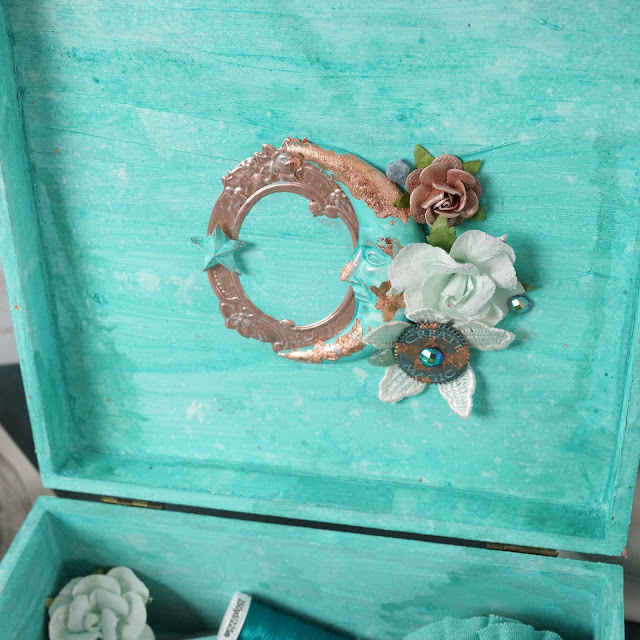
Then, I started glueing all the elements onto my box! I started by glueing the Impresslit frame, the moon, star, a mechanical and some flowers to the inside of the lid. Then I glued the chipboard frame, bat wings, raven skull, flowers and more to the outside of the lid. I added some gems and even some small tumbled rocks to both sides of the lid as well. Finally, I added a little bit of the flakes to the box, dabbing a thin layer of Salvaged Patina paint over the top to mute the metallicness of it, and then added the hardware back on the box.
I hope you enjoyed this mixed media project and my tutorial. If you haven't picked up Salvaged Patina yet, you definitely should. It is such a gorgeous color--and I'm not just saying it because I have a tendency to gravitate toward blue-greens!
Happy Crafting!
Adrienne
I am an affiliate with Scrapbook.com. When you shop the links below, I receive a small commission from the affiliate, at no additional cost to you. This helps me balance the costs of the time and love I put into my projects and blog so I can continue to share my ideas with you for FREE. If you shop the links, thank you! I greatly appreciate it.
Below are some of the products that I used or similar products.












0 comments
I'd love to hear your thoughts!