Grateful Mini Mixed Media Vignette
I love altering things for mixed media projects, but I always like to think outside the box. Rather than just covering something in paint or wax, I like adding paper or even just leaving something as is and making it part of the project.
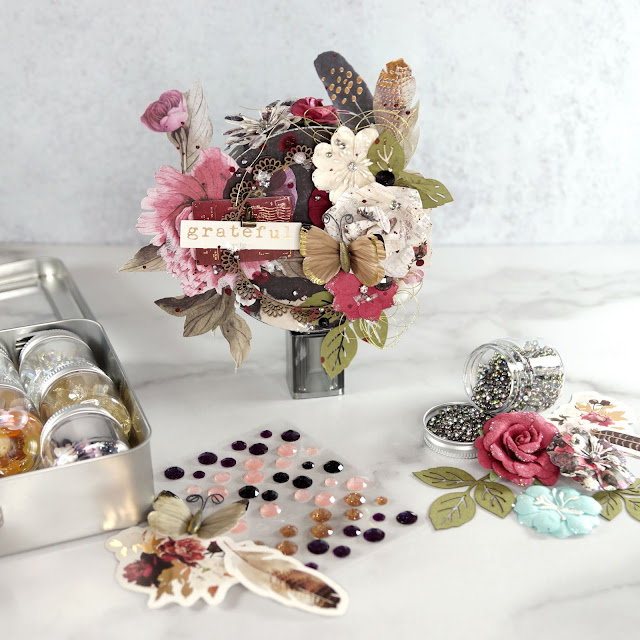
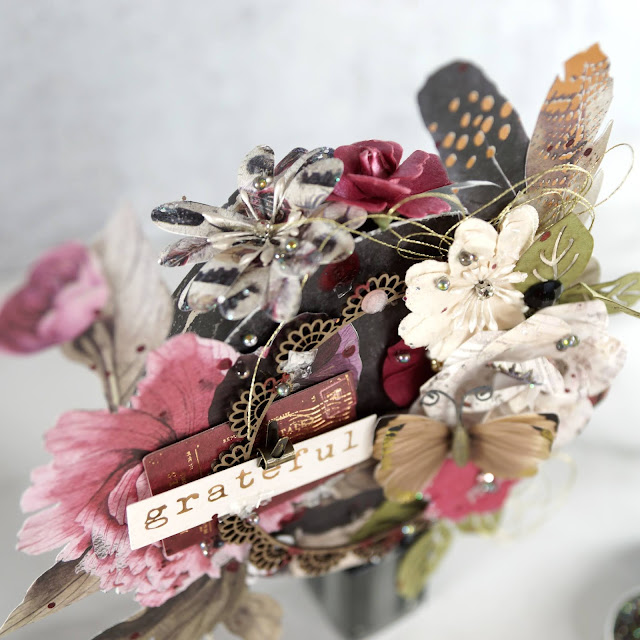
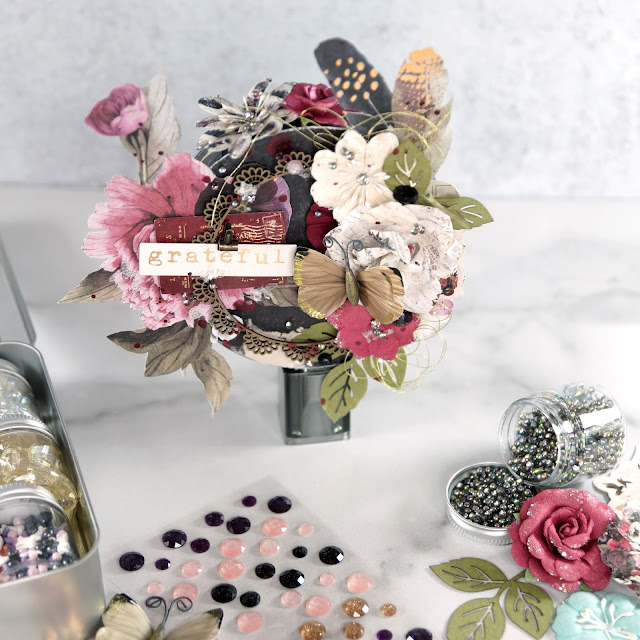
For this particular mini mixed media project, I used one half of a circular brie box and covered it in paper. I also used the top to an old Lancôme foundation as a pedestal for the project to sit on that I left untouched. The smoky gray color was a perfect match to the dark hues of Prima Marketing's Midnight Garden collection.
In my quest to use what I have, I not only dug into my supply of packaging and other elements for mixed media projects, but I also wanted to use an older collection that I have been hanging on to. I really need to stop hoarding paper...
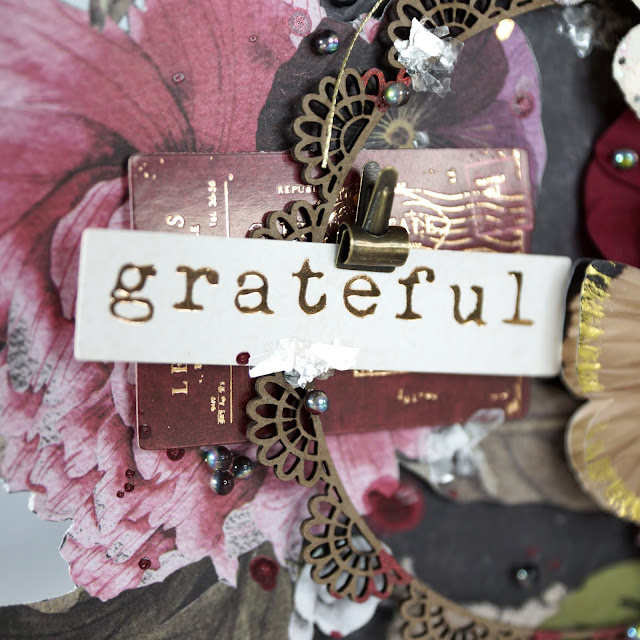
I love the darker colors and the "grateful" ephemera, both of which I think make this a perfect decor piece around Thanksgiving. But let's get into the tutorial of this pretty quick and easy mixed media project. What took me the longest was the fussy cutting, but other than that, this project was done in about an hour.
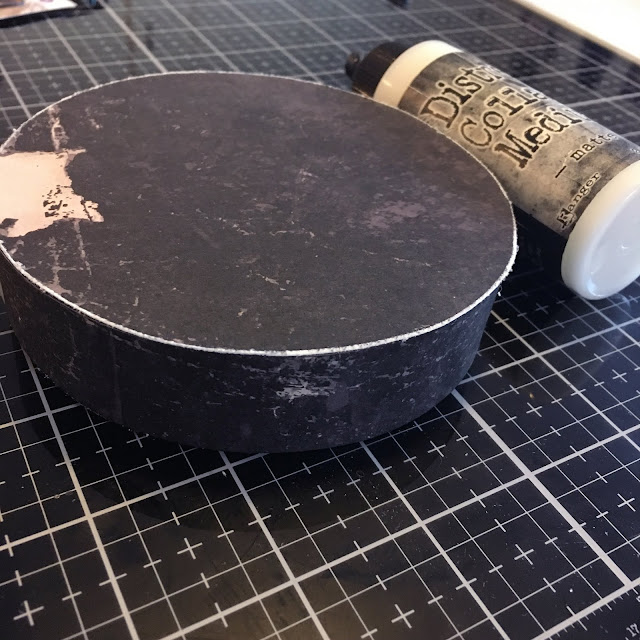
First I start by covering the brie wheel box with a layer of black gesso, just in case the paper I cut was a bit imperfect. I then used the box to trace out a circle for the front of the project and inside the box as well as measured the width of the sides and cut a strip of paper. I distressed the edges of the circles and then used Distress Collage Medium to glue the paper down to the box.
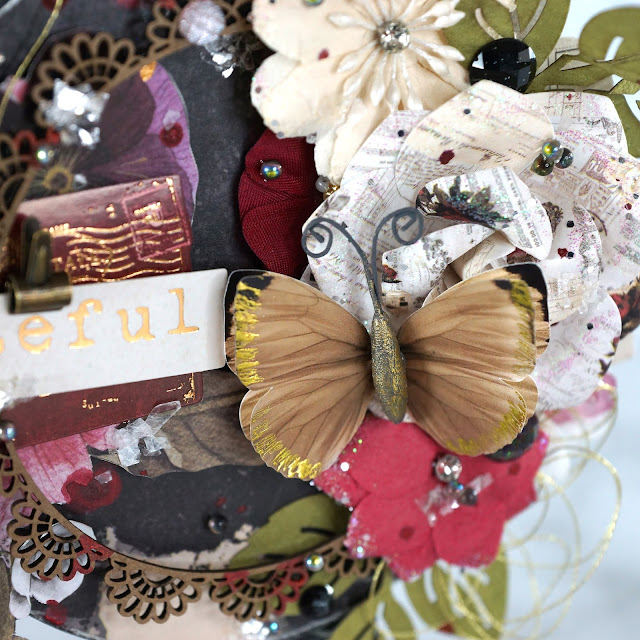
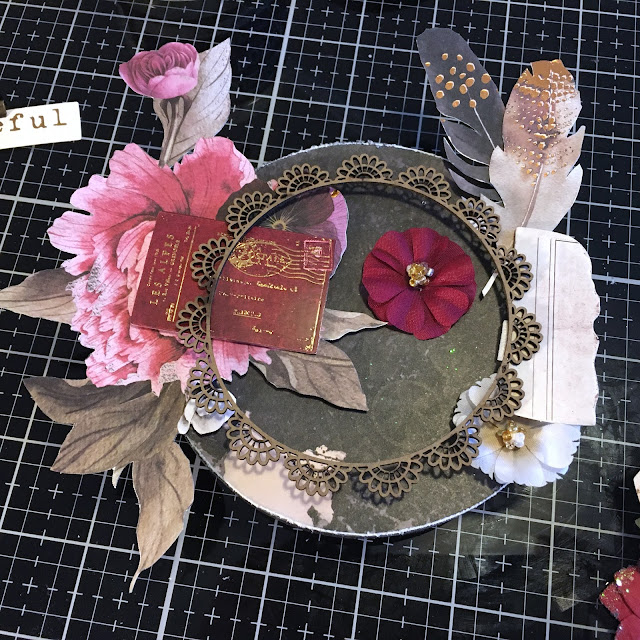
Next I fussy cut some florals and feathers from Prima's Midnight Garden collection, inking the edges here and there for depth. Using foam mounting squares and heavy body gel, I began gluing down my elements. (If you haven't seen how I create mixed media projects with tons of depth by layering flowers, check out my tutorial.)
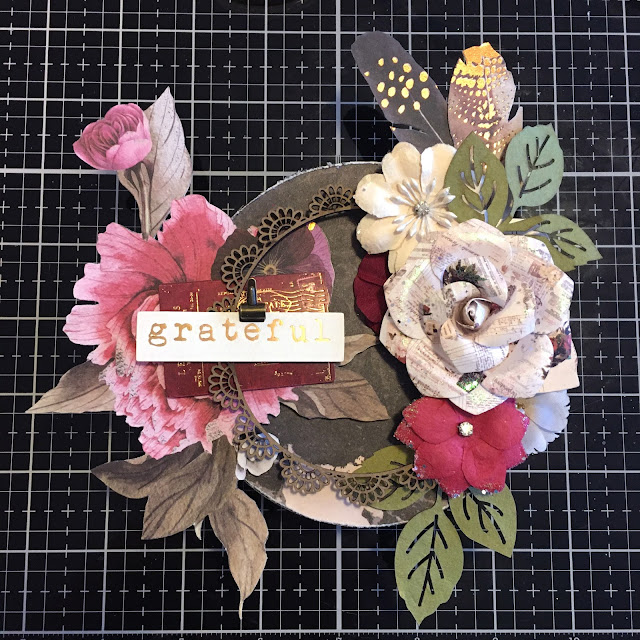
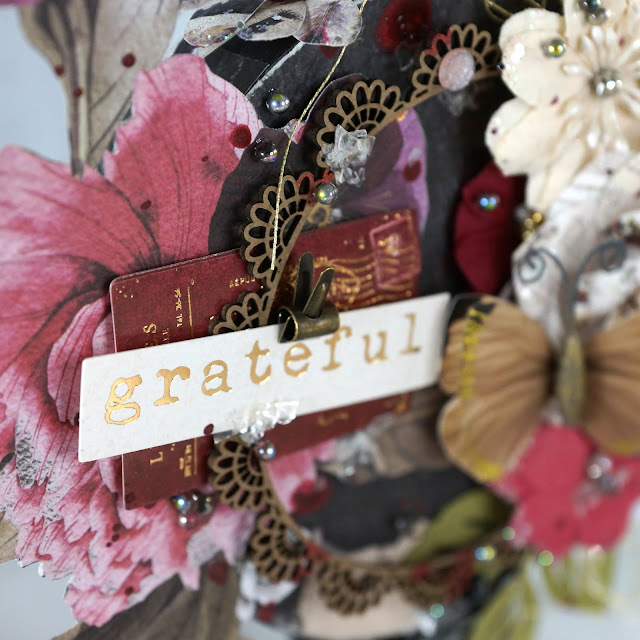
I continued layering my ephemera and flowers until I was happy with how it looked. To add a little interest to the ephemera on the left, I attached a Tim Holtz tiny clip.
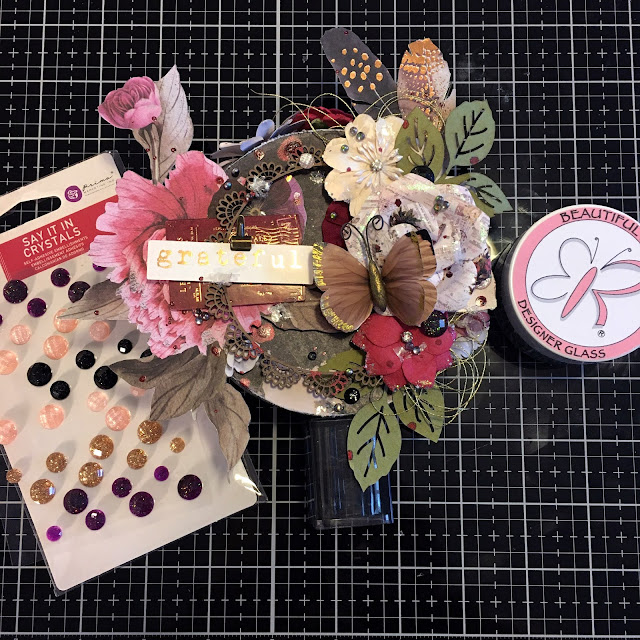
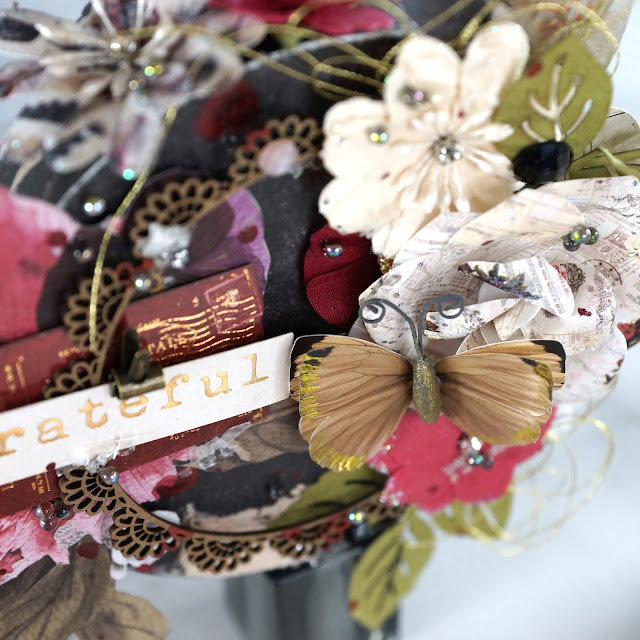
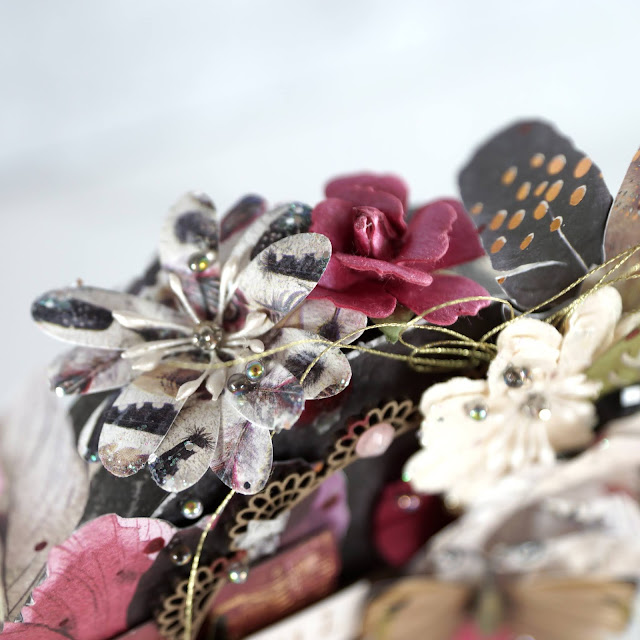
To finish off the project, I added some crystals, glass beads from ReneaBouquets, gold thread and splattered on some watered down metallic acrylic paint. Finally, I glued the top of the foundation to the bottom center of my box as a pedestal.
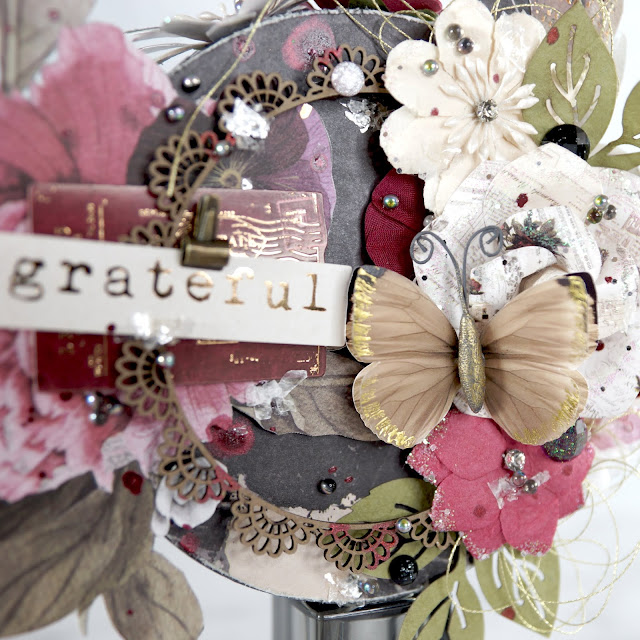
And now for some gratuitous photos of my project so you can see all the little details! For more information on the products I used, head over to my Scrapbook.com gallery.
Happy Crafting,
Adrienne



2 comments
Wonderful walk through tutorial Adrienne💕 Thank you for the product mention 🤗
ReplyDeleteThank you! Love your products--especially the butterflies and dragonflies!
DeleteI'd love to hear your thoughts!