
Giftable Joy DIY Christmas Ornaments with Custom Gift Boxes and Tags
Nothing says "I love you" at the holidays quite like a handmade gift. These jewel-toned DIY ornaments are the perfect homemade gift and are easy to make.

Hi, crafty friend! I love giving handmade gifts for the holidays. They just say so much more than a store bought gift does. And if you are a crafty and DIY person, your friends and family sort of expect it.

This year, Redesign with Prima and Prima Marketing have invited everyone, along with the design teams, to take part in the Giftable Joy Ornament Challenge. There's even some free printable tags and a box template you can use if you like. Two lucky winners will receive a Redesign Christmas surprise--and you have through November 30th to post your entry!
 |
HOW TO JOIN THE CHALLENGE: Create an ornament using any Redesign With Prima Mould. Add a cute ribbon, tag, or little box to make it gift-ready. Share it on social media with #GiftableDIYJoy and tag @RedesignWithPrima before December 1st! Freebie downloads can be found at this link. |
So here's my inspiration for the challenge as a member of the Prima Design Team. I've created a set of deep aubergine and teal ornaments with copper accents. These can be given all together or can be gifted to different people.

Now let's get into the tutorial for these DIY ornaments. First cast your ornaments from the Merry & Bright Baubles using white resin or Redesign Casting Mix. The casting mix requires no priming so if you use that, you can skip the gesso. But if you used resin, you'll need to prime--but let's hold off on that step for a moment.
Once your ornament bases are ready to go, we are going to make our own 3D decorations for these smooth ornaments using another Redesign mould--Regal Flourish and Timeless Ties. We'll be making these moulds from Redesign Modeling Material. It's like paper clay but provides more detail and is less prone to cracking.

Dust the elements you want to use in these moulds with baby powder or cornstarch--this will help the mould casts release. Then warm up the modeling material a bit by working it in your hands. Press the material into the mould. Then run a brayer over the material in the mould. This will help compress the material in the mould, giving you a smoother finish and less cracking. Then take a scraper or palette knife and scrape the excess material off. Flip your mould over and roll the mould off the cast.

Set the decorative mould cast onto your bauble mould without adhesive. Modeling Material shrinks a little bit, particularly in dry climates and we don't want there to be cracks that you can close off because it's already glued in place. I let mine dry overnight, but you just want the moulds to be hard--you'll also see that they change from a creamy white to a more pure white as they dry.

Using Finnabair's Heavy Body Gel, glue your embellishment moulds to your bauble moulds. I had minimal cracking--just at some very thin points of some of the embellishment moulds. And because these weren't glued down before they dried, I was able to glue the embellishment moulds to the baubles so that the cracked pieces where next to each other, hiding the crack more easily. We'll talk about how to cover up any fracture lines even more later.

Let the Heavy Body Gel dry--a thin layer will dry relatively quickly. If you do 5 or more ornaments like I did, your first one may be ready to prime or paint by the time you are done glueing the embellishments onto the final ornament. Here's where you want to prime if you used resin for the baubles. This will allow paint to stick to the smooth surface of the resin and will provide a cohesive base for both the resin and Modeling Material so your paint job looks the same across everything. I used Finn's Clear Gesso to prime my ornaments, but you could also use her White Gesso. Prime both the front and back of your ornaments.

Once the gesso is dry, mix up your own custom metallic paint using Finnabair Mica Powders and her Acrylic Liquid Fluid Medium. Five to eight drops of the Fluid Medium and approximately 1/8 teaspoon of mica powder will give you great coverage and cover several ornaments. I used the deep teal from her Golden Hour mica set and the deep purple from the Pearls & Crystals mica set. Paint the front of your ornaments with this custom paint.

Once this is dry, use a sponge to apply Finn's Gliding Glue to the backs of the ornaments, the ornament cap on the front and some of the highlights of the mould--don't go crazy here--just a touch on some spots will do. Once the glue is clear and dry, it will still be tacky and ready for you to apply the Copper Metallic Flakes. Overfill your ornaments with the flakes and then use a soft, fluffy brush to gently buff off the excess. This is a messy process but so fun! Then use your fingers to gently finish burnishing any spots that you couldn't get excess off with your brush.

Place a little bit of Finn's Rich Copper Wax on some old plastic packaging or your work surface. Dab your finger into it then dab your finger off to the side to get the excess wax off. Then use your finger to apply the wax to the highlights of the mould on the front. I added a little to the edges around the smooth parts of the bubbles as well to make them look even more dimensional.

The finishing touches are to add a few coordinating gems--which can help hide any fracture lines in your embellishment moulds. Add these with a tiny touch of heavy body gel or liquid glue. Then tie on some coordinating velvet ribbon for a rich and luxurious finish!

I skipped using the box template and made my own boxes fit to each ornament using my Sizzix Scoring Board and Trimmer Tool and some jewel toned Sizzix cardstock. I made sure there was at least 1/4 inch of excess width on each side of the ornament so it can easily be taken out of the box.

Sizzix has a fantastic Box Generator on their website that will help you get the perfect dimensions for your custom boxes--just plug in the size you want and it will spit out the dimensions and where to score at! And you can generate it in inches or centimeters (by the way, their tool can switch back and forth between imperial and metric measurements by flipping elements of the board around--super cool)!

I added some sisal fibers to the inside of the box to help hold the ornaments and keep them from jiggling around when the box is moved.

To make the tags special, I traced the printed out tag size onto some cream colored cardstock and then applied Finn's Red Amber Icing Paste through a stencil onto the cream tags. Then once dry, I glued the printed freebie tags to the back of these cream tags. The boxes got tied up with some coordinating velvet ribbon and then the tags got a little sprig from the Twinkle and Treats collection. Then simply tuck the tag under the velvet ribbon and it's ready for gifting!

I hope that you feel inspired to create your own set of ornaments for this challenge--or just for gifting. Redesign with Prima has so many different Christmas ornament moulds, or you could combine frame moulds with some Christmas themed transfers or decoupage paper. And for 2025, they are also selling ornament kits, which contain everything you need to make some ornaments. Until next time, happy crafting!
Adrienne
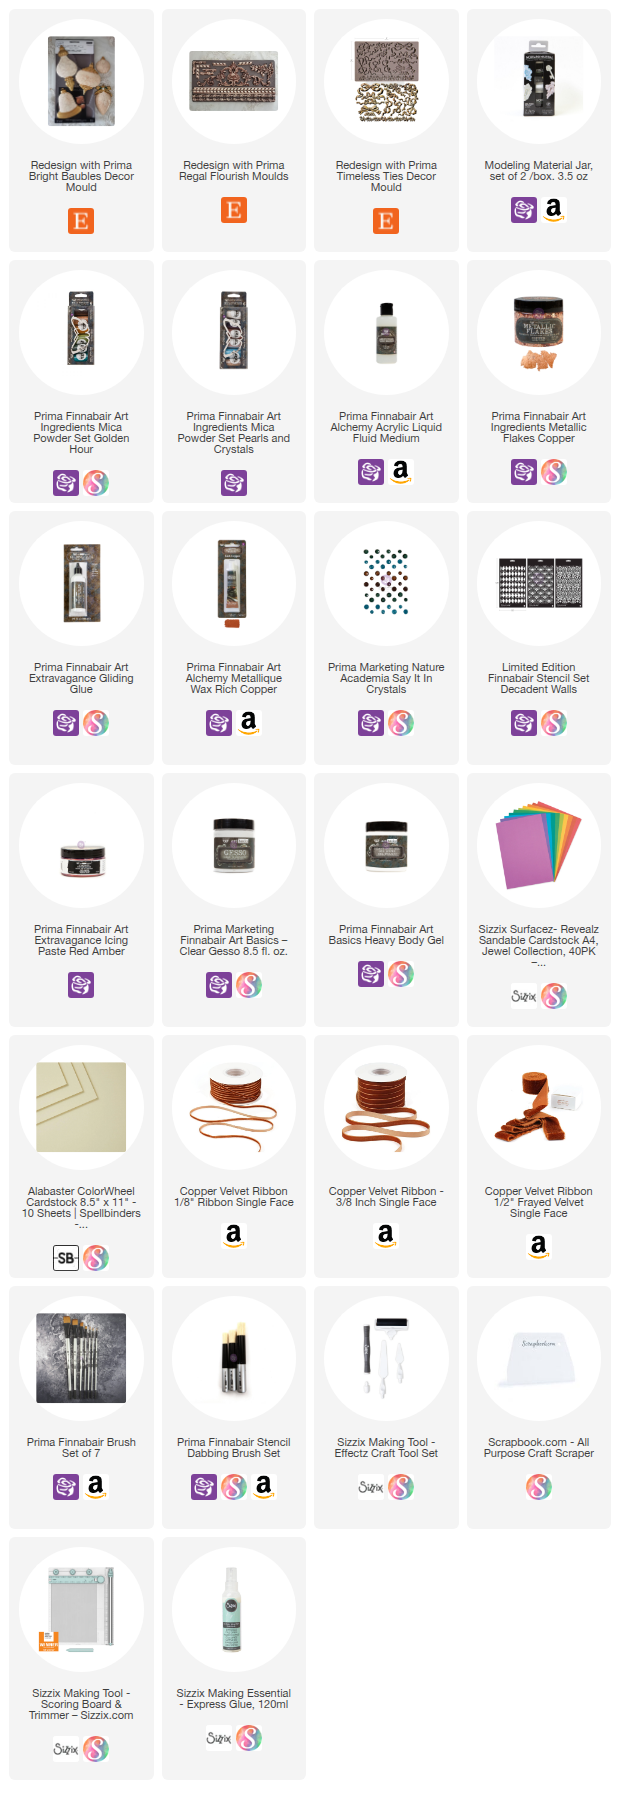
Shop the Supplies:
Scrapbook.com, A Cherry On Top, Sizzix, Prima Marketing, Spellbinders, Etsy & Amazon
I am an affiliate with multiple companies. When you shop the links below, I receive a small commission from the affiliate, at no additional cost to you. This helps me balance the costs of the time and love I put into my projects and blog so I can continue to share my ideas with you for FREE. If you shop the links, thank you! I greatly appreciate it.
Below are products that I used for this project.


0 comments
I'd love to hear your thoughts!