
DIY Mini Art Gallery Fridge Magnets
Your fridge is just a blank space begging for a little upgrade! Here's how you can turn some classic art into a DIY mini magnet gallery.

Hi, crafty friend! I just love those easy little home decor projects that bring a little "oomph" to a space. And with Redesign with Prima's Painted Legacy Middy Transfers. There's no need to find good photos of some famous art pieces online and print them out at high quality. These transfers have them all there for you ready to go and perfectly sized to fit in some of their smaller frame moulds!

So let's get right into this tutorial--it's so easy I'll do a bullet point for you. And as always, you find the full list of supplies below!
- Cast some frames from the Ornate Legacy and Astrid Mould sets using Resin, Redesign Casting Material, or Modeling Material--I used white resin.
- Apply the parts of the transfer you want to use to some heavy white cardstock. I cut the different pieces of art out using some scissors and applied each one to cardstock separately. Make sure your piece of cardstock will fit nicely in your frame--you want to make sure there is room to glue it to the back of the resin frame!
- To protect your transfer, apply the Redesign with Prima Shine Decoupage Gel with a brush and let this dry.
- Once your casts are hard and ready to use, apply gesso to prime your moulds if needed (if you used resin, you need to prime first).
- Using some pastel paints, paint each of your frames. I used the Art Philosophy Vintage Pastel watercolor set, painting my frames in pink, blue and green shades.
- Once your paint is dry, make your frames a little shabby chic by dry brushing either a white paint or gesso over the highlights of your mould casts. I used white gesso since I had to prime my moulds.
- After the dry brushing is dry, apply some of Finnabair's White Pearl Metallique Wax using a stenciling/dabbing brush--this provides a pearly finish to your moulds.

- Next, trim down your art transfer to fit your mould if needed--I divided a few of the prints into two smaller frames. A wax pencil can help you trace the frame mould onto your decoupaged image.
- Glue your art transfer to the back of your resin frame cast using liquid adhesive and a few dots of Heavy Body Gel--this is a great adhesive that sticks to all kinds of surfaces and has great long-term hold!
- Once your glue is dry, add some magnetic strips to the back of each frame--make sure they are facing the right direction to be able to stick to your fridge! I used a little bit of double sided adhesive to adhere my magnetic strips to the back of each frame, but you can also get magnetic sheets with a sticky backing already applied to it.
- Pop these onto your fridge and enjoy!

Now of course, if you don't like shabby chic, you can always go a little more traditional with your frame colors and do gold, brass, copper, silver or even rose gold. Finnabair has so many different wax colors, metallic flakes and acrylics that the options are virtually limitless! And these could be such a sweet holiday gift for friends and family who love art. Until next time, happy crafting!
Adrienne
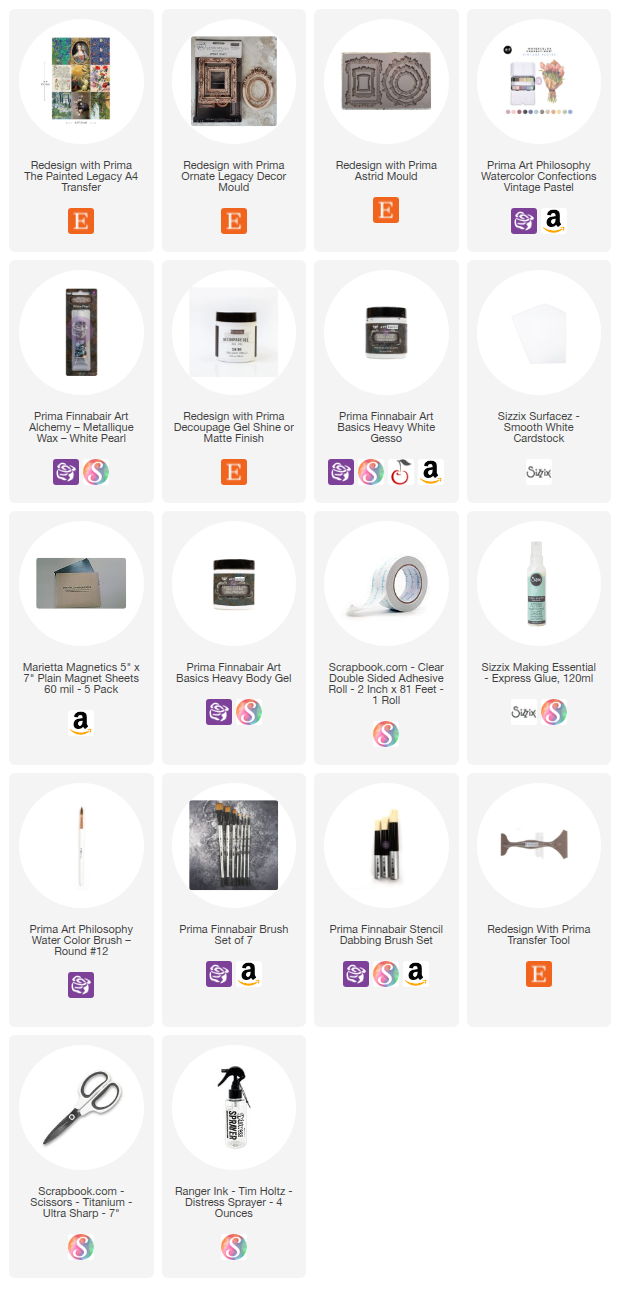
Shop the Supplies:
Scrapbook.com, A Cherry On Top, Sizzix, Prima Marketing, Spellbinders, Etsy & Amazon
I am an affiliate with multiple companies. When you shop the links below, I receive a small commission from the affiliate, at no additional cost to you. This helps me balance the costs of the time and love I put into my projects and blog so I can continue to share my ideas with you for FREE. If you shop the links, thank you! I greatly appreciate it.
Below are products that I used for this project.


0 comments
I'd love to hear your thoughts!