Little Holiday House Ski Chalet Mixed Media Vignette
I always loved those little Christmas village houses growing up as a kid. One of my favorite memories was putting out a small ceramic house my mom painted as a kid. Now, I'm getting in on the tradition.
This past autumn, I created a spooky mini dead & breakfast based off the exterior of my own home. But now it's time for a little Christmas spirit! I'm so excited to be participating the Handmade Little Holiday Houses Hop with Scrapbook.com!
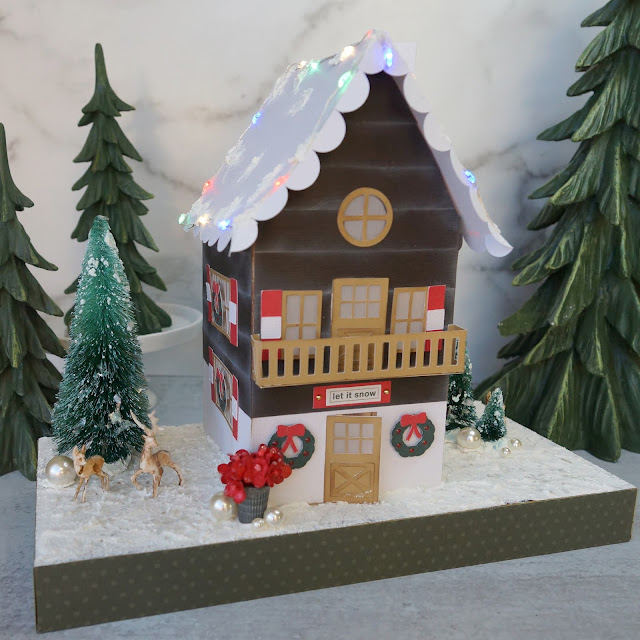
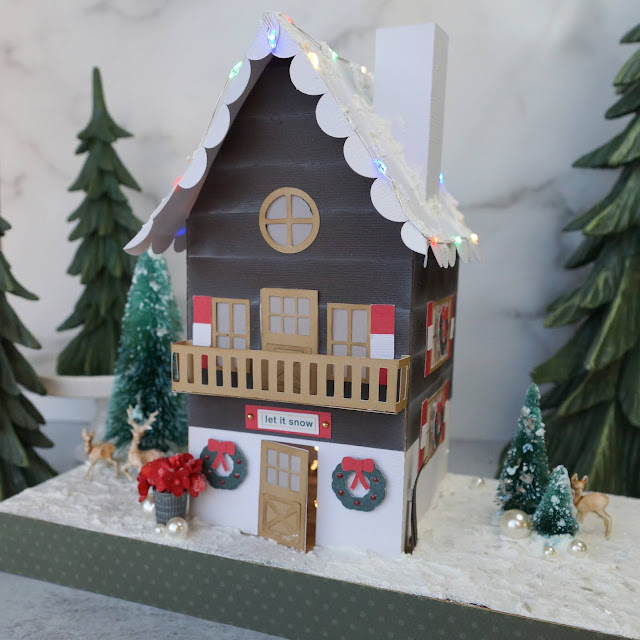
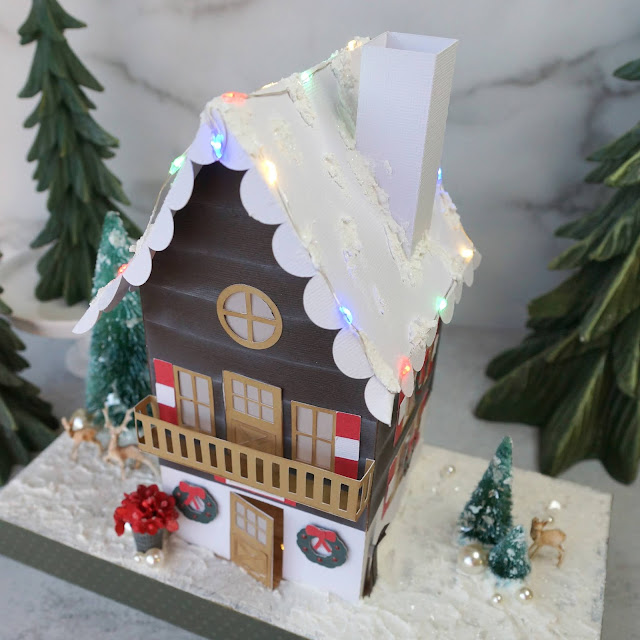
When I think of Christmas, I think of my Oma, who played such a huge part in my life, no matter the season. She was from Austria, where Silent Night (Stille Nacht) is a big deal, you celebrate on Christmas Eve instead of Christmas Day and wintry mountain scenes replete with ski chalets abound. In her honor, I created this tiny Austrian Ski Chalet.
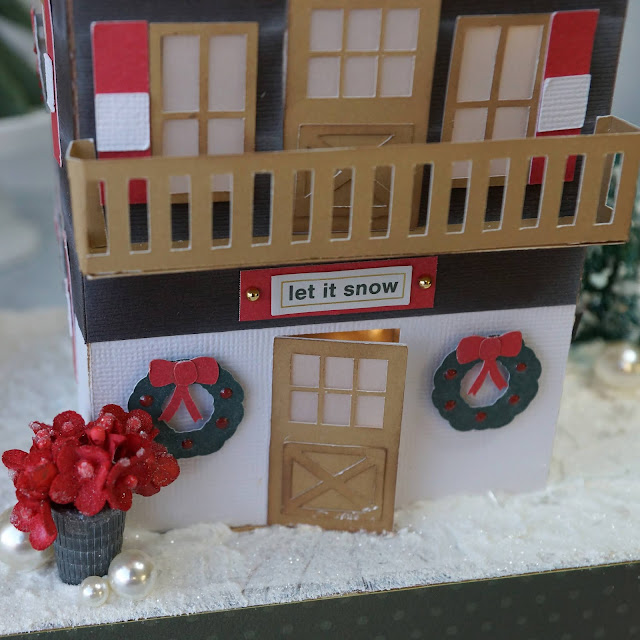
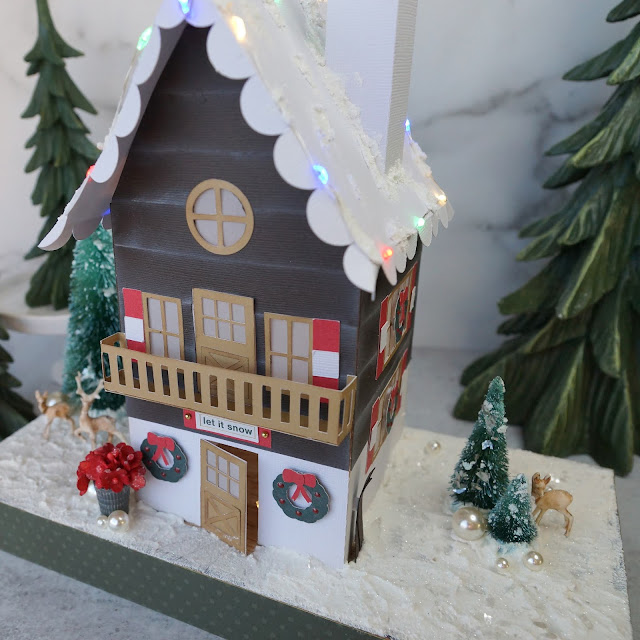
I altered the cut file a bit using Silhouette Studio designer edition. I added in another door on the second level, additional windows and a balcony. I've never scene an Austrian ski chalet without a balcony.
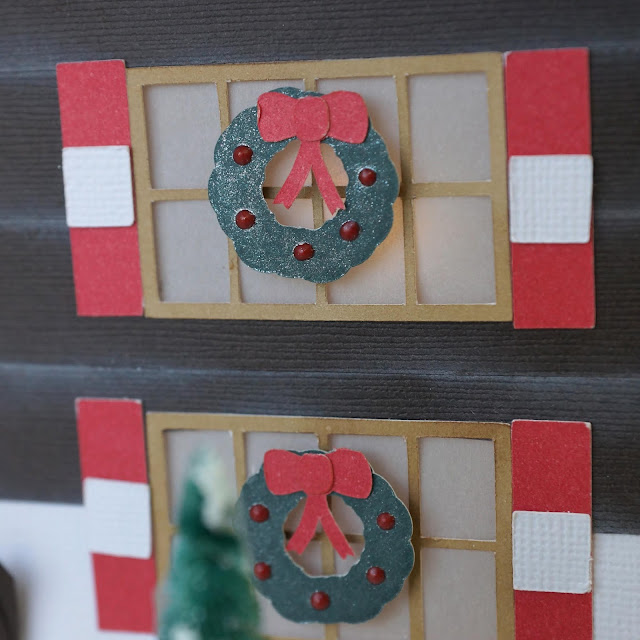
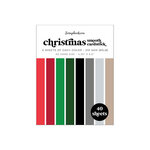
I cut all of my parts out of different cardstocks, including using the new Christmas smooth cardstock pad from Scrapbook.com to create the door and window layers, the wreaths, shutters and balcony.
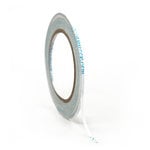
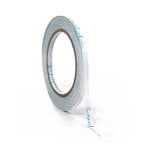
Before assembling the house, I cut three-quarter inch strips of brown cardstock to create the log cabin look to the upper part of the chalet, using a one-quarter inch double-sided adhesive roll to adhere the strips to the base of the house. I left the bottom plain to match the white stucco you find on the older style European chalets.
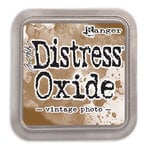
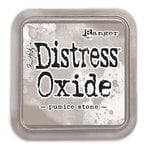
I added vellum to the inside of the windows then glued the balcony to the front as well as the final strip of brown paper underneath it to hide the tabs I used to glue the balcony down. Next I used Smart Glue to adhere the window and door layers after having inked them with a bit of Distress Oxide in vintage photo for a worn look.
Using a clear glitter brush marker, I added a bit of sparkle to my wreaths. While that was drying, I inked the red ribbon die cuts with some Distress Oxide in fired brick then glued it down with a dot of Smart Glue. I added some Nuvo Vintage Drops in postbox red for berries and set these aside to dry.
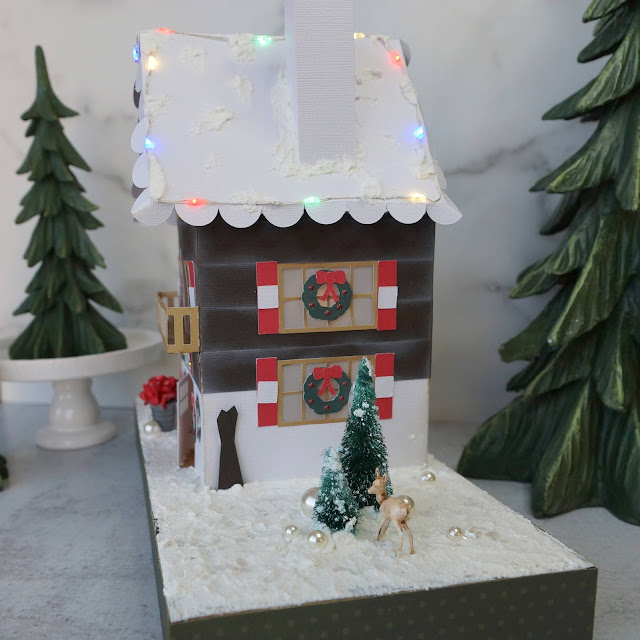
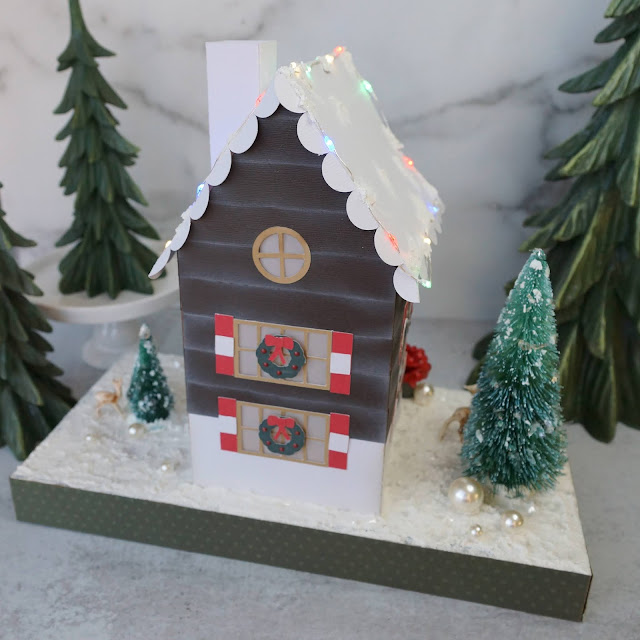
For the window shutters, I cut an extra square of white to layer on top of the red base to represent the Austrian flag. But I also think it looks a bit like a candy cane as well! When the wreaths were dry, I added them to the windows and front of the house with some small foam squares to pop them up and give them some dimension.
I wanted to add a small sentiment that I though was appropriate for a ski chalet, so I chose one of the "let it snow" stickers from Scrapbook.com's Classic Christmas Sticker Book and added it to a strip of red cardstock. I also added a few gold metallic droplets from Tim Holtz the glued it down using the one-eight inch adhesive roll.
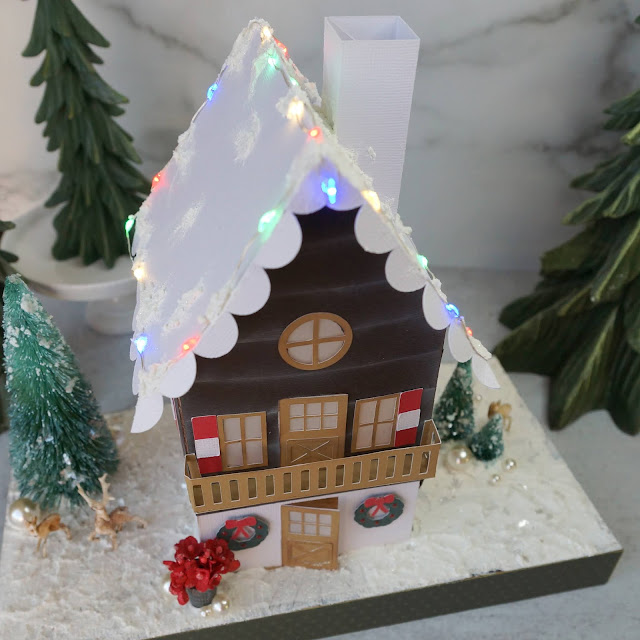
Next I glued the two main pieces of the house together then set it on top of my vignette tray. I marked where I wanted to drill holes for the tiny lights then used my Micro Dremel tool to create two holes--one for a set of white lights and one for the multi-colored lights. After I was done drilling and checking to make sure the holes were big enough to fit my lights through, I adhered the house with an extra set of tabs I created in Silhouette Design Studio with the one-quarter inch adhesive roll.
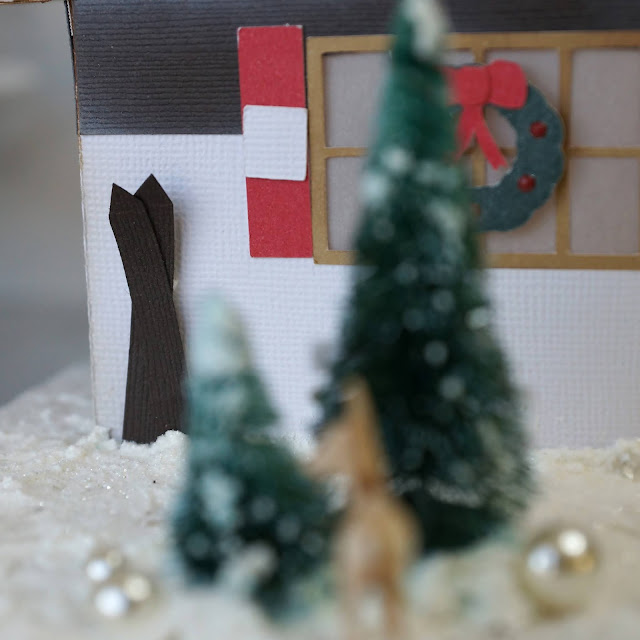
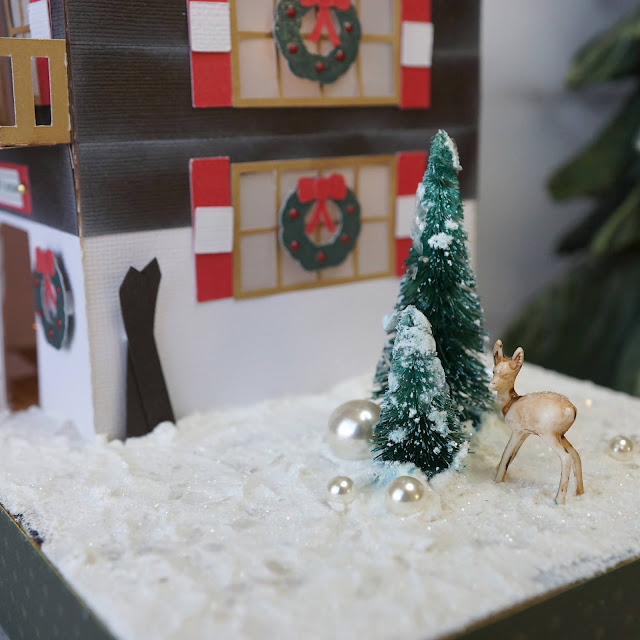
My ski chalet needed a set of tiny skis outside so I hand cut some skis from a leftover strip of brown paper and used a dot of Smart Glue to stick them together in a crossed fashion. To attach it to the side of the house, I used a small foam mounting square.
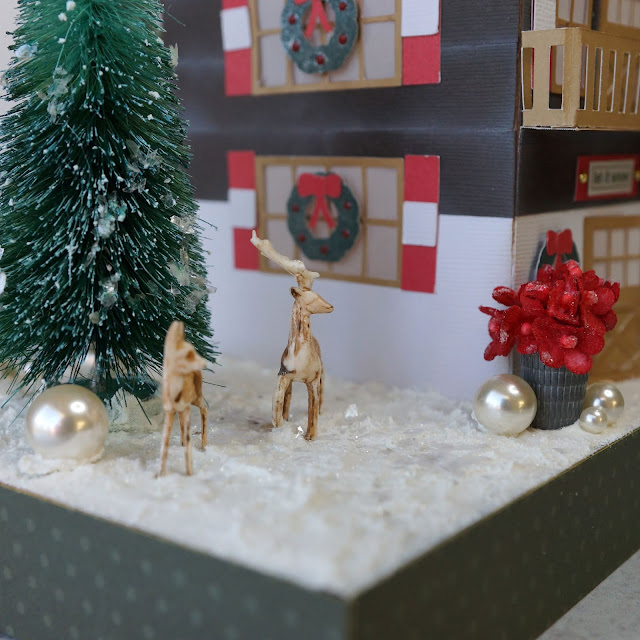
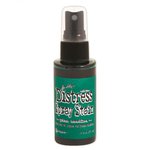
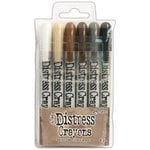
Before assembling the rest of the vignette, I needed to add some color to my trees and deer. For the deer, I used Distress Crayons, coloring directly on the deer, then blending it out with a water brush marker. For the trees, I followed Tim Holtz's tutorial for ombre trees that he did in a Facebook Live video. I sprayed each tree with Distress Spray Stain in pine needles, dipping it halfway into water and then blotting with a paper towel to remove the excess. I let these dry overnight, but you can certainly use your heat tool on them to speed up the process.
Once the trees and deer were dry, they needed some snow on them! I like the look of the opaque grit paste on the trees because as a Colorado girl, snow is white with sparkle. I dabbed on bits of the grit paste with my fingers and then dusted the trees in a good layer of Rock Candy Glitter and Mica Flakes. For the deer, I added a little bit of Ranger's Glossy Accents and then dusted them in Rock Candy Glitter.
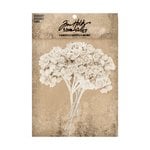
I decided I needed some poinsettias so I used some of Tim's bouquet paper flowers and Tattered Angels Glimmer Mist in red tulips to make them red and sparkly. Once they were dry, I rolled up the wire and glued them into a Tim Holtz thimble. I added some glossy accents to the thimble and flowers then dusted them in Rock Candy Glitter.
Now on to the roof! I attached the chimney to the roof then attached the roof to the house after getting my white tiny lights in place. Because this house is glued to a vignette tray, I left one side of the roof unattached from the house, in case I ever needed to get inside the house. I had pulled the multi-colored Christmas tiny lights string up and out of the house, letting it hang over the top of the main part of the house before glueing down the roof. This allowed me to take the lights and wrap them around the roof. I used mini clothespins to hold the lights in place while I glued them down. I added opaque grit past to secure it even more and to look like snow on the roof, then dusted it with Distress Rock Candy glitter.
I also added a layer of opaque grit paste to the top of the vignette tray and around the wooden bases of each bottle brush tree. I then stuck the trees, deer, poinsettia and some baubles into the grit paste. I then dusted the whole surface with Rock Candy Glitter and Mica Flakes.
I hope you enjoyed this tutorial and don't forget to head over Instagram to see all the other little holiday house inspiration!
Happy Crafting!
Adrienne
I am an affiliate with Scrapbook.com. When you shop the links below, I receive a small commission from the affiliate, at no additional cost to you. This helps me balance the costs of the time and love I put into my projects and blog so I can continue to share my ideas with you for FREE. If you shop the links, thank you! I greatly appreciate it.
Below are some of the products that I used.
















0 comments
I'd love to hear your thoughts!