
Adding texture and layers to any of your paper craft projects helps bring it to the next level. Here's tips on how to achieve beautiful projects through layering and adding texture.

Hi, crafty friend! If you've been following me for a while, you probably have heard me go on and on about depth and texture in your projects. But that's because texture and layers is what creates beautiful projects that people love!

So let's talk about my tips for creating gorgeous projects full of layers and textures!

1 | Choose at least 3 different textures to add.
Having a variety of different textures really adds richness to your projects. I recommend adding 3 different types of textures to achieve richness. Here's some of the different textures you an add:
- Pastes: Whether stenciled or painted on, pastes are an easy way to add texture. (e.g. modeling paste, crackle paste, dimensional paste, jewel paste, et.c)
- Glossy Elements: Things like cabochons, beads, micro beads, glitter glass, gems and pearls can add a refined or sparkly touch.
- Textiles: Ribbons, fabric lace and thread adds a delicate touch of texture. Try playing with distressing your fabrics and ribbons for a shabby or vintage look and added texture.
- Flowers: Paper and Fabric flowers add instant texture, from delicate petals to colorful stamens. Try mixing and matching mulberry paper flowers and fabric flowers.

- Metal: Metal objects, like the metal bookmarks I used in this project, are "heavier" and can add weightiness to projects with lots of lace and chiffon--think of it like an anchor! Metal with filigree or embossing can add even more texture.
- Moulds: Moulds are another easy way to add texture with their more 3D shape and dimension. Dry brush your moulds with a wax, paint or gesso to highlight the texture.
- Paint Splatters: Paint splatters add a shimmer of light texture. Tap a loaded brush over your project or use the Tim Holtz Splatter Brush.
- Stones: Small rocks and stones can add a more natural element. Try something like Finnabair's Art Stones.

- Wood: Wood brings a warm texture to your projects. Try creating a project on an embroidery hoop or adding old tree branches for a fun look.
- Embossing: Whether embossing folders or embossing powders, both add easy texture! Try highlighting the texture of your embossed cardstock with waxes!
- Torn Paper: The visible fibers of torn paper and cardstock is great with shabby and vintage looks. Try tearing your paper in half or using a distressing tool to add this texture.

2 | Don't be afraid to build up layers.
Many people are afraid to cover up an entire piece of ephemera or hide most of their paper—I get it! It’s all really gorgeous and it's hard to cover up those pretty pieces. I see these comments all the time where someone states they could never cover up something so pretty. But pick out your favorite part of those elements and arrange them so those parts peek out.

For example, my favorite flower in the flower pack that I used was the ombre ones that have cream on the edges and peach in the center. That's why it's on top and the solid peach flower is below it. And my favorite part of the postcard ephemera was the stamp, so I made sure that was the piece peeking out.
Perhaps your favorite elements from the pieces I used are different--maybe you like the peach flower best! Remember, I'm just sharing inspiration and you should take the elements and techniques you love from that. (But if you want to copy this piece by piece too, I'm totally cool with that too!)

Here's why I say you shouldn't be afraid of building up: If you don't build up, you end up spreading it all out and that can actually make your projects appear busier. Layering up also looks more natural and pleasing to the eye because you've clustered elements together, and the eye prefers groupings. That's why many interior designers follow the rule of 3--everything looks better in odd numbers.

Plus, layering up creates depth and dimension. It allows the eye to follow a line from the top element down to the bottom, like a feast for the eyes. Think of your layering as a story you want to tell, with each element as another page in that story.
So cluster and group up your embellishments! You'll be glad you did because the end result of all those layers and depth is so gorgeous! And don’t forget, in person you can view your project from multiple angles, so you’ll see even more prettiness peek out than what is captured on camera.

I hope that you found a little nugget of information you can take away from these tips to incorporate in your own makes, whether it's mixed media, cards, scrapbooks, mini albums--or literally any other craft!
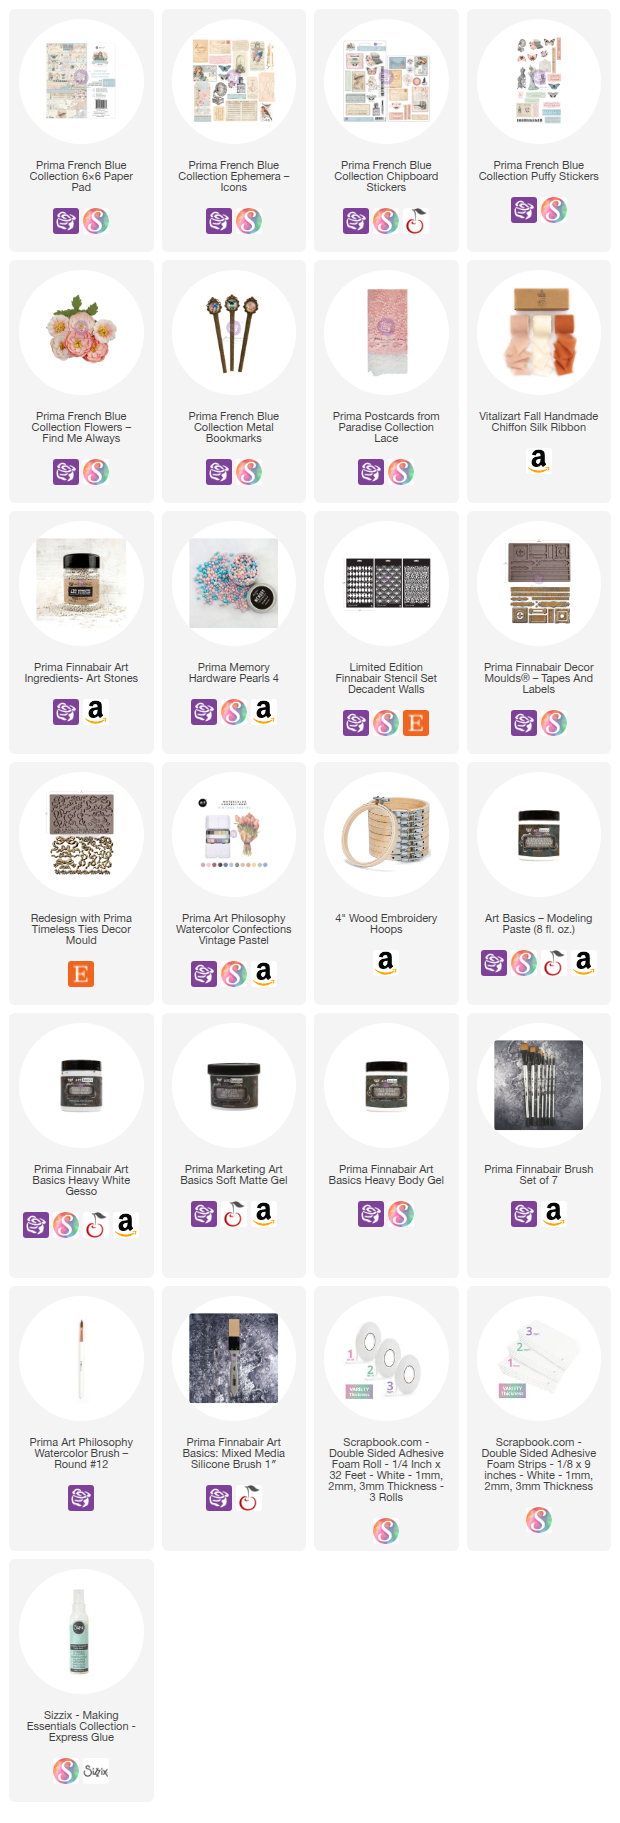
Shop the Supplies:
Scrapbook.com, A Cherry On Top, Sizzix, Prima Marketing, Spellbinders, Etsy & Amazon
I am an affiliate with multiple companies. When you shop the links below, I receive a small commission from the affiliate, at no additional cost to you. This helps me balance the costs of the time and love I put into my projects and blog so I can continue to share my ideas with you for FREE. If you shop the links, thank you! I greatly appreciate it.
Below are products that I used for this project.
No comments:
Post a Comment
I'd love to hear your thoughts!