
New to 3D paper flowers or just need some more inspiration on how to use them? This tutorial will share tips and tricks for layering paper flowers (all with a dose of farmhouse shabby chic style)!

Hi, crafty friend! We all have that one (or two, or three) craft supply that we buy a ton of and either hoard or use in every single project we make. For me, that's Prima Marketing flowers.

They are dimensional, have pretty, textures, and are so easy to pop on your project. For this mixed media canvas decor piece, I used Prima's Farm Sweet Farm collection, which is full of flowers with different textures and lovely shabby chic papers.
Some of the flower packs in this collection are made from the traditional mulberry paper, while others are made from fabric, making it so easy to add different textures to your project.
You can shop the supplies I used in this project at the bottom of this post.

So let's talk about tips for laying paper flowers. These tips will help you create a cohesive project that isn't overly busy in appearance, while still giving you texture and dimension that makes projects stand out!
1 | Keep the Color Palette Simple
Keeping your color palette to one to three colors will help your project to not appear overly busy. For those trying layered floral mixed media canvases for the first time, I suggest opting for a monochromatic color palette, which will make it easier. Or you can use flowers from the same Prima collection, giving you an already coordinated color palette!

2 | Add In Moulds
Tucking other elements into your project will help break up the cluster of flowers and add more interest to your projects. Moulds are a great way to add dimension and texture. One of my favorite types of moulds are frames, which can be layered between your paper flowers so the "float" above your project. They also help you frame key embellishments.

3 | Try Fussy Cut Elements or Ephemera
If you aren't into moulds, try adding fussy cut elements. For this project, I used one of the coordinating paper pads in the collection from Prima and fussy cut floral clusters. I tucked these in between layers of paper flowers, which adds another element of interest. If you don't like to fussy cut, reach for coordinating ephemera packs!
4 | Add Textiles
Textiles like lace, fabric, ribbon and even threads add a hefty dose of texture without all the work. I love embroidered lace drops or dangles, gluing them under flowers and letting the drops hang below.

5 | Add More Texture
There are multiple ways you can add texture. Besides different textures flowers and textiles, you can highlight texture of flowers by dry brushing them with white gesso; adding art stones or micro beads; and highlighting texture on moulds with wax, gesso or paint.

6 | Know Your Adhesives
Adhesives are important when glueing flowers and other elements to your mixed media projects. Here's my favorite adhesives for this type of project:
- Hot Glue: It's instant and holds lower layers in place as you add more flowers and embellishments on top.
- Heavy Body Gel: This gel makes a great adhesive for indecisive crafters. You get a longer work time and can easily move things around if needed. It's also really long lasting and if you live in a dry climate, I highly recommend this so things don't fall off your canvas several years down the road.
- Foam Adhesive: This helps pop up things like fussy cut elements, chipboard stickers and more, giving you easy dimension without fuss. I recommend combining it with hot glue or heavy body gel for more longevity.
- Soft Matte Gel: This gel is similar to heavy body gel, but doesn't hold shape and can be "painted on." It's perfect for adding art stones, glitter, micro beads and other small "loose" embellishments. It can also be used to attach paper to canvas, wood and other project bases.
- Tacky Glue and Other Liquid Glues: Tacky glue can be used on textiles and flowers and basic liquid glues can be used to help attach gems and give longer lasting hold for stickers in low humidity environments.

7 | Add Finishing Touches
Finishing touches like glitter, gems, stickers and paint splatters can sparkle and additional details that ad to the layers.
Now let's get into this specific tutorial!

- Cast the Regal Flourish mould with Redesign with Prima's Casting Mix. Let this set up fully before touching your mould again--so make sure you do your pouring off to the side.
- Trace your canvas onto two sheets of patterned paper from the Farm Sweet Farm 12x12 Paper Pad and cut them out. Tear one of them in half and use a paintbrush to help roll the torn edge.
- Attach the two pieces of paper to your canvas using Soft Matte gel. Using your hands or a brayer to help press the glue to the edges will help smooth the paper out and ensure good adhesion.

- Fussy cut any elements you want--I fussy cut 3 floral clusters from the same paper pad.
- Add a base layer of flowers to your canvas along with some small moulds with your choice of adhesive.
- Add the larger mould on top of the first layer of flowers using heavy body gel and hot glue--this will give you long lasting hold but help hold it in place right away.
- Add the fussy cut elements, ephemera and lace with more flowers. I used some foam adhesive on the fussy cut elements to pop them up more.

- Tuck in chipboard stickers from the Farm Sweet Farm collection as well as some real buttons. Use foam adhesive to pop your elements up more.
- Top the last flower off with a butterfly if you want.
- Add some watered down pink paint to the moulds.
- Dry brush your flowers and moulds with gesso and add art stones with soft matte gel.
- Add some gems to your project from the collection--I secured them more with some liquid glue.
- Add a splatter of white paint or gesso to your project.

I hope you love this project and find these tips for paper flower mixed media projects helpful. Until next time, happy crafting!
Adrienne
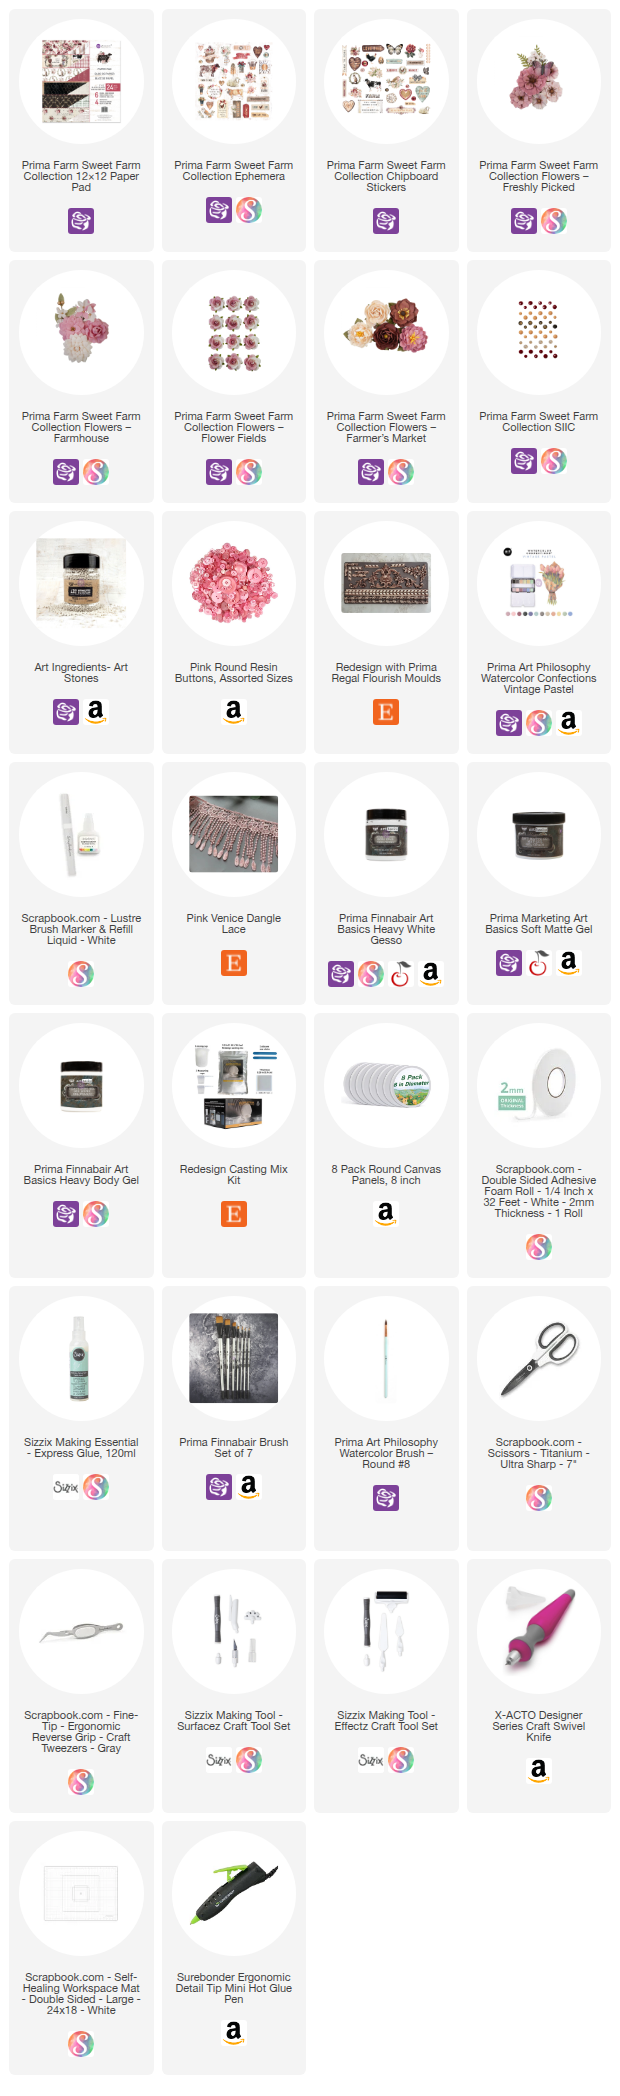
Shop the Supplies:
Scrapbook.com, A Cherry On Top, Sizzix, Prima Marketing, Spellbinders, Etsy & Amazon
I am an affiliate with multiple companies. When you shop the links below, I receive a small commission from the affiliate, at no additional cost to you. This helps me balance the costs of the time and love I put into my projects and blog so I can continue to share my ideas with you for FREE. If you shop the links, thank you! I greatly appreciate it.
Below are products that I used for this project.
No comments:
Post a Comment
I'd love to hear your thoughts!