
I'm taking part in the 12 Days of Sizzix holiday event and my first project is a set of easy DIY paper snowflake ornaments that you can do with your kids!

The holidays are a time to do things together. And these little ornaments are simple enough that you can do them with young children to help the whole family get into the holiday spirit!
Plus, remember to follow along on Instagram for this fun Sizzix event and to post your creations on the corresponding day's theme using the hashtag #12DaysofSizzix for your chance to be featured and win prizes!

So let’s get into this tutorial! Start by cutting a piece of 6x8 inch paper into three 2x8 inch strips. Score each of these strips at every half inch. You’ll need to cut and score 3 of these strips for every medallion you make. I used Sizzix’s Festive Patterned Paper and some of their purple hued cardstocks. (You can shop a full list of supplies I used at the bottom of this post.)

Accordion fold the strips on the score lines then glue the 3 strips together into one long line using Sizzix Express Glue. Then glue the two ends together to create a circle of paper. If you are using patterned paper or solid on one side and patterned on the other, make sure you are matching up your patterns.

Die cut out 2 circles for each medallion. Press down on the paper circle to flatten it out and bring it together in the center. This part of the project is a bit of a “high tension” part, so be patient if you are doing it on your own, or ask for a set of helping hands!

Using a hot glue gun, place glue in the center of the medallion to glue the pleated in place. Add glue to the back of a circle and place it over the center of your medallion. On the back, glue down a piece of looped ribbon, then glue the circle over it. I used a tiny amount of hot glue on the edge of the medallion pleats to attach the ribbon to—this will help it hang straight, rather than flopping over.

Get out your stamping platform, your multi-tool with the blending head attachment, and a bunch of inks! Place a piece of smooth white cardstock and a snowflake from the Catherine Pooler White Christmas stamp set onto your stamping platform.

To create the ombré look I have, load up your blending head by pouncing or rubbing it on the ink pad. Then pounce the blending head onto one-third of the stamp and press it onto your cardstock. Repeat this process by doing a second color of the middle third of the stamp and the third color on the final portion of the snowflake.

Using the coordinating White Christmas Framelits set, die cut out each of your snowflakes. I added a little bit of lace first, then used some foam adhesive to pop the snowflake on top. To finish off your ornaments, add a little sparkle with some gems or glitter dimensional drops. I used some glitter Pops of Color, applying little dots to various parts of each snowflake.
.jpg "12 Days of Sizzix")
And that’s it! Super simple and super fun! You can hang these on a tree, garland or attach to them to presents. What are some of your family holiday traditions? Drop a comment below, and until next time, happy crafting!
Adrienne
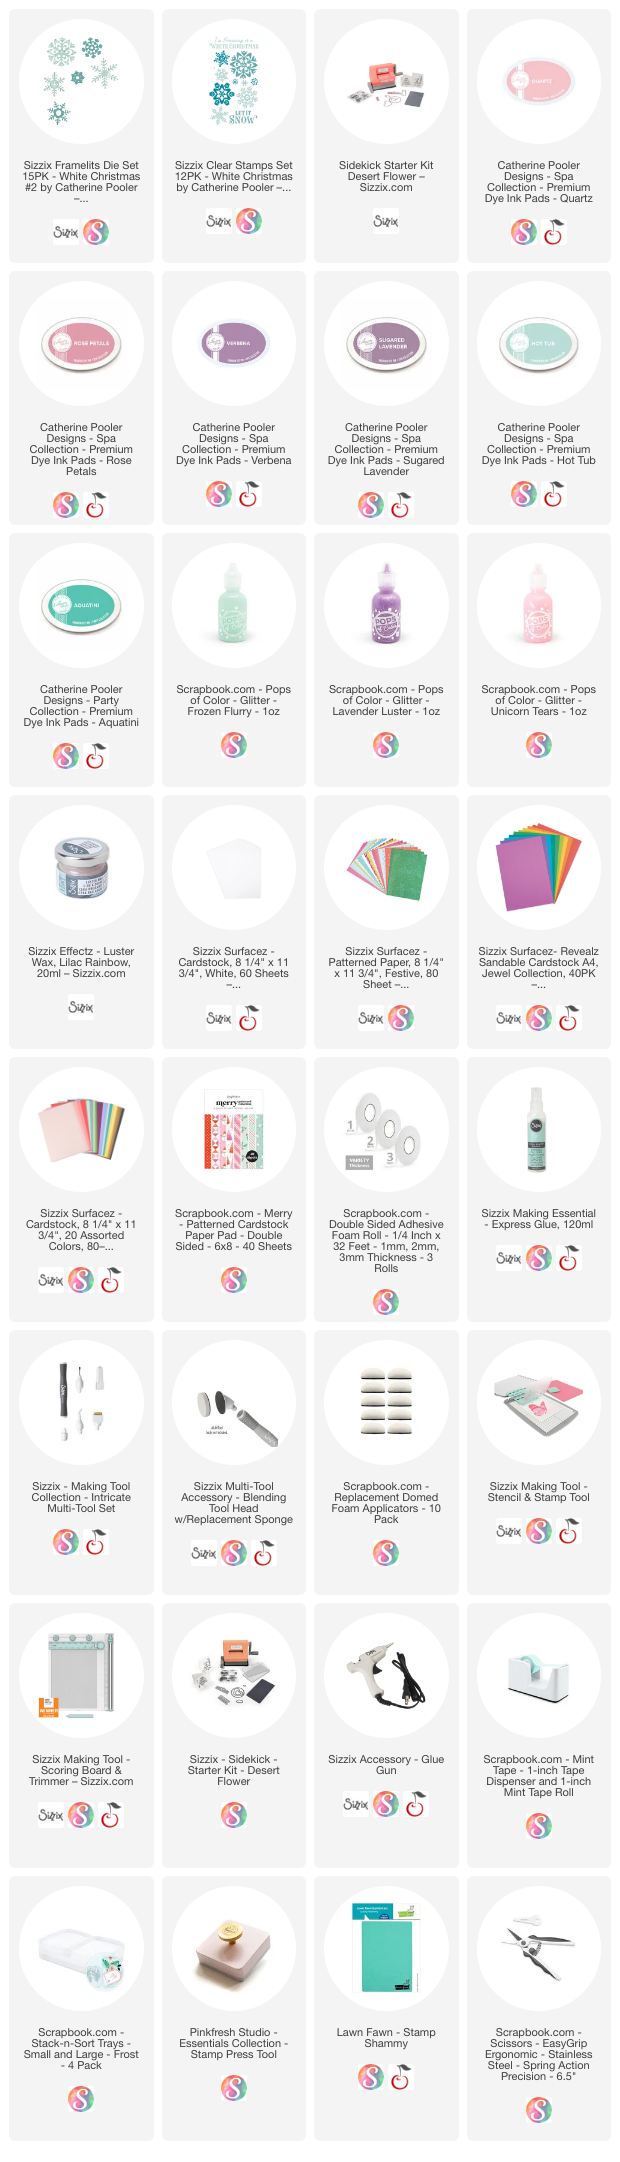
Shop the Supplies:
Scrapbook.com, A Cherry On Top, Spellbinders, Sizzix & Amazon
I am an affiliate with multiple companies. When you shop the links below, I receive a small commission from the affiliate, at no additional cost to you. This helps me balance the costs of the time and love I put into my projects and blog so I can continue to share my ideas with you for FREE. If you shop the links, thank you! I greatly appreciate it.
Below are products that I used for this project.
No comments:
Post a Comment
I'd love to hear your thoughts!