April Showers Bring May Flowers: Creating Your Own Dimensional Raindrop Medium
Have you ever wanted to make your own raindrop medium to squeeze out on your papers and paper flowers? All you need are an empty refillable squeeze bottle, a palette knife, and these 2 Finnabair products!
Hey, crafty friends! If you’ve followed me for some time, you know I love sparkly things. Glitter and pearlescent liquid drops make my heart happy. and while I have Ranger Stickles, Sizzix Liquid Gloss and Scrapbook.com Pops of Color, I wanted to try my hands at making my own glittery dimensional medium using Finnabair products.
It truly is really simple to make. I had a nearly empty small bottle of liquid glue so I cleaned it out and let it dry overnight—it’s important that your bottle is dry inside. You don’t want your medium to be watered down as it won’t be as dimensional.
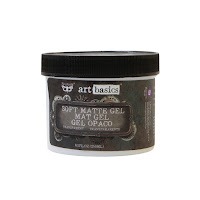
When mixing up your medium, you’ll want to do it on a piece of spare plastic packaging or on a non-stick craft mat. Using a palette knife, pull enough Finnabair Soft Gloss Gel out of the jar to fill little bottle (or however much you want to fill your bottle) and place it on your work surface.
The reason I chose Soft Gloss Gel and not a thicker, sturdier gel is that I wanted this medium to be self-leveling. A thicker gel could leave peaks when piping it out and while you can tap your project to help level it, It still doesn’t create that perfectly round dewdrop like effect on a paper flower.
After you’ve pulled out as much of the Soft Gloss Gel as you want, open up a bottle of Finnabair Glitter. I chose an iridescent white glitter from the Ebony & Ivory set that has a blue-green shift. The amount of glitter you put in is really up to you, but I do suggest starting out with just a bit of glitter—you can always add more, but you can’t take it out once it’s in the gel. (You could always add more gel, but it could become too much to fit in your bottle).
Mix your glitter and gel together well with your palette knife on your work surface. Once all the glitter is incorporated and you have enough to your liking, you can start to put it into your bottle. Depending on the size of the opening of your bottle, this could take a little while—but don’t worry you’ve got work time! My bottle opening was pretty small, so I used a small palette knife and found it easier to just pick up a small amount of the medium at a time and scrape it off into the bottle. It made less of a mess and therefore, wasted less of my product.
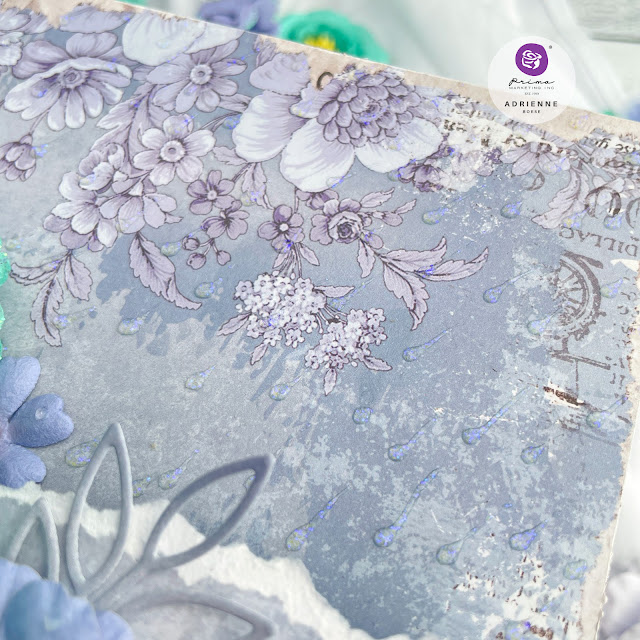
Once you have your medium in your bottle, replace the tip (and cap if you aren’t going to use it right away). To create raindrops on paper, hold the bottle at about a 45 degree angle. Gently squeeze a dollop of the glitter gel onto your paper until you get the size you want, then as you release, pull up to the side to create the point of the raindrop. Remember, raindrops are not perfect in nature, so if you have wonky drops, it’s okay!
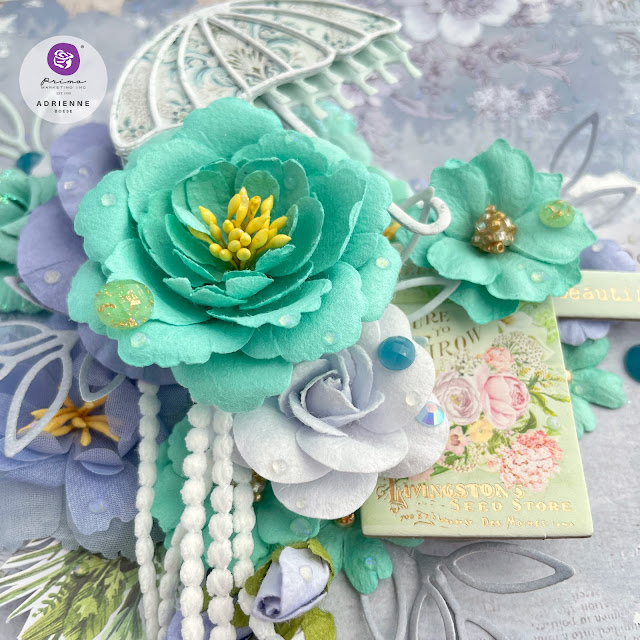
To make dewdrops on paper flower petals, hold your bottle at a 45 degree angle and squeeze a little dollop out onto your flowers, release pressure on the bottle and pull the nozzle away from the drop you just created. If you see a little peak in your dewdrop, don’t worry, it will settle in a few seconds.
I haven’t tested this medium through a stencil, but I think it should work. The glitter suspended in the Soft Gloss Gel should help the gel hold its shape Now I’ll talk a little about how I made my project.
I created my project on a square Tim Holtz Etcetera board—this is a nice thick, hard material perfect for creating panels on. I covered the square in blue paper from The Plant Department. Then I cut a second piece and tore it on one side. I created a chipboard backer for it so it would be sturdy and attached the chipboard to the back of the torn paper.
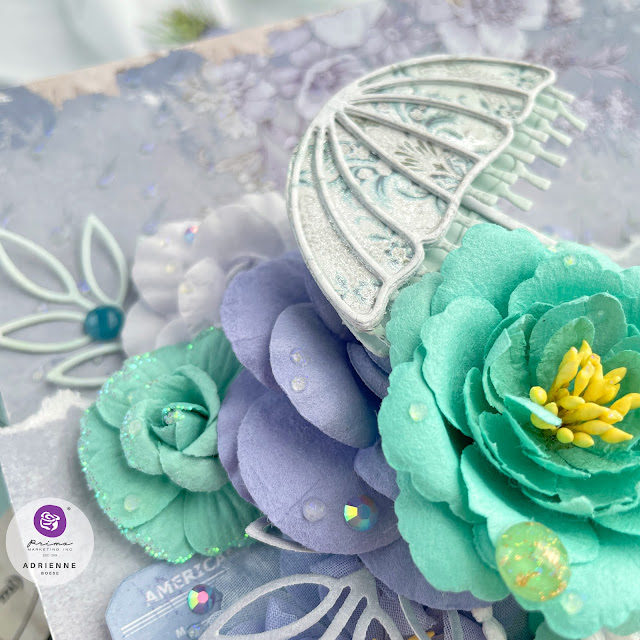
After applying the raindrops, I popped the torn piece of paper up using several layers of cardboard box—enough to tuck some flowers underneath. I layered The Plant Department flowers under and on top of the torn piece of paper then tucked a little umbrella that I die cut from some papers from the collection. I made the umbrella a little sparkly by applying some clear glitter brush marker to it.
I also tucked some lace and leaves that I die cut from The Plant Department papers. I added a few pieces of the ephemera from the collection and some of the chipboard stickers. The finishing touches were adding little dewdrops to the flower petals and adding a few of the crystals from The Plant Department.
I hope that you enjoyed this little tutorial and that you try making some of your own raindrop medium. Until next time, happy crafting!
Adrienne
Shop the Supplies:
Prima
Enjoy 15% off your order on the Prima Retail site when you use code adrienne15.
Below are products that I used for this project.


0 comments
I'd love to hear your thoughts!