
Create custom mini albums with the Sizzix Build an Album Thinlits die, some cardstock, patterned paper, and this tutorial video!

Hello, crafty friend! Previously I shared some seasonal embellishment clusters and tags I created using one of the recent Sizzix & 49 Market releases, working up toward adding these to a mini album using the Build an Album Thinlit. And today is the day that I'm finally sharing this mini album tutorial!

I really appreciate you all being so patient with me on getting this tutorial done and out to you. If you follow me on any of my socials, you may have seen my recent posts about my health issues. I have officially been diagnosed with lupus and I've been having to pace myself a little more with my craft projects, so this mini album was a little more delayed because of that.
And the best part--I did have the energy to make this into a YouTube tutorial for you!
Jump to a Section

Number of Die Cuts
Here's what you'll need to cut from the Build an Album Thinlit in order to create a 4 paged mini album:
- Album Base: 2 from cardstock
- Album Page: 8 from patterned paper (front and back cover + inside front and back cover + 4 pages)
- Album Binding Piece (Spine): 3 from cardstock, 2 from patterned paper
- Waterfall Binding: 1 from cardstock
- Page Attacher: 4 from cardstock

The best thing about this album set is that it is versatile and you can add even more pages. All you need to do is cut more pages, album spines and waterfall bindings to expand it. Once you have made a 4 page album and understand how it comes together, it will be a cinch to create another album with more pages!

Additional Photos


Watch the Tutorial Video
I hope you enjoyed this tutorial on how to cut and assemble the Sizzix 49 & Market Build an Album Thinlits set. What theme album would you create with this Thinlit? Let me know in the comments!
Until next time, happy crafting!
Adrienne
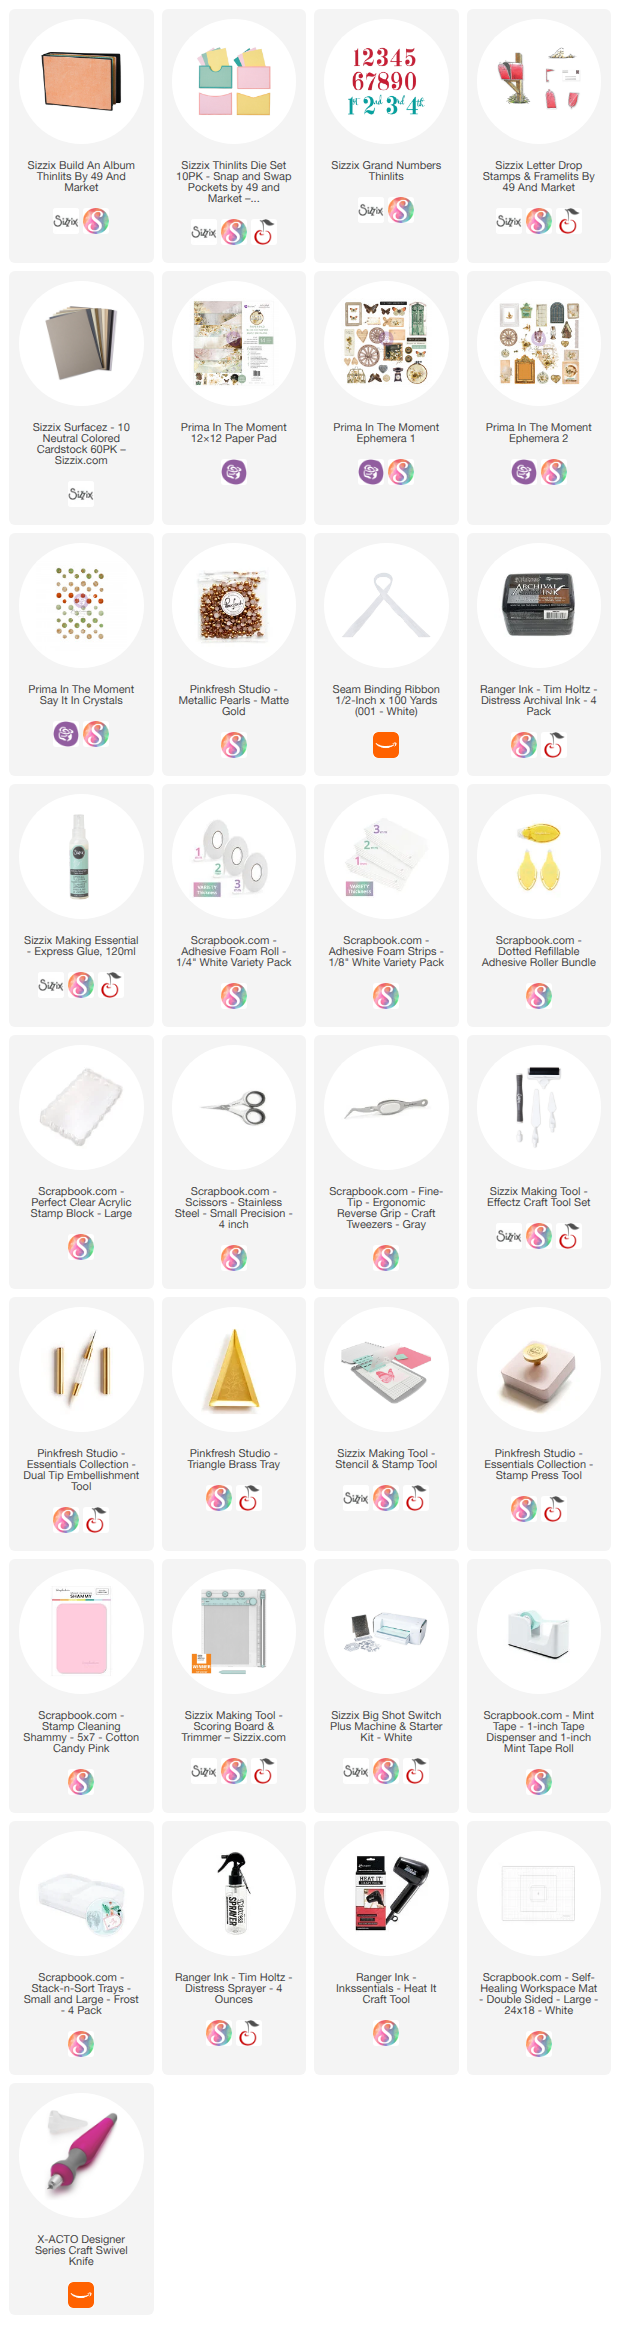
Shop the Supplies:
Scrapbook.com, A Cherry On Top, Sizzix, Prima Marketing, Spellbinders, Scrap Diva Designs, Etsy & Amazon
I am an affiliate/associate with multiple companies. When you shop the links below, I receive a small commission from the affiliate on qualifying purchases, at no additional cost to you. This helps me balance the costs of the time and love I put into my projects and blog so I can continue to share my ideas with you for FREE. If you shop the links, thank you! I greatly appreciate it.
Below are products that I used for this project.
No comments:
Post a Comment
I'd love to hear your thoughts!