
Let's slide into Christmas together with this fun interactive slider card tutorial using the Prima Twinkle and Treats collection!

Hey, crafty friend! I've got a fun and easy interactive card idea for you today. Once you make one, it will be so easy to make more of these little cards! If you loved my Rocker Card tutorial you'll love this sliding card idea!

I'll have a full supply list for you below that you can shop, so let's get right into this tutorial! This tutorial is in inches and you can either convert into centimeters, or I recommend picking up the Sizzix Scoring Board and Trimmer Tool. This handy all-in-one scoring board and trimmer has both imperial and metric measurements on it and all you have to do is flip the scoring board and ruler over to access the other measurement system. This will allow you to follow tutorials easily no matter what measurement system you normally use!

- Cut a slimline card base at 8.5 inches by 3.5 inches from a piece of the Twinkle & Treats 12x12 papers.
- Cut a slimline card matte to 8.25 by 3.25 inches from the same paper pad.
- Pick out the piece of ephemera or fussy cut ephemera you want to use to hide your "pop" element that slides/pops up from behind, plus a sticker that will become your "pop" (slide) element.

For the Santa card, I used the house and elf Ephemera with the Santa sticker from the Sticker Sheet, and for the cookie card, I fussy cut out the green mug from the 12x12 paper pad and used one of the gingerbread men cookie stickers from the Sticker Sheet.

- Place your ephemera piece onto your card matte where you want it to go and use a pencil to trace around the top and bottom of the ephemera.
- To get rid of the stickiness on the back of your sticker pop element, brush it with a little baby powder, cornstarch or antistatic powder.
- Decide where you want your sticker to pop up from and how high you want it to pop up, placing it on your card at the maximum, height you want it to move to.
- Remove your ephemera piece and mark a horizontal line right at the bottom of your sticker.
- Then move your sticker to the lowest you want it to go, so that it is completely hidden underneath the ephemera and mark a horizontal line a little bit below the bottom of your sticker--make sure this line sits above the bottom marking for your ephemera piece.

- Find the center of your "pop" element--we'll be creating a 1/8 inch wide vertical slit along this center. Measure from the left side of your card and make a mark 1/16 inch less than the center; then make another mark 1/16 inch more than the center. Create 2 to 3 sets of these marks to help you create straight lines, then use your ruler to draw those two straight vertical lines.
- Make sure that your 2 horizontal lines you drew under your sticker pop element intersect with your 2 vertical lines then use a craft knife to cut the slit out.
- For the slider pull, use a 1/2 inch wide strip of paper--length doesn't matter right now, but it needs to at least be long enough to go from the bottom of your slit to just above the edge of your matte.

For my slider pull, I used the 1/2 inch strip that I cut off the top of one of the 12x12 papers I used for the card base/matte. Now let's work on housing the pull strip and the mechanism that attaches the "pop" element to the pull strip.
- Place your 1/2 strip on the back of your card matte, centering it over the slit. trace the long edges onto the back of your card.
- Use 2mm thick foam adhesive and place it horizontally along the bottom of the slit as well as along the vertical lines you drew, creating a 1/2 inch wide slot for your pull strip in between the foam adhesive.
- If your foam is a little sticky on the sides, brush some baby powder/cornstarch/antistatic powder along the edges--don't remove the backing yet! Place your strip in the slot you made and move it up and down to make sure it moves freely.
- Trim a short strip of paper of paper to 1/2 inch wide by 1 3/4 inches long.
- Score this short strip at: 1/4, 3/8, 5/8, 1 3/8, and 1 1/2 inches.

The half inch section in the middle of this strip will be glued to the pull strip. Let's talk about how to fold this strip and glue it on.

- From the center 1/2 inch section, fold the 1/4 section over the top of the center section. The 1/8 inch section will stand straight up, so fold the outer 1/4 inch section back out toward the side. Glue the inner 1/4 inch sections to the 1/2 section and the two 1/8 inch sections together with liquid adhesive. It should look something like the image above with the 1/4 inch flaps able to "flap" like wings.
- Hold the flaps together and slip the flaps through the slit on the back of the card and push it all the way to the bottom of the slit. Add glue to the back of the 1/2 inch section of the flap and place the pull strip over it, lining the bottom of the pull strip up with the bottom of the flapped slider mechanism.
- Add more 2mm thick foam adhesive to the back of your card matte.


- Glue your pop element to the flaps on your interactive mechanism on the front of your card. I used a little liquid adhesive and glued the sticker so the bottom of it sits at about the vertical center of the flaps. Double check that your pop element hides completely under the mechanism by moving it to its lowest point. If your flaps are pushing up on your sticker and not laying flat, you can glue a little patterned paper over the top of the flaps, sandwiching the sticker.
- If you want to layer a little lace under your ephemera, hot glue it down first to your card matte, making sure to trim any lace away from the slit so your mechanism can still move freely.
- Add 3mm thick foam adhesive to the back edges of your ephemera piece--leave the area where the "pop" element hides free of adhesive.
- Erase any visible pencil markings then stick the ephemera piece onto your card matte. Check to make sure your "pop" element still slides up and down freely.

Let's decorate the pull mechanism and the rest of the card!
- Fussy cut out a long candy cane from the 12x12 pad.
- Make sure your mechanism is pushed all the way down, then add a little glue to the top of the candy cane and slide it down along the top of the pull strip and press it into place so the top of the candy cane peeks just above the top of the card matte layer.
- Pull your mechanism up and away from the back of your card and glue the bottom of your candy cane in place, making sure it doesn't go past the edge of the pull strip. Trim the excess strip off from above the candy cane with a pair of small scissors.
- Slide your strip back down, checking to make sure your mechanism moves freely still.

- Remove the backing off your foam strips on the back of the card matte layer and then adhere the matte to the card base.
- Decorate your card with Tickets, Ephemera, stickers from the Sticker Sheets, flowers and crystals from the Twinkle & Treats collection.
- Add a Chipboard Sticker sentiment.
- Dab a bit of Finnabair's Snow Paste onto your ephemera, tickets and flowers. Let this dry then your card is ready for gifting!

I hope that you enjoyed this fun tutorial. Once you've done one, you won't be able to stop--and it will become like second nature. If you make a version and post it online, be sure to tag me so I can gush over it! Until next time, happy crafting!
Adrienne
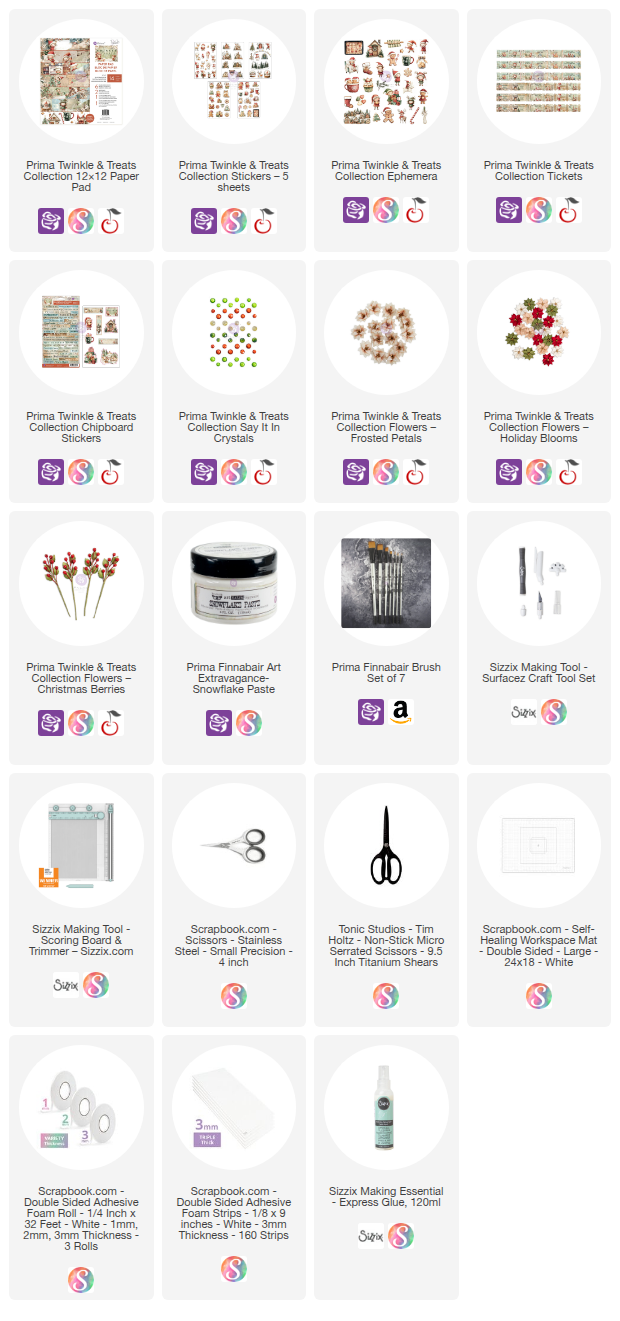
Shop the Supplies:
Scrapbook.com, A Cherry On Top, Sizzix, Prima Marketing, Spellbinders, Etsy & Amazon
I am an affiliate with multiple companies. When you shop the links below, I receive a small commission from the affiliate, at no additional cost to you. This helps me balance the costs of the time and love I put into my projects and blog so I can continue to share my ideas with you for FREE. If you shop the links, thank you! I greatly appreciate it.
Below are products that I used for this project.
No comments:
Post a Comment
I'd love to hear your thoughts!