
Spooky can be sweet when you pair the Tim Holtz Sizzix 2024 Vault Halloween collection with pastel papers and pearls.

Hey, crafty friends! Halloween is my favorite season, and if you've been fallowing me since at least last spooky season, you know my love of ravens! I had to pair the Vault Foliage Wreath die with the raven from the Vault Gothic Portraits die. But I also had to do it all in my signature shabby chic and pastel style--because "Goth Adrienne" occasionally has a soft side! (You can shop the supply list at the bottom of this blog.)

Let's get right into this tutorial! I started with a die cutting frenzy! I die cut the wreath, florals, bow, raven, some bats and the boo sentiment from these Sizzix and Scrapbook.com cardstocks:
- Sizzix Surfacez Assorted - pink, light gray, dark gray: flowers, leaves
- Sizzix Surfacez Muted - orange, medium gray: flowers, leaves, wreath (1x from medium gray)
- Sizzix Surfacez Festive - black: wreath (2x), bats
- Sizzix Sufacez Opulent Silver - glitter: bow, boo
- Scrapbook.com 6x8 Black Mixed Media Pad - raven (2x), bow, boo, bats
If you don't have the Nightfall glitter from Tim Holtz's Ranger Halloween collection from several years ago, I recommend cutting the raven out 1 time from the Black Mixed Media Pad and 1 time from the black glitter paper in the Scrapbook.com Mixed Metals pad.

I like to keep all of my little die cuts in the Scrapbook.com Stack n Sort trays. This ensures I don't lose any pieces until I'm ready to glue everything together. I did glue the flower and leaf layers together using my Sizzix Express glue. Pro Tip: for the super thin die cuts, put your Express Glue into a bottle with a thin metal tip for even more precision.

I also die cut the Sizzix Dimensional Multi Frame that measures 6.25 inches from some patterned paper four times. The paper I used is from Prima's Twilight collection.

I then assembled the Dimensional Multi Frame using my Sizzix Express Glue. (Sizzix has a great YouTube tutorial with Pete Hughes on how to assemble these frames, showing you how to get that rounded look.) I then used my Scoring Board and Trimmer Tool to cut a 6.25 inch square piece of patterned paper to back the frame.

To give the back of the frame more strength, I used my guillotine trimmer to cut a 6.25 inch piece of chipboard. I used the Tim Holtz Distress Collage Medium to adhere the patterned paper to the chipboard. I like this adhesive for this purpose because it has a low water content and won't wrinkle your paper.

I used the Sizzix Multi-Tool with the brayer to spook the paper and spread the glue out. Then I glued the assembled Dimensional Multi Frame to the patterned paper base.

Now it's time to add all the pretty things! I start by glueing one of the black wreath layers directly onto the pink patterned paper base using my Express Glue. On top of that, I layer the medium gray wreath layer. To add more dimension to the wreath, I popped some 1mm 1/8 inch foam strips onto the back of the second black wreath layer and then added it on top of the first two layers.

Next I worked on assembling layers and glittering my raven. I glued both of the raven layers together with Express Glue. Then I covered the raven in Scrapbook.com's Clear Craft Glue and sprinkled the Nightfall glitter over it. I set him aside to dry.

I glued the silver glitter boo to the black boo sentiment cut then glued the black and silver layers of the bow together, offsetting them slightly. I also glued the bat layers together, using the smooth Mixed Media cuts as the back to the textured Sizzix black cardstock cuts--this just adds more strength so I could bend the wings of the bat and not worry about them getting torn off over time.

I used the 1, 2 and 3 mm foam strips from Scrapbook.com as well as Sizzix Express Glue to add all leaves, raven, boo and bow to the wreath. I used some of my favorite tiny circle drop lace (I got mine from Etsy) to add to the cluster around the boo. I cut one strand of the lace into three pieces so it wasn't overly long.

I then used my Express glue to adhere the bats to the piece. For a finishing touch, I added a sentiment from an ephemera pack from Prima's Twilight collection to the bottom of the frame, then popped on some pink, orange and black pearls from the same collection.
This little piece is perfect for displaying on a tiered tray (especially if you also cover the back of the frame with patterned paper), or on a wall or mantel! A lot of people ask me what I use to hang all of my mixed media and panel projects with. The answer is Command Velcro Strips! I hope that you love this tutorial and that it inspires you to create a framed Halloween wreath panel from your favorite papers and cardstock! Until next time, happy crafting.
Adrienne
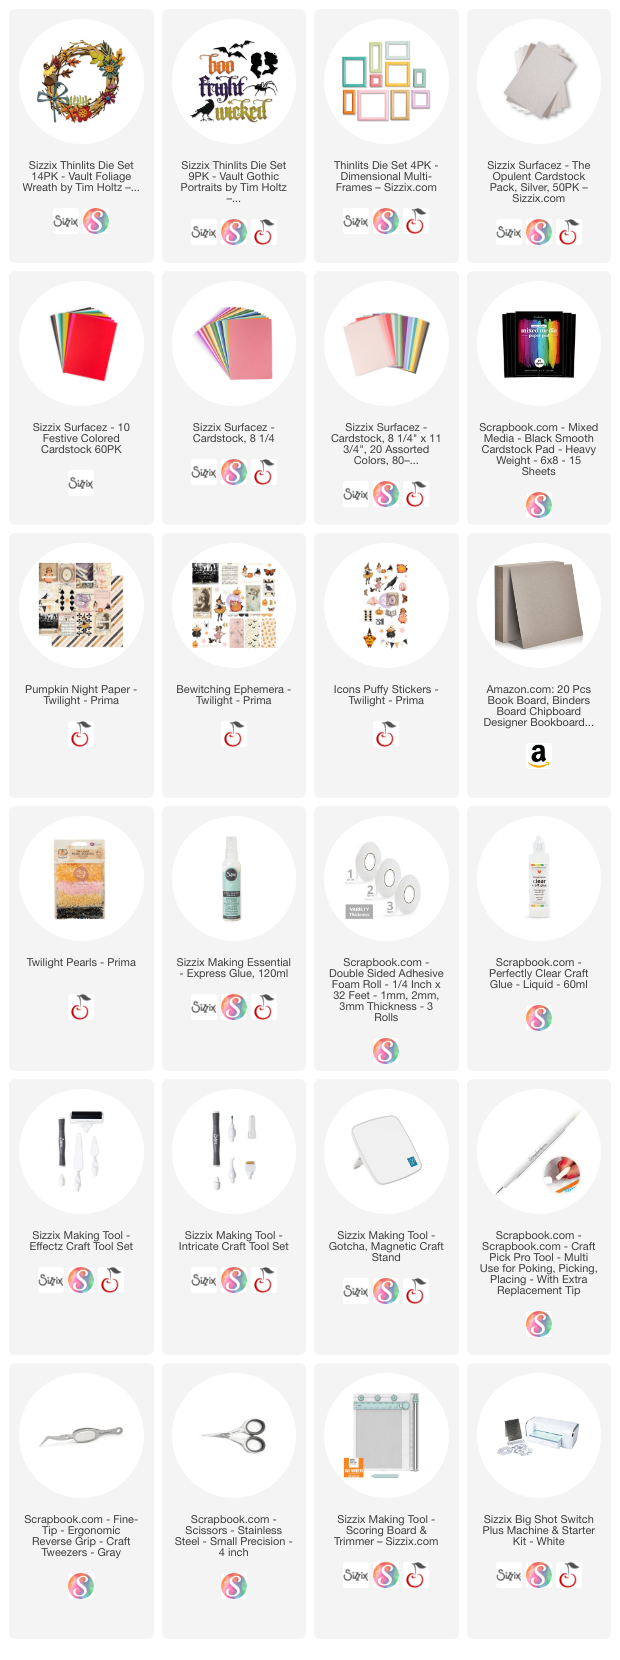
Shop the Supplies:
Scrapbook.com, A Cherry On Top, Spellbinders, Sizzix & Amazon
I am an affiliate with multiple companies. When you shop the links below, I receive a small commission from the affiliate, at no additional cost to you. This helps me balance the costs of the time and love I put into my projects and blog so I can continue to share my ideas with you for FREE. If you shop the links, thank you! I greatly appreciate it.
Below are products that I used for this project or similar ones.
No comments:
Post a Comment
I'd love to hear your thoughts!