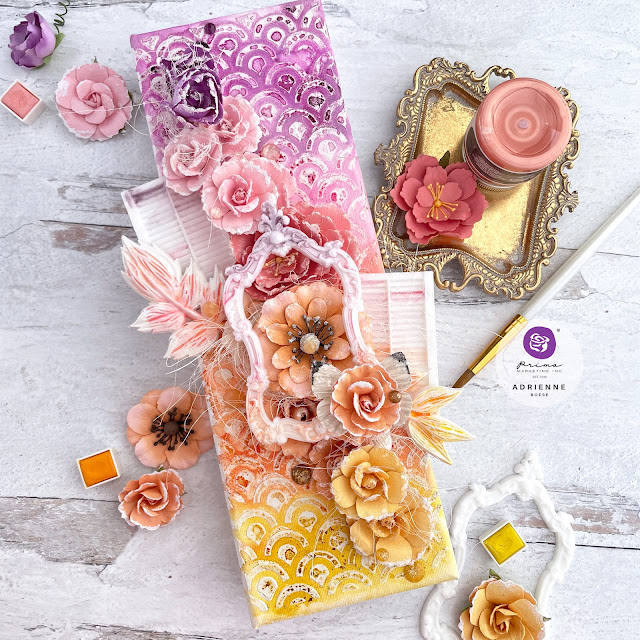
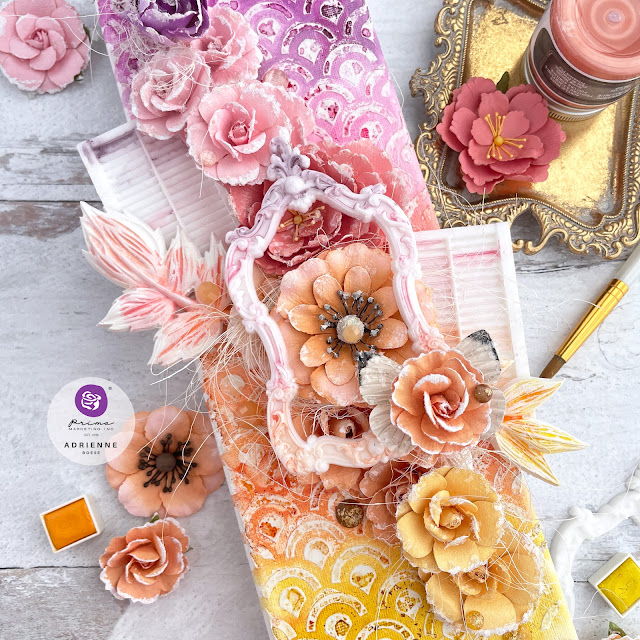
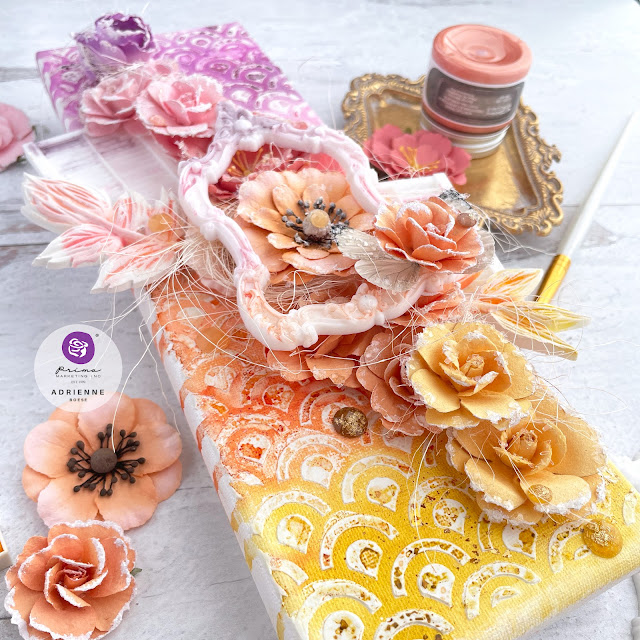
The sunsets where I live are absolutely stunning! It’s like the sky behind the mountains is on fire, with hues from yellow to purple. I wanted to recreate what I see out of my window by using a gradient of flowers in those same colors.
It's no secret that I adore
Prima Marketing flowers. So to create this project, I pulled out a bunch of flowers from different collections to make this stunning gradient of colors!
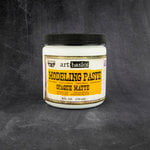
But let's start from the beginning. I selected a 4x12 inch canvas and applied some
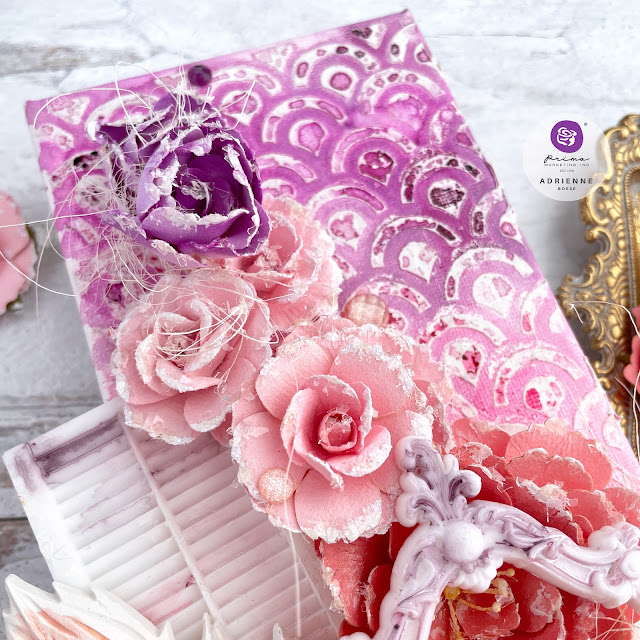
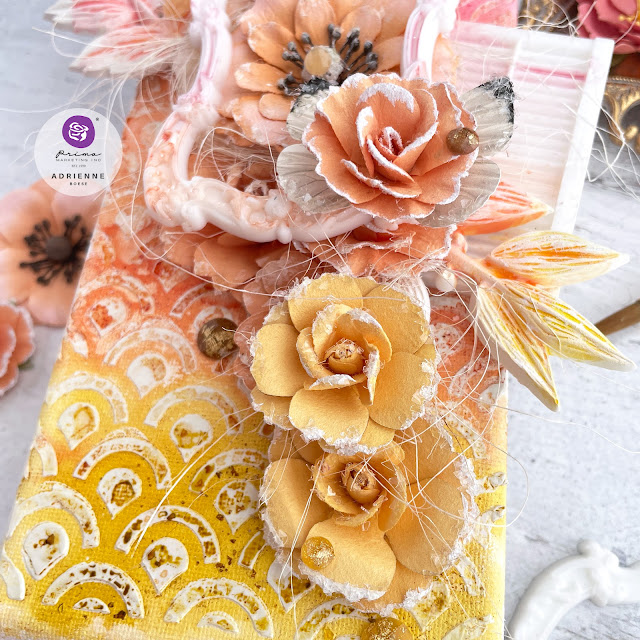
Modeling Paste through the Scales stencil. I turned the scales so they created a sun shape over a horizon. I thought it was a nice little touch and knew it would create some fun texture to play off of.
I then used some of my favorite Distress Spray Stains and Distress Mica Stains to create a color gradient on the canvas. While it was drying, I pulled out Prima flowers that coordinated with those Distress colors. (I think I managed to match them so beautifully!) Here's the breakdown of the flowers:
But before glueing all these gorgeous flowers down onto my canvas, I wanted to create a window. The
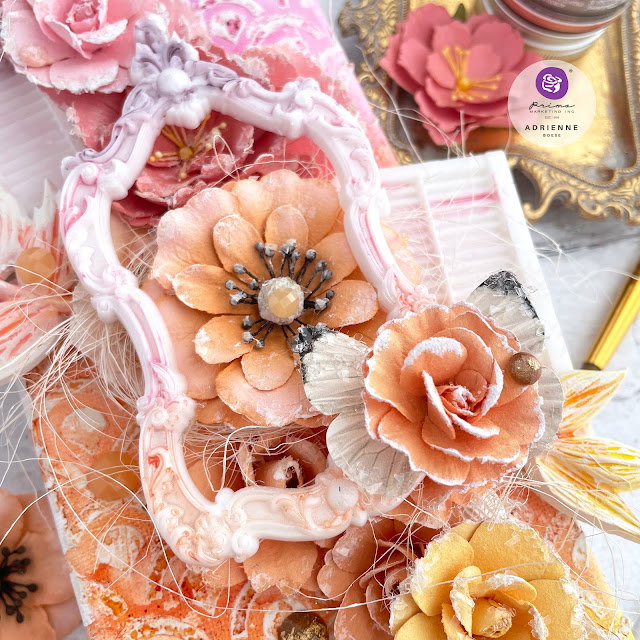
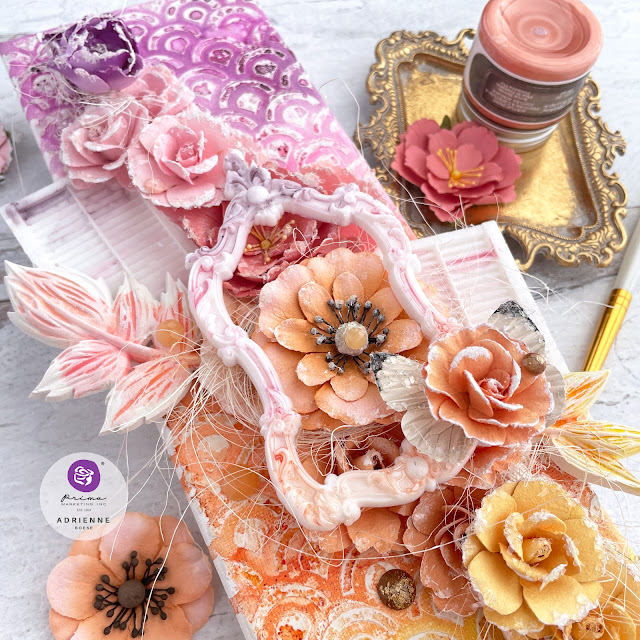
Window to the Soul mould has the prettiest shutters, but instead of pairing it with one of the window frames from that same mould, I wanted something a little fancier. So I selected on of the
Ornate Frames moulds.
These pieces were cast in resin, but if you use acrylic paint on them, you won't need to gesso them first. I applied small amounts of Metallique acrylic pain in
Plum Preserves,
Vintage Rose and
Spring Blossom, matching the colors up as best I could to where the elements would be placed on the canvas.
I added plenty of water with my paintbrush to lighten these paints and create an almost watercolor effect. Before the paint dried, I wiped the excess off the raised areas with a soft cloth to bring back the white highlights.
I then began to assemble my canvas. I know, I can hear you say,
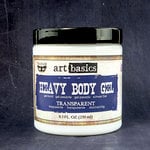
"But Adrienne, what about the leaf moulds?!" I'm getting there, don't worry! I wanted to make sure that the color of these matched up with the color on the canvas background really well, so I wanted to glue them down before painting them. I like to dry fit my elements first so I laid out the first layer. I adhered the window shutter moulds and first layer of flowers with
Heavy Body Gel.
After that first layer was down, I glued down the
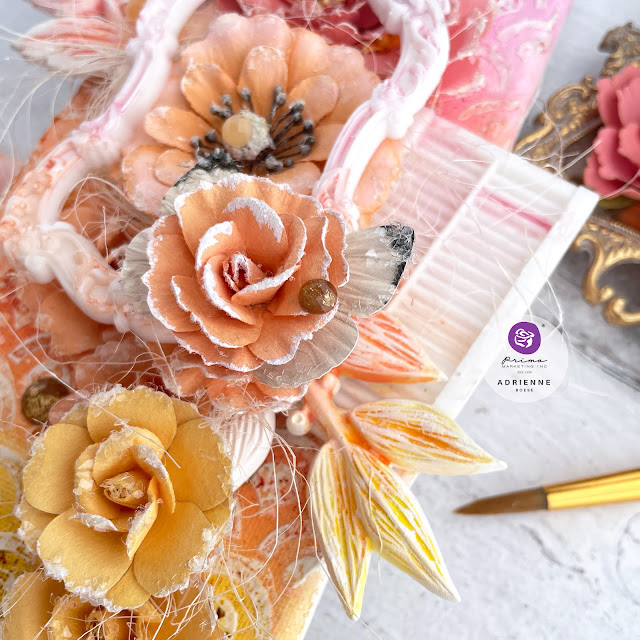
Leafy Blossom moulds. These were cast with a plaster type of casting powder, so they won't need a coat of gesso as they take any type of medium really well. I used a tiny bit of cardboard to help pop up some of the leaves where needed, gluing it all in place with more Heavy Body Gel.
I then added on the next layer of flowers, adding in some sisal fibers for additional texture. I glued down the Ornate Frames mould with a bit of, you guessed it,
Heavy Body Gel! This truly is the best adhesive for mixed media projects. It has a bit of work time, but is nice and thick so it holds things in place while you work.
I used one of the bottom layers of a butterfly embellishment from the Pretty Pale collection. I applied some Glossy Accents to the wings and then sprinkled on some clear glitter glass from Reneabouquets. The butterfly then got glued to the frame and a flower got popped on top.
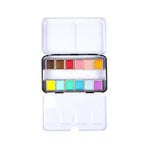
I then added watercolors from the Art Philosophy
Pastel Dreams set to the Leafy Blossom mould. These plaster casts are pretty thirsty, so make sure you add a more concentrated amount of watercolor for more intense colors. While that dried a bit, I worked on making the flowers look more cohesive by applying
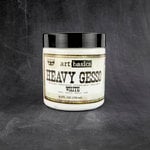
White Gesso to the edges of the flowers that didn't have any already on them. I then dry brushed the same gesso over the tops of the leaf moulds to highlight their texture.
The finishing touches was to add some more sparkle. I applied more clear glitter glass to the flowers then popped on some gems in coordinating colors from the Autumn Sunset and
Midnight Garden collections. I think this is one of my favorite projects! While I love monochromatic projects, sometimes a pretty color gradient steals my heart too!
Until next time, happy crafting!
Adrienne
Shop the Supplies:
Scrapbook.com
I am an affiliate with Scrapbook.com. When you shop the links below, I receive a small commission from the affiliate, at no additional cost to you. This helps me balance the costs of the time and love I put into my projects and blog so I can continue to share my ideas with you for FREE. If you shop the links, thank you! I greatly appreciate it.
Below are some of the products that I used for this project.
Amazon
I am an affiliate with Amazon. When you shop the links below, I receive a small commission from the affiliate, at no additional cost to you. This helps me balance the costs of the time and love I put into my projects and blog so I can continue to share my ideas with you for FREE. If you shop the links, thank you! I greatly appreciate it.
Below are some of the products that I used for this project.










No comments:
Post a Comment
I'd love to hear your thoughts!