The holidays can be busy but your Christmas cards don't have to be boring!
I'm all about quick and easy cards when I have to send them out en masse. But I also love when I can make each one just a little bit different. That way I get to pick one to send to a friend or family member that I know they'll love.
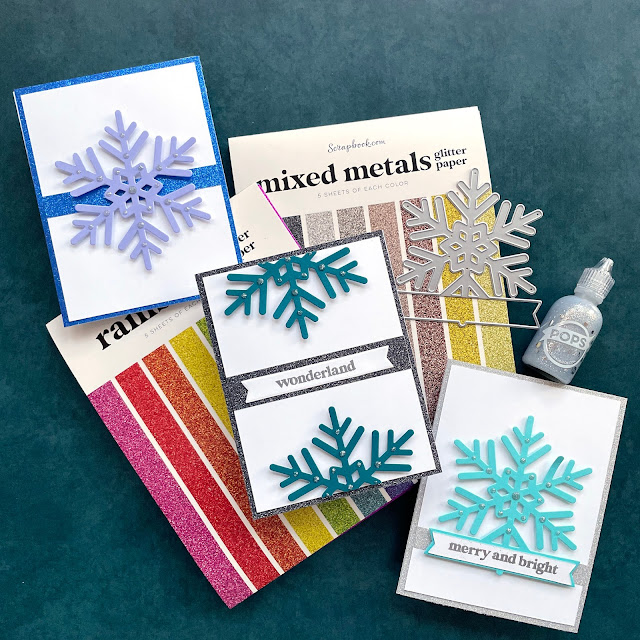
I can't resist a little holiday sparkle while I'm at it. So I pulled out my two
6x8 glitter pads from Scrapbook.com--you can never have too much glitter so I wanted the bigger size for these! I also pulled out two smooth cardstock pads with some icy hues, Cools and Jewels.
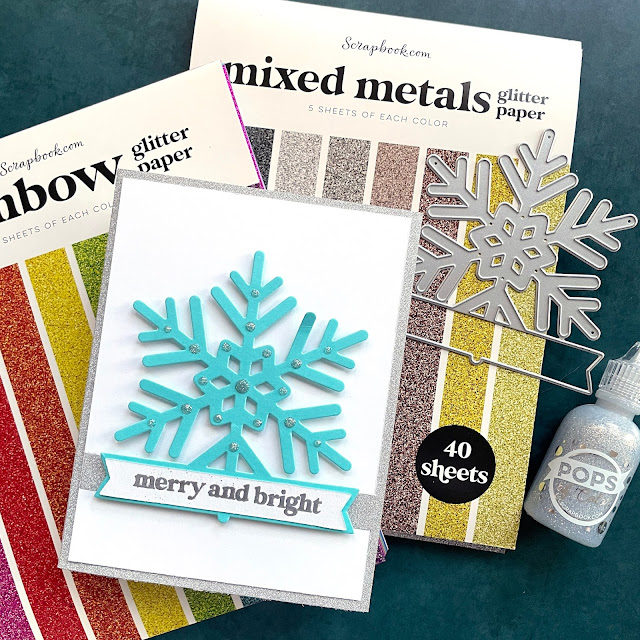
I started out by cutting out the
snowflake die from some
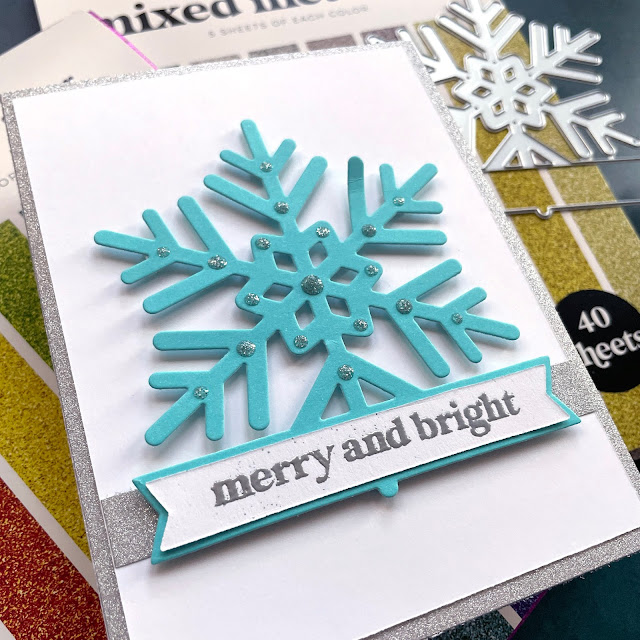
aqua cardstock from the Cools pad and then cut a matching banner layer from a flat solar white card front. I paired up the aqua snowflake with some silver glitter paper from the
Mixed Metals glitter pad. I cut the glitter cardstock to fit an A2 card. I then cut down a solar white flat card front by a quarter inch on each side so the silver could peek out on all 4 sides.
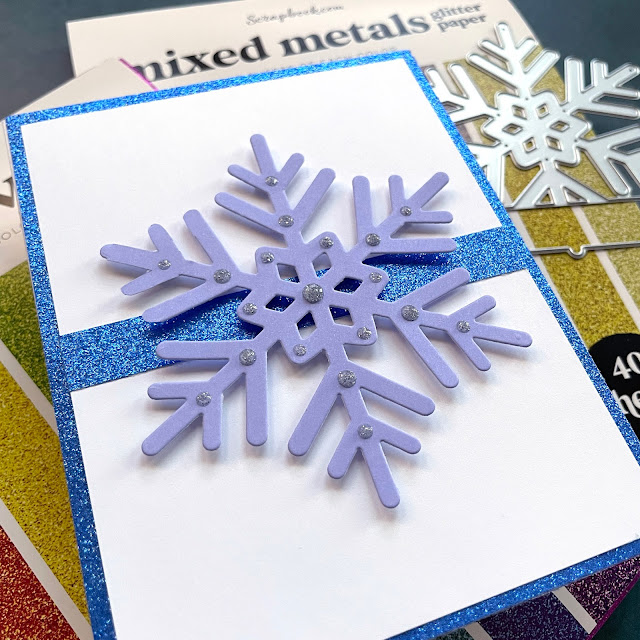
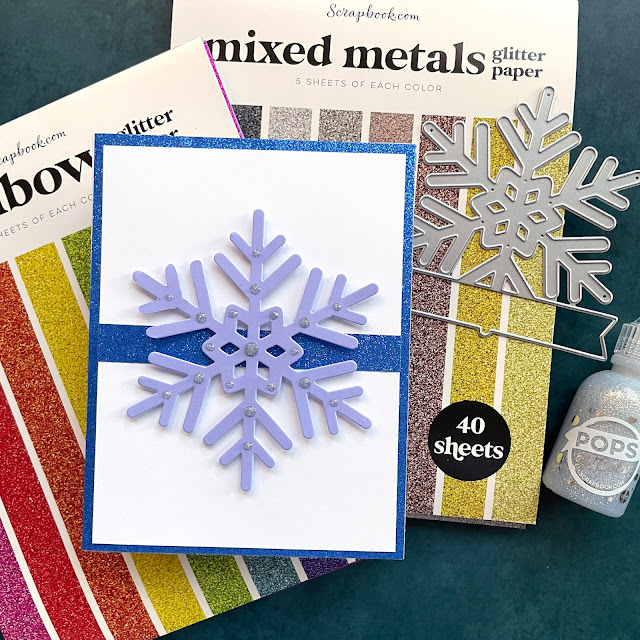
For the second card, I chose a bright blue-purple from the
Rainbow glitter pad and a light purple from the Cools pad for the snowflake. Instead of using the banner portion of this snowflake, I cut it off with some
small snips after tracing another snowflake cut so I got the arms of it right.
I added another strip of glitter cardstock to the card front, but this time down the center. I added the snowflake using foam squares over the top. I then added the
silver glitter Pops of Color for the finishing touch.
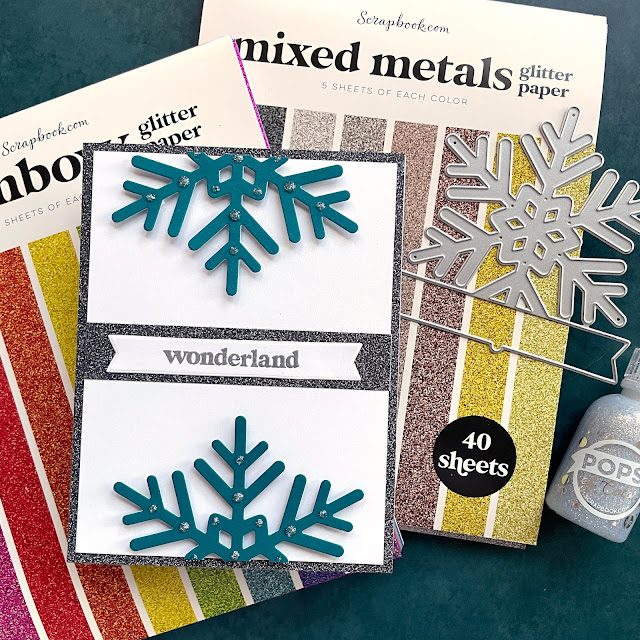
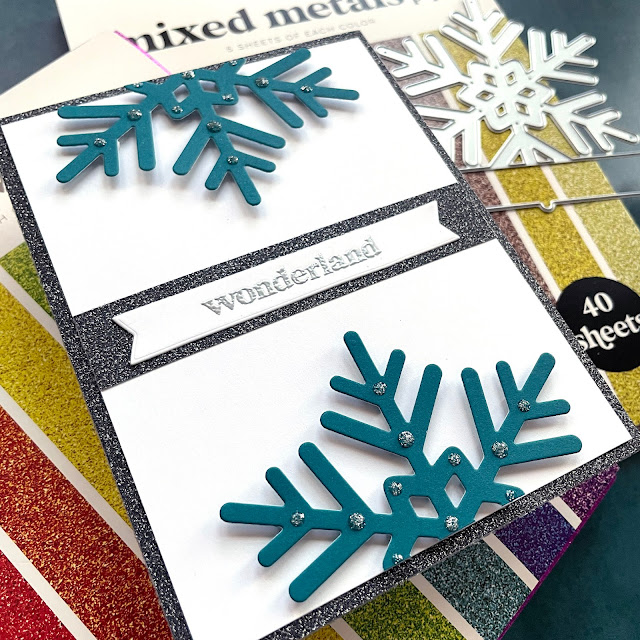
For the final card, I chose a charcoal grey glitter from the Mixed Metals pad. This time I cut the strip a little thicker so that the banner layer from the snowflake die would fit over it. For the snowflake, I cut two from the
deep teal in the Jewels pad. I then cut the snowflakes in half using my paper trimmer.
I stamped a sentiment from the snowflake set on another white banner that I cut from a solar white flat card front and
embossed in silver again. I placed the glitter strip in the center and glued the banner over it. I then placed the two halves of the snowflakes on the top and bottom of the card using
foam squares then added some silver glitter Pops of Color.
And that's it! It didn't take me long to knock out these three cards and I got to watch a bit of a Christmas movie while making them. Until next time, happy crafting!
Adrienne
Shop the Supplies:
ReplicaSurfaces
Love the background I shot my photos on? It's from Replica Surfaces, a company that makes rigid photo-realistic backgrounds. This surface is called Deep Teal. You can pick up your own with a 15% discount by shopping this link. When you do, I get a small commission from the sale at no extra cost to you, which helps me continue to provide you amazing tutorials and information, just like this blog post!
Scrapbook.com
I am an affiliate with Scrapbook.com. When you shop the links below, I receive a small commission from the affiliate, at no additional cost to you. This helps me balance the costs of the time and love I put into my projects and blog so I can continue to share my ideas with you for FREE. If you shop the links, thank you! I greatly appreciate it.
Below are products that I used or similar products.





No comments:
Post a Comment
I'd love to hear your thoughts!